I still remember the first time I encountered a proper pancake cake. It was at a small patisserie in the outskirts of Copenhagen, where the morning light filtered through fog-kissed windows. The creation before me—layers of delicate pancakes interspaced with pastry cream and crowned with glistening berries—was nothing short of revelatory. It weren’t just breakfast anymore; it was architecture, it was art.
Pancake cakes represent the beautiful intersection of homey comfort food and sophisticated pastry technique. Unlike traditional cakes that rely on flour-based batters baked in an oven, these magnificent creations utilize individually cooked pancakes as their structural foundation. When combined with elements of classic pastry work and the vibrant acidity of seasonal berries, they become something entirely transcendent.
1. Ingredients & Substitutions
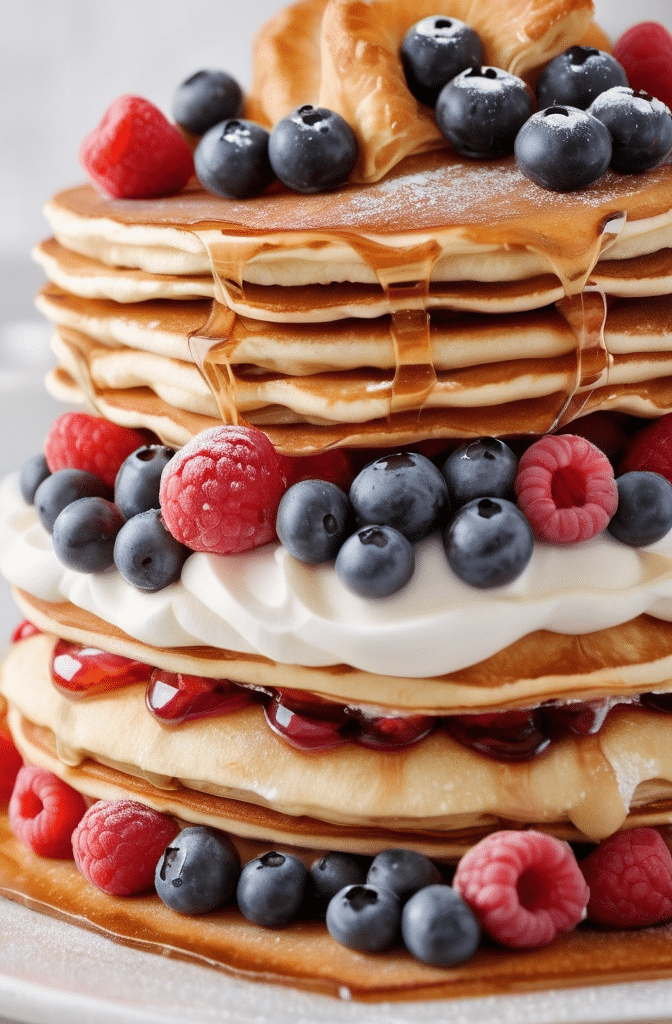
For the Pancakes:
- 2 cups all-purpose flour (250g)
- 3 tablespoons granulated sugar
- 2 teaspoons baking powder
- ½ teaspoon baking soda
- ½ teaspoon fine sea salt
- 2 large eggs, room temperature
- 2¼ cups buttermilk (or whole milk with 2 tablespoons lemon juice)
- 3 tablespoons unsalted butter, melted
- 1 teaspoon pure vanilla extract
- Neutral cooking oil for griddle
The pancake batter forms the literal foundation of our creation. I’v found that the balanced protein content in all-purpose flour creates the ideal texture—sturdy enough to layer without being tough. Those following gluten-free diets can substitute a quality cup-for-cup blend, though you may need to increase the eggs to one additional yolk for proper binding.
Buttermilk provides that characteristic tang and helps activate the leavening agents. No buttermilk on hand? Whole milk soured with lemon juice or white vinegar (2 tablespoons per cup) makes an excellent substitute, though it lacks some of the complex fermented notes of true buttermilk.
For the Pastry Cream:
- 2 cups whole milk
- ½ vanilla bean, split lengthwise (or 2 teaspoons pure vanilla extract)
- 6 large egg yolks
- ⅔ cup granulated sugar
- ¼ cup cornstarch
- Pinch of kosher salt
- 3 tablespoons cold unsalted butter, cubed
Pastry cream—or crème pâtissière for the purists—delivers silky richness between each pancake layer. Using a real vanilla bean rather than extract creates those distinctive speckles and a more complex flavor profile, tho extract works perfectly fine in a pinch.
For dairy-free alternatives, full-fat coconut milk produces a luxurious result, particularly when paired with a touch of coconut extract to enhance rather than mask the substitution. The texture may be slightly looser, so consider increasing the cornstarch by a teaspoon.
For the Berry Component:
- 4 cups mixed berries (strawberries, blueberries, raspberries, blackberries)
- ⅓ cup granulated sugar
- 2 tablespoons fresh lemon juice
- 1 tablespoon cornstarch mixed with 2 tablespoons cold water (for thickened compote option)
- ¼ cup berry preserves (preferably seedless raspberry)
- Fresh mint leaves for garnish
Berries provide crucial acidity to balance the richness of the pastry elements. While fresh is optimal, frozen berries can work wonderfully when cooked into a compote. Just be sure to thaw and drain them thoroughly first to prevent excess liquid.
Select berries with vibrant color and preferably in-season for the best flavor impact. I like to use a combination rather than a single variety—the varying levels of sweetness and acidity create a more complex taste experience.
2. Step-by-Step Instructions
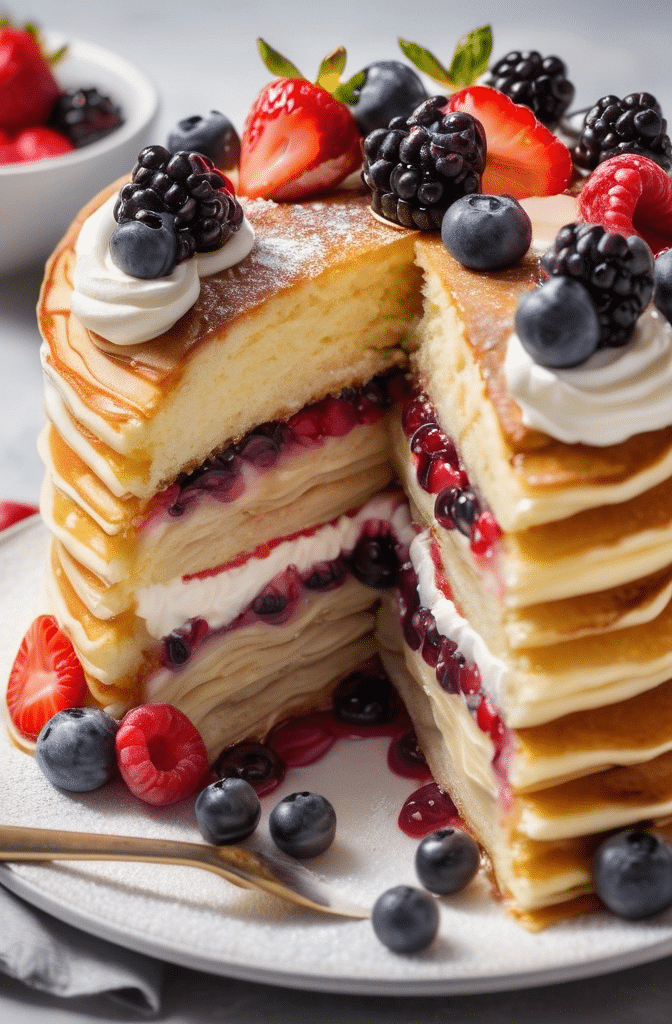
Making the Pancakes:
- Whisk together dry ingredients (flour, sugar, baking powder, baking soda, and salt) in a large bowl until thoroughly combined.
- In a separate bowl, whisk eggs until frothy, then incorporate buttermilk, melted butter, and vanilla extract. The butter may solidify slightly upon contact with cold ingredients—this is perfectly fine and creates desirable texture variations in the final pancakes.
- Make a well in the center of dry ingredients and pour in the wet mixture. Fold gently with a spatula until just combined; small lumps are actually desirable and indicate you haven’t overmixed. The batter should rest for at least 15 minutes (up to overnight in the refrigerator) to allow the flour to fully hydrate and the leavening agents to activate.
When cooking the pancakes, temperature control is absolutely critical. Too hot, and they’ll darken before cooking through; too cool, and they’ll become tough and rubbery. I aim for medium heat on a well-seasoned cast iron surface or non-stick pan, and I only ever use about a half-teaspoon of neutral oil between batches.
Pour approximately ¼ cup of batter for each pancake, creating rounds of equal size—uniformity is key for structural integrity in the final assembly. Allow bubbles to form across the surface before flipping; this typically takes 2-3 minutes. The second side requires only about 1-2 minutes.
A common mistake is pressing down on the pancakes with a spatula during cooking. Don’t do this! It compresses the delicate air pockets and results in denser pancakes. Instead, trust the process and let them cook undisturbed.
For a citrus variation, add 1 tablespoon of fresh orange or lemon zest to the batter. For a more sophisticated flavor profile, consider infusing the melted butter with cardamom pods or a cinnamon stick before incorporating it into the wet ingredients.
Preparing the Pastry Cream:
- Heat milk with the split vanilla bean in a medium saucepan until steaming but not boiling. Remove from heat, cover, and allow to steep for 15-20 minutes to infuse the vanilla flavor. If using extract instead, add it at the final stage.
- In a heatproof bowl, whisk egg yolks with sugar until pale and slightly thickened, about 2 minutes by hand or 1 minute with an electric mixer. The transformation in color indicates proper aeration and sugar incorporation. Add cornstarch and salt, whisking until no lumps remain.
- Remove vanilla bean from milk, scraping seeds back into the liquid. Gradually stream hot milk into the egg mixture while whisking constantly to prevent curdling—this technique is called tempering and is crucial for smooth pastry cream. Return the entire mixture to the saucepan.
Cook over medium heat, whisking continuously and vigorously, paying special attention to the corners of the pan where scorching often begins. The mixture will suddenly thicken quite dramatically—this is your signal to reduce the heat slightly while continuing to cook for another minute to ensure the cornstarch is fully activated.
Immediately strain through a fine-mesh sieve into a clean bowl to catch any inadvertently cooked egg bits. Incorporate the cold butter cubes while the cream is still hot, whisking until completely melted and incorporated.
Press plastic wrap directly onto the surface to prevent skin formation and refrigerate until completely chilled, at least 2 hours or preferably overnight. The pastry cream can be prepared up to three days in advance—a significant advantage when planning complex assemblies.
Berry Preparation Options:
- For fresh berries: Hull and slice strawberries. Combine all berries in a bowl with sugar and lemon juice, tossing gently. Allow to macerate for 30 minutes to develop juices and flavors.
- For berry compote: Combine 2 cups berries with sugar and lemon juice in a saucepan. Cook over medium heat until berries begin to break down and release juices, about 5-7 minutes. Add cornstarch slurry and continue cooking until thickened, about 1-2 minutes. Cool completely before using.
- For glazed fresh berries: Warm berry preserves with 1 tablespoon water in a small saucepan until fluid. Brush over arranged fresh berries as a final finish for spectacular shine and flavor enhancement.
I recommend using a combination aproach—compote between some layers for moisture and flavor penetration, with fresh glazed berries for the crown. This creates textural contrast while maximizing visual impact.
3. Assembly & Construction Techniques
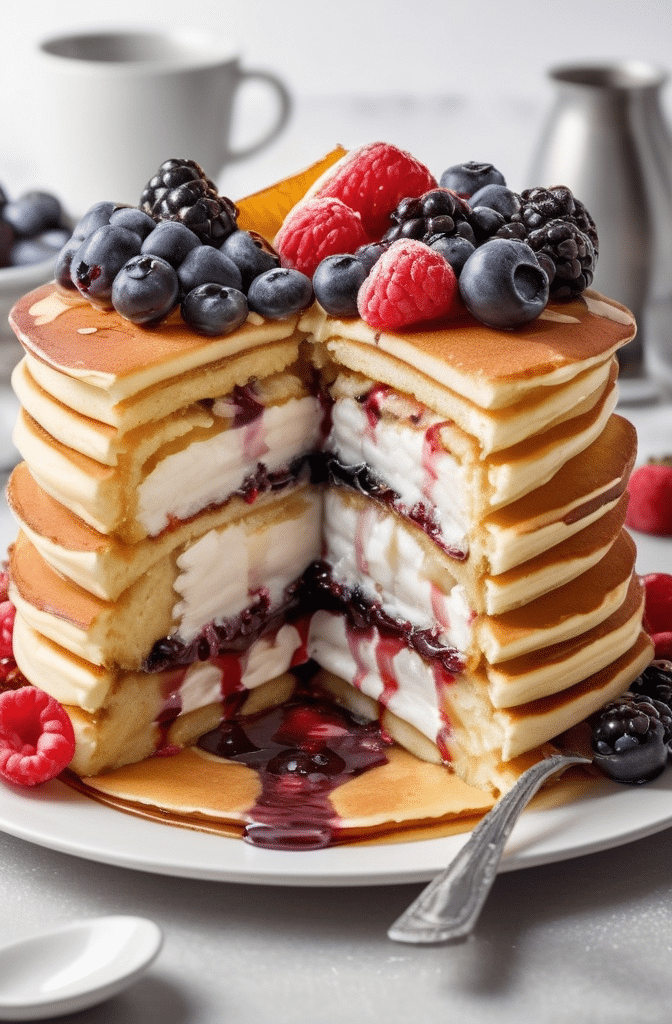
Successful assembly relies on proper temperature management. All components should be thoroughly chilled before beginning, with the exception of the berry compote, which should be at room temperature for spreadability.
- Select a serving plate with ample room around the edges for display purposes. Place a small dab of pastry cream in the center to anchor the first pancake.
- Position the first pancake, then spread a thin layer (approximately 3-4 tablespoons) of pastry cream to within ¼ inch of the edge. The cream will spread slightly under pressure, and stopping short of the edge prevents messy overflow.
- Continue alternating pancakes and pastry cream, occasionally incorporating a thin layer of berry compote for color variation and flavor complexity. Apply gentle pressure to each layer to eliminate air pockets without crushing the structure.
The science behind this construction involves understanding structural integrity thru balanced hydration. The pancakes will gradually absorb moisture from the pastry cream, softening just enough to create a sliceable texture while maintaining distinct layers. This process requires at least 4 hours of refrigeration after assembly—patience is non-negotiable!
For the final layer, creativity shines. Traditional approaches include a decorative arrangement of fresh berries, a gleaming layer of nappage (clear glaze), or even a dramatic spun sugar cage for special occasions. I favor a cascading pattern of mixed berries, enhanced with a light dusting of powdered sugar applied just before presentation.
A professional trick: insert 4-5 wooden skewers vertically through the cake during refrigeration to prevent sliding. Remove these carefully before the final decoration and service.
4. Serving & Pairing Suggestions
Slicing requires a sharp, thin-bladed knife wiped clean between cuts. Serve slightly chilled rather than cold—30 minutes at room temperature before service enhances the flavor complexity without compromising structural integrity.
Plating possibilities are endless, but I favor a minimalist approach that highlights the layers. A small pool of berry coulis on the plate, a sprig of fresh mint, and perhaps a quenelle of softly whipped cream are all that’s needed to complete the presentation.
Beverage pairings depend on the service occasion. For brunch, consider Prosecco with a splash of elderflower liqueur. For dessert service, a late-harvest Riesling or Moscato d’Asti complements without overwhelming the delicate flavors. Non-alcoholic options might include a jasmine tea service or sparkling water infused with cucumber and mint.
The cake holds remarkably well for 24-48 hours when properly refrigerated, though the textural peak occurs between 8-24 hours after assembly. Beyond this window, the distinctions between layers begin to blur, though the flavor continues to develop in complexity.
5. Cooking Science & Cultural Context
The pancake cake represents a fascinating culinary evolution. Its closest historical relative is the Russian/Eastern European “Blini Torte,” traditionally made with crepe-like pancakes and sweetened farmer’s cheese. In Scandinavia, similar constructions called “Tårta” appear at celebrations, often featuring cardamom-spiced pancakes.
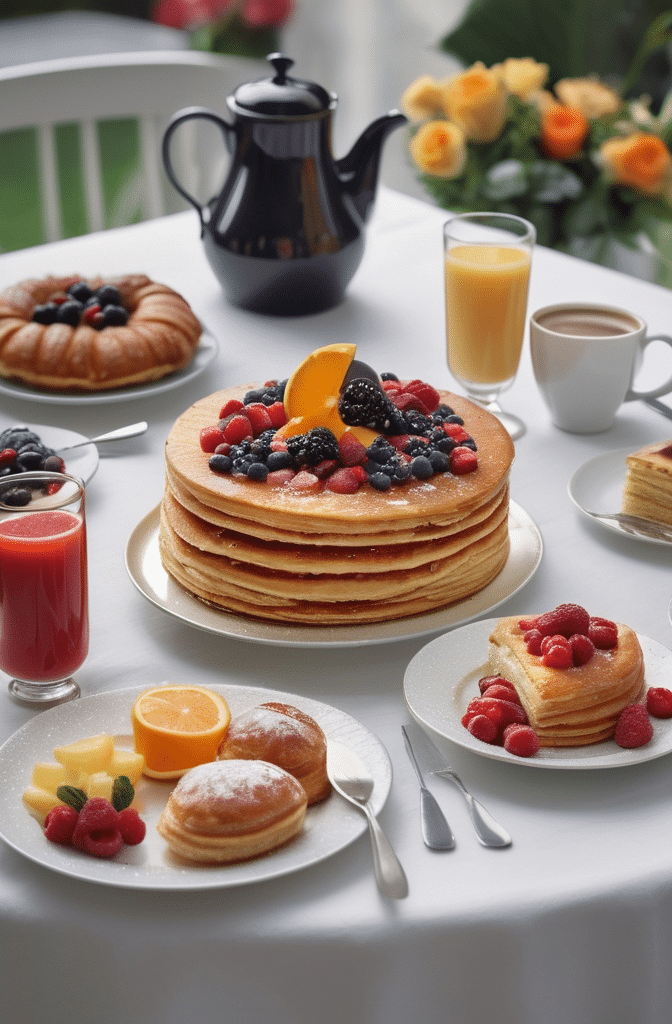
What makes these constructions work from a food science perspective is the careful balance of moisture migration. The semi-porous structure of pancakes allows them to absorb just enough moisture from the filling to become tender without disintegrating. This is fundamentally different from traditional cake layers, which are designed to maintain structural integrity through crumb structure.
Temperature plays a crucial role in both preparation and service. The ideal refrigeration temperature for setting the cake is between 36-38°F (2-3°C)—cold enough to solidify the dairy fats in the pastry cream without freezing, which would damage the berry components through ice crystal formation.
The pastry cream itself is a marvel of food chemistry—the precise ratio of egg proteins, starch molecules, and fat globules creates a stable matrix that holds shape while remaining silky on the palate. This stability comes from the dual thickening agents: egg proteins that coagulate with heat and starch molecules that swell and gelatinize.
Conclusion
The pancake cake sits at the intersection of accessibility and sophistication—familiar ingredients transformed through technique into something unexpectedly elegant. What makes this creation truly special is its adaptability across occasions. It’s equally at home at a celebratory brunch, an afternoon tea, or an elevated dessert course.
The key to mastery lies in temperature control throughout the process, from cooking each individual pancake to the final refrigeration period. Take particular care with the pastry cream—it’s the architectural glue that determines both structural success and flavor balance.
For those seeking to experiment, consider seasonal adaptations: citrus segments and honey in winter, stone fruit compote in summer, or even savory variations with herbs and sweetened ricotta for an unexpected appetizer presentation.
Whatever direction you take it, remember that perfect execution relies not on elaborate equipment but on patience, attention to detail, and understanding the fundamental principles at play.
FAQs
How far in advance can I make the components?
The pancakes can be cooked up to 24 hours ahead and stored separated by parchment paper in an airtight container. Pastry cream keeps beautifully for 3 days refrigerated. Complete assembly should occur at least 4 hours before service, but not more than 24 hours for optimal texture.
Can I freeze a completed pancake cake?
I don’t recommend freezing the assembled cake as the texture of both the pastry cream and berries will suffer significantly upon thawing. Individual pancakes, however, freeze exceptionally well for up to 2 months when properly wrapped.
What’s the best way to transport this cake to an event?
Chill the assembled cake thoroughly (at least 8 hours) and transport in a cake carrier with ice packs. For added stability, insert food-safe plastic straws vertically through the cake and trim flush with the surface. Remove before final decoration and service.
How do I prevent the berries from bleeding into the cream layers?
Macerate fresh berries thoroughly and drain excess juice before using. Alternatively, create a barrier by brushing a thin layer of melted white chocolate on the pancake before adding cream to layers that will contact berries directly.
Can I make this without dairy?
Absolutely! Substitute the milk in both pancakes and pastry cream with full-fat coconut milk or almond milk. For the butter, use a plant-based alternative with similar fat content. The result will have a slightly different flavor profile but can be equally delicious.
Veronica is a passionate food enthusiast with over three years of experience in exploring and writing about diverse cuisines. Her expertise lies in reviewing restaurants, sharing creative recipes, and discovering the latest food trends. As the voice behind FoodieRecap.com, Anju brings fresh perspectives and culinary insights to her audience.
