A Chef’s Guide
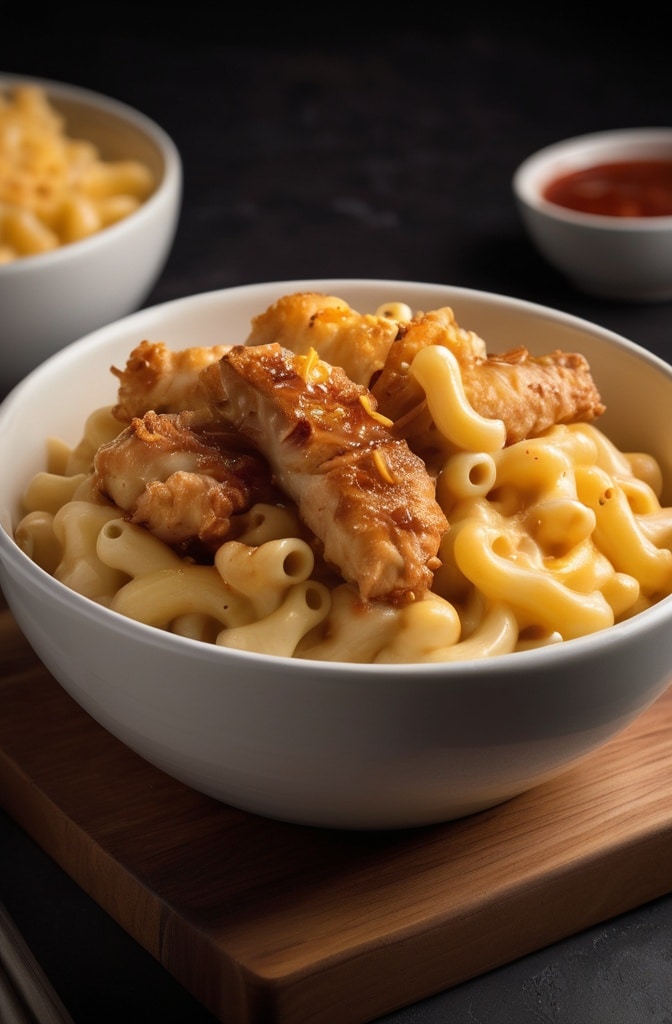
The first time I tasted Applebee’s Honey Pepper Chicken Mac and Cheese, I was honestly floored. Not because chain restaurants can’t produce magnificent dishes—they absolutely can—but because this particular creation achieves something most professional kitchens struggle with: perfect textural contrast. The crispy chicken against that velvety cheese sauce? It’s kinda magical how they got it so right.

I’ve spent fifteen years deconstructing restaurant favorites, and this dish has been one of my white whales. After countles attempts (and a few spectacular failures), I’ve finally reverse-engineered what makes this comfort food masterpiece tick. This isn’t just another mac and cheese—it’s an exercise in balance, where sweet meets savory, crispy meets creamy, and somehow, a chain restaurant created something genuinely cravable that deserves serious culinary attention.
Ingredients & Substitutions
For the Honey Pepper Sauce:
- 1/2 cup honey (local wildflower preferred)
- 3 tablespoons soy sauce (low sodium)
- 2 tablespoons black pepper (freshly cracked, not pre-ground)
- 2 teaspoons garlic powder
- 1 teaspoon onion powder
- 1/4 teaspoon cayenne pepper
- 1 tablespoon apple cider vinegar
- 2 tablespoons unsalted butter
Store-bought honey varies wildly in flavor profile. The cheaper options are often just glorified sugar syrup, so splurge a bit here—a robust wildflower or orange blossom honey creates backbone flavor that carries the entire dish. For those avoiding soy, coconut aminos work remarkably well and add a subtle sweetness that complements the honey.
For the Chicken:
- 2 large boneless, skinless chicken breasts (about 1 pound)
- 1 cup buttermilk
- 1 tablespoon hot sauce (Franks or Louisiana style)
- 2 cups all-purpose flour
- 1 tablespoon paprika
- 2 teaspoons garlic powder
- 2 teaspoons onion powder
- 1 teaspoon salt
- 1 teaspoon black pepper
- Vegetable oil for frying (about 3-4 cups)
Don’t have buttermilk? Make a quick substitute by adding a tablespoon of lemon juice or white vinegar to regular milk and let it sit for 5 minutes. The acidity is whats important here—it tenderizes the chicken and helps the coating adhere. For gluten-sensitive folks, a mixture of rice flour and cornstarch (3:1 ratio) creates an even crispier coating than wheat flour. Weird but true.
For the Mac and Cheese:
- 12 ounces cavatappi pasta (or elbow macaroni)
- 4 tablespoons unsalted butter
- 1/4 cup all-purpose flour
- 3 cups whole milk (room temperature)
- 8 ounces sharp cheddar cheese, freshly grated
- 4 ounces monterey jack cheese, freshly grated
- 2 ounces parmesan cheese, freshly grated
- 1/2 teaspoon mustard powder
- 1/4 teaspoon nutmeg (freshly grated)
- Salt and white pepper to taste
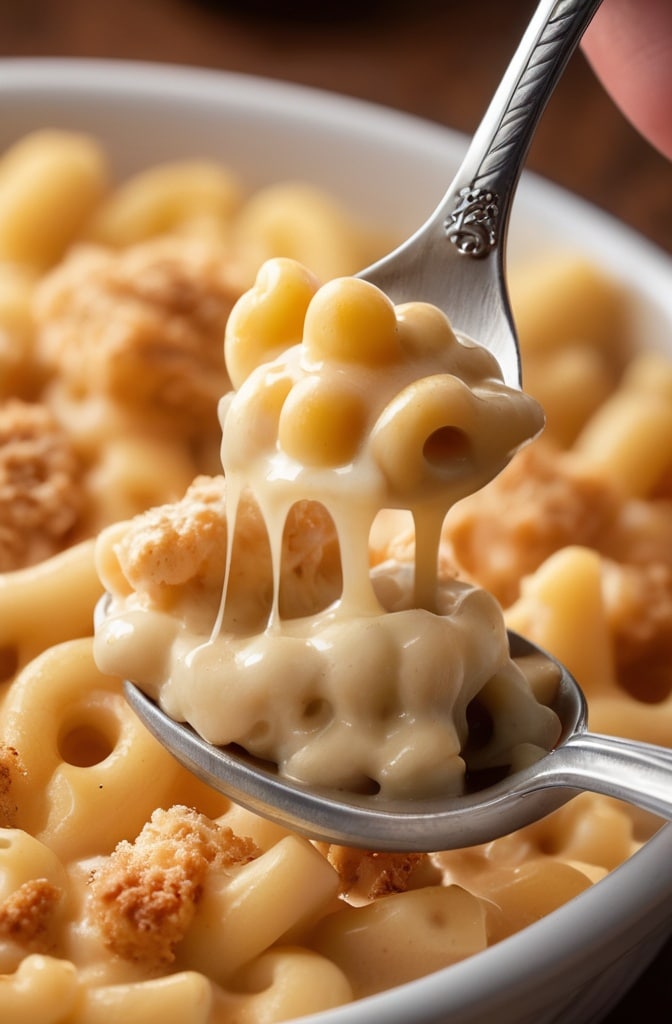
Listen up about the cheese—pre-shredded versions contain anti-caking agents that prevent proper melting. They’ll leave you with a grainy sauce instead of the silky texture we’re after. Take the extra four minutes to grate your own. Trust me on this one. For lactose-intolerant diners, cashew cream with nutritional yeast makes a surprisingly effective alternative, though the flavor profile shifts slightly.
For Garnish:
- 2 green onions, thinly sliced
- Extra honey for drizzling
- Fresh cracked black pepper
Step-by-Step Instructions
Preparing the Honey Pepper Sauce:
- Combine honey, soy sauce, black pepper, garlic powder, onion powder, and cayenne in a small saucepan over low heat. You want to warm this mixture, not cook it—high heat will break down the honey’s nuanced flavors and potentially burn the garlic powder.
- Once warm (about 3-4 minutes), remove from heat and whisk in apple cider vinegar and butter until fully incorporated. The butter adds silkiness and helps the sauce coat the chicken rather than just slide off. Set aside but keep slightly warm.
- The sauce might look a bit thin at this stage—that’s perfect. It’ll thicken slightly as it cools and then again when it hits the hot chicken. If it gets too thick later, a teaspoon of warm water will loosen it right up.
A common mistake here is over-reducing the sauce. We want it pourable but not syrupy—it should coat the back of a spoon but still run off fairly easily.
Preparing the Chicken:
- Slice chicken breasts horizontally to create 4 thinner cutlets, then pound them to even 1/2-inch thickness. This ensures quick, even cooking and maximizes the crispy coating to juicy chicken ratio. Season with salt and pepper.
- Combine buttermilk and hot sauce in a shallow dish. In another dish, whisk together flour, paprika, garlic powder, onion powder, salt, and pepper. Dip each chicken piece in buttermilk mixture, then dredge in seasoned flour, pressing gently to ensure coating adheres. Place on a wire rack and let sit for 10 minutes—this resting time is crucial for a coating that doesn’t flake off during frying.
- Heat oil in a large, heavy-bottomed skillet to 350°F (175°C). If you dont have a thermometer, drop a pinch of flour in—it should sizzle immediately but not burn. Fry chicken pieces 2 at a time until golden brown and cooked through, about 3-4 minutes per side. Transfer to a paper towel-lined plate.
The most common mistake in this step is overcrowding the pan, which drops the oil temperature and results in soggy, greasy chicken. Patience pays dividends here—fry in batches even if it takes longer.
Making the Mac and Cheese:
- Cook cavatappi pasta in heavily salted water until just shy of al dente (about 2 minutes less than package directions). The pasta will continue cooking in the sauce, so slightly underdone is perfect at this stage. Reserve 1/2 cup of pasta water before draining.
- In a large saucepan, melt butter over medium heat. Add flour and whisk constantly for 1-2 minutes to cook out the raw flour taste without browning it. This blonde roux is the foundation of our cheese sauce. Slowly whisk in room temperature milk (cold milk increases the chance of lumps), continuing to whisk until smooth and slightly thickened, about 5-6 minutes.
- Reduce heat to low and add cheeses one handful at a time, whisking until completely melted before adding more. Patience is crucial—high heat will break the sauce. Once all cheese is incorporated, add mustard powder and nutmeg, then season with salt and white pepper to taste. White pepper keeps the sauce pristine-looking while still adding heat.
If your sauce seems too thick, add reserved pasta water a tablespoon at a time. Too thin? Cook it down a bit more. The perfect consistency coats the back of a wooden spoon but still flows slowly when the spoon is tilted.
Assembly:
- Fold cooked pasta into the cheese sauce, ensuring every piece is thoroughly coated. If the mixture seems too tight, add a splash of reserved pasta water to loosen it. The starch in the water helps maintain the sauce’s silky texture.
- Slice the fried chicken into strips. For restaurant-style presentation, slice on a bias (diagonal) to create more surface area for the sauce to cling to.
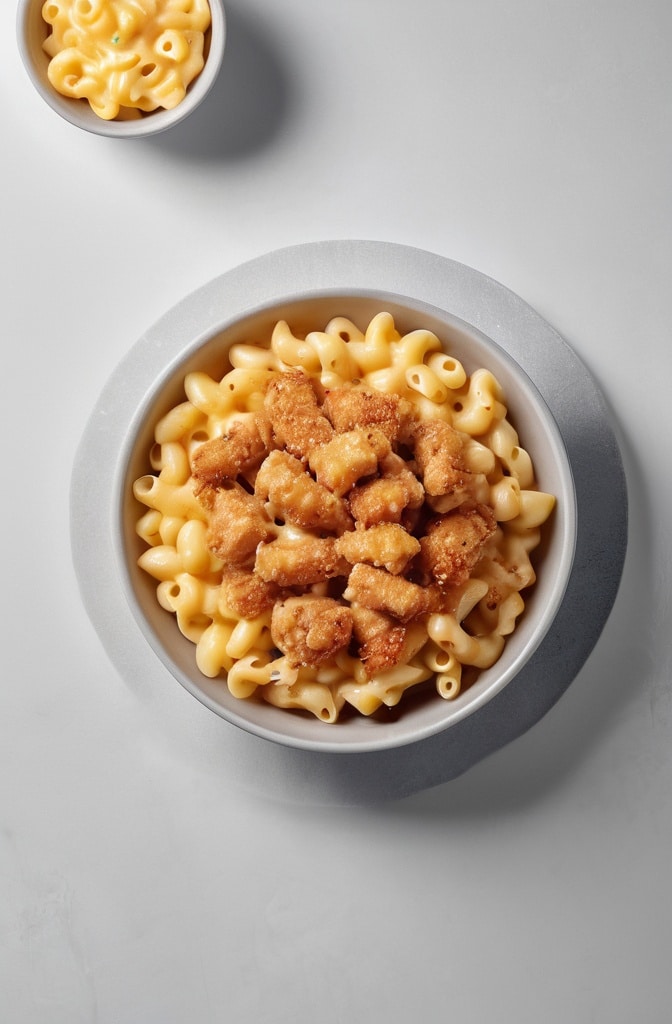
- Portion mac and cheese into warmed bowls (cold bowls will rapidly cool your sauce, affecting texture). Top with sliced chicken, then generously drizzle with warm honey pepper sauce. Finish with sliced green onions, an extra drizzle of honey, and fresh cracked black pepper.
For a spicier version, double the cayenne in the honey sauce or add a dash of your favorite hot sauce at the end. Want it milder? Skip the cayenne entirely and use a smoked paprika instead for depth without heat.
Cooking Techniques & Science
The magic of this dish lies in understanding the science behind each component. The chicken’s crispy exterior comes from proper temperature control during frying. At 350°F, the moisture inside the chicken creates steam that pushes outward, while the exterior dehydrates and creates that golden crust. If your oil is too cool, the coating absorbs oil and becomes soggy; too hot, and it burns before the chicken cooks through.

The cheese sauce employs an emulsion technique similar to hollandaise or béarnaise—we’re essentially suspending fat molecules (cheese) in liquid (milk) with the help of a stabilizer (roux). This is why adding cheese gradually is crucial—dump it all in at once, and the emulsion can break, resulting in a grainy texture. The mustard powder contains small amounts of lecithin, which further helps stabilize the emulsion.
The cavatappi pasta shape isn’t just for visual appeal—its spring-like structure captures sauce both inside the tube and between the ridges, delivering more flavor in each bite than smoother pasta shapes. This is why restaurant chefs often prefer it to traditional elbow macaroni for upgraded mac and cheese dishes.
Temperature management is perhaps the most crucial technique throughout this recipe. From frying at precisely 350°F to keeping the cheese sauce at a gentle simmer (never boiling), to serving in warmed bowls—proper temp control ensures optimal texture at every stage.
Serving & Pairing Suggestions
Present this showstopper in wide, shallow bowls that allow the chicken to rest atop the mac and cheese without sinking in. White dishes make the vibrant colors pop—the golden-brown chicken, the amber honey sauce, and the flecks of green onion create a visually stunning presentation.

For family-style service, place the mac and cheese in a large serving bowl, arrange chicken on top, drizzle with sauce, and let guests help themselves. This preserves the textural contrast better than mixing everything together.
This rich dish pairs wonderfully with crisp, acidic accompaniments that cut through the richness. Consider a simple arugula salad with lemon vinaigrette or quick-pickled vegetables (cucumber, red onion, and radish work beautifully). For beverages, an off-dry Riesling offers enough sweetness to complement the honey while its acidity refreshes the palate. Beer drinkers should reach for a wheat beer with citrus notes or a not-too-hoppy IPA.
For a complete Applebee’s-inspired meal, serve with their signature Blondie dessert—the caramel notes echo the honey in the main dish for a thoughtful flavor progression.
Conclusion
Recreating Applebee’s Honey Pepper Chicken Mac and Cheese at home isn’t just about mimicking flavors—it’s about understanding the culinary principles that make this dish so successful. The contrast between crispy and creamy, the balance of sweet and savory, and the temperature management throughout cooking all contribute to its enduring popularity.
What makes this copycat version special is our focus on ingredient quality and technique refinement. By using freshly grated cheese, properly temperature-controlled cooking methods, and allowing adequate resting times, we’ve elevated a chain restaurant favorite into a dish worthy of any serious home cook’s repertoire.
Remember that this recipe rewards attention to detail. Don’t rush the cheese sauce, maintain proper frying temperature, and serve in warmed bowls for the best results. Master these elements, and you’ll create a dish that might just surpass the original that inspired it.
Frequently Asked Question?
Can I make components of this dish ahead of time?
The honey pepper sauce can be made up to a week in advance and stored in the refrigerator—just warm it gently before serving. The cheese sauce can be made a day ahead, but will need to be reheated very gently with a splash of milk to bring back its silky texture. The chicken is best prepared fresh, as refrigeration will soften the crispy coating. If you must prepare in advance, recrisp refrigerated chicken in a 375°F oven for 5-7 minutes.
My cheese sauce came out grainy. What went wrong?
Grainy cheese sauce usually indicates that your heat was too high or you added the cheese too quickly. Next time, make sure your pot is barely simmering before adding cheese, then add it one handful at a time, fully incorporating each addition before adding more. Also, make sure you’re using block cheese that you’ve grated yourself—pre-shredded cheese contains anti-caking agents that prevent proper melting.
Can I bake this into a casserole instead of serving stovetop-style?
You can, but you’ll sacrifice some of the textural contrast that makes this dish special. If baking, undercook your pasta even more (subtract 3-4 minutes from package directions), make your cheese sauce slightly thinner, and assemble with the sauce and pasta only. Bake at 350°F until bubbly (about 20 minutes), then top with the fried chicken and honey pepper sauce just before serving. Never bake the chicken into the casserole or it will become soggy.
How can I make this dish healthier while maintaining flavor?
For a lighter version, bake the chicken instead of frying: dip in buttermilk, coat with seasoned panko breadcrumbs mixed with a tablespoon of oil, then bake at 425°F for 15-18 minutes until crispy. For the mac and cheese, use 2% milk, reduce the butter by half, and increase the proportion of parmesan, which has stronger flavor with less fat. These modifications will preserve the flavor profile while cutting calories and fat significantly.
The original Applebee’s version seems to have a smoother sauce. How can I replicate that?
Chain restaurants often use sodium citrate (an emulsifying salt) to achieve that ultra-smooth, never-breaks cheese sauce. For home cooks, a close approximation is to add 1 slice of American cheese (which contains similar emulsifiers) to your cheese sauce. It won’t affect the flavor noticeably but will significantly improve the smoothness and stability of your sauce.

Veronica is a passionate food enthusiast with over three years of experience in exploring and writing about diverse cuisines. Her expertise lies in reviewing restaurants, sharing creative recipes, and discovering the latest food trends. As the voice behind FoodieRecap.com, Anju brings fresh perspectives and culinary insights to her audience.
