Comfort Food Reimagined
The aroma of a chicken pot pie casserole baking in the oven can transport you back to grandma’s kitchen faster than a time machine. I still remember my first bite—that perfect balance of flaky crust and creamy filling that somehow managed to feel like a warm hug on a cold day. Ever wondered why this humble dish continues to reign supreme at family gatherings across America? It’s not just nostalgia at work—it’s culinary science wrapped in comfort.
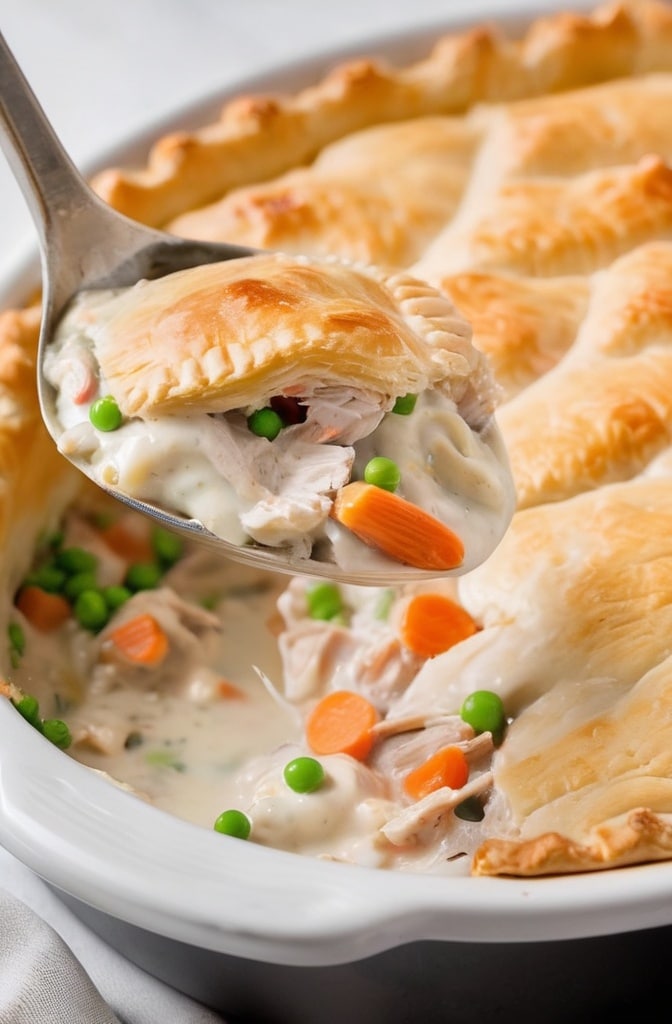
Chicken pot pie casserole differs from traditional pot pie in one magnificent way—it prioritizes abundance and feeding a crowd. Instead of individual servings constrained by pie plates, the casserole format invites generous portions and family-style serving. It maintaines all the classic flavors but transforms the presentation into something more accessable for everyday meals. This adaptable dish bridges the gap between special-occasion cooking and practical weeknight dinners.
1. Ingredients & Substitutions
For the Filling:
- 4 tablespoons unsalted butter
- 1 large yellow onion, diced
- 3 medium carrots, peeled and diced
- 2 celery stalks, diced
- 4 cloves garlic, minced
- 1/3 cup all-purpose flour
- 3 cups chicken stock or broth (preferably homemade)
- 1/2 cup heavy cream
- 3 cups cooked chicken, shredded or diced (about 1 pound)
- 1 cup frozen peas
- 1/2 cup frozen corn
- 2 tablespoons fresh thyme leaves (or 2 teaspoons dried)
- 1 tablespoon fresh chopped sage (or 1 teaspoon dried)
- 1/4 cup fresh parsley, chopped
- 1 teaspoon kosher salt (plus more to taste)
- 1/2 teaspoon freshly ground black pepper
- 1/4 teaspoon cayenne pepper (optional)
For the Topping:
- 2 cups all-purpose flour
- 1 tablespoon baking powder
- 1 teaspoon kosher salt
- 1/2 cup cold unsalted butter, cubed
- 1 cup cold buttermilk
- 1 large egg (for egg wash)
- Flaky sea salt for finishing
The foundation of an exceptional pot pie casserole isn’t simply ingredients—it’s quality ingredients. Never underestimate the impact of a well-made stock; homemade chicken stock brings depth that boxed versions struggle to deliver. If time’s against ya, doctor up store-bought stock with aromatic vegetables, herbs, and chicken wings simmered for even 30 minutes—you’ll taste the difference.
For the chicken component, don’t limit yourself to breast meat alone. Dark meat from thighs brings more flavor and remains juicier after baking. Rotisserie chicken works brilliantly here—a shortcut that doesn’t sacrifice quality. For vegetarians, substitute chickpeas and mushrooms for chicken, adding extra umami with some nutritional yeast or miso paste to compensate for the missing meat flavors.
Your choice of vegetables can evolve with the seasons. Spring asparagus, summer corn, autumn butternut squash, or winter root vegetables all belong in this adaptable canvas. The recipe doesn’t demand strict adherence—it welcomes creativity. Fresh herbs make a world of difference, but dried work in a pinch (just remember to use one-third the amount called for fresh).
2. Step-by-Step Instructions
Preparing the Filling:
- Preheat your oven to 375°F (190°C) and position a rack in the middle.
- In a large Dutch oven or heavy-bottomed pot, melt the butter over medium heat. Add the diced onion, carrots, and celery, cooking until just tender but not browned, about 6-8 minutes. The vegetables should retain a slight firmness as they’ll continue cooking in the oven.
- Add the minced garlic and cook until fragrant, about 30 seconds—be careful not to burn it, as garlic becomes bitter when overcooked.
- Sprinkle the flour over the vegetables and stir continuously for 2 minutes to cook out the raw flour taste. This roux is crucial for thickening your filling; you want it to smell slightly nutty rather than raw.
- Gradually whisk in the chicken stock, about 1/2 cup at a time, ensuring each addition is fully incorporated before adding more. This prevents lumps from forming in your sauce. Continue whisking until the mixture is smooth.
- Lower the heat and simmer until the sauce thickens enough to coat the back of a spoon, about 5-7 minutes. The right consistency resembles heavy cream—not too thick, as it’ll continue to thicken during baking.
- Stir in the heavy cream, shredded chicken, frozen peas, corn, and herbs. Season with salt, pepper, and cayenne if using. Remember that seasoning should be slightly more pronounced at this stage, as the flavors will mellow during baking.
- Remove from heat and transfer the filling to a 9×13-inch baking dish, spreading it evenly. Let it cool slightly while preparing the topping.
A common mistake when making the filling is insufficient seasoning. Don’t be shy with salt—it brings out the flavors of the vegetables and makes the herbs sing. Another pitfall is overcooking the vegetables during the initial sauté; they should retain some bite, as they’ll soften further in the oven.
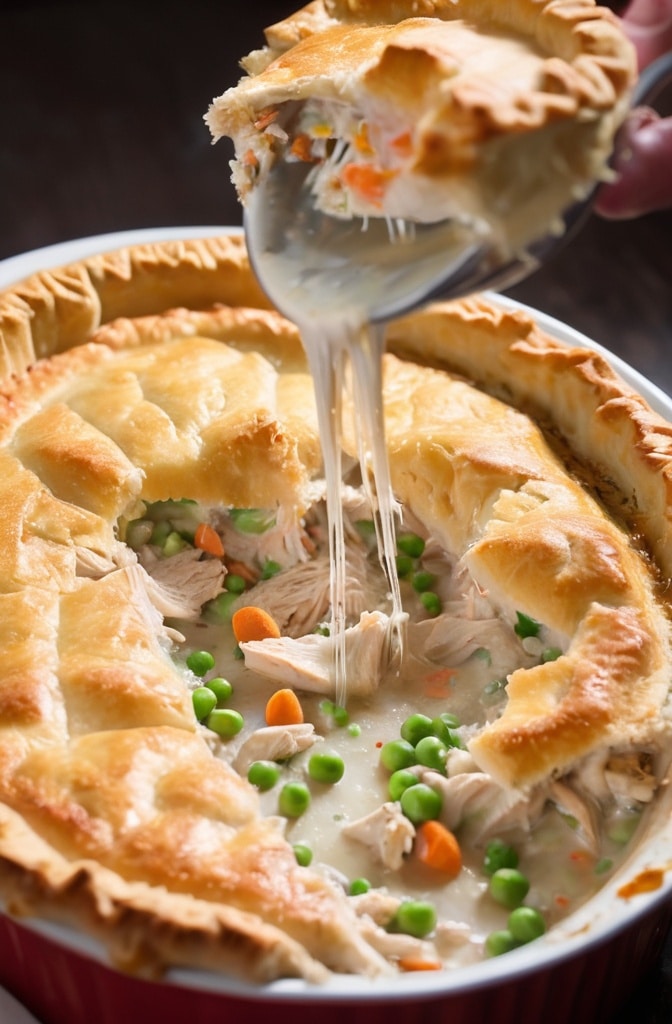
For a deeper flavor profile, deglaze the pot with 1/4 cup of dry white wine or sherry after cooking the vegetables and before adding the flour. Let it reduce until almost evaporated—this small step adds remarkable complexity to the final dish.
Preparing the Topping:
- In a large bowl, whisk together the flour, baking powder, and salt.
- Using your fingertips or a pastry cutter, work the cold butter into the flour mixture until it resembles coarse crumbs with some pea-sized pieces remaining. The temperature of the butter matters tremendously here—cold butter creates steam pockets during baking, resulting in flaky layers.
- Make a well in the center and pour in the buttermilk. Stir with a fork just until the dough comes together; it should be shaggy and not completely smooth. Overmixing develops gluten, resulting in tough rather than tender biscuits.
- Turn the dough onto a lightly floured surface and gently pat it into a 1/2-inch thick rectangle. Don’t use a rolling pin—your hands provide better control and less risk of overworking the dough.
- Cut the dough into rounds using a 2-inch biscuit cutter or into squares with a knife. Alternatively, drop rough spoonfuls directly onto the filling for a more rustic presentation.
- Arrange the dough pieces over the filling, leaving small gaps between them to allow steam to escape. Brush the tops with beaten egg and sprinkle with flaky sea salt.
- Place the casserole on a baking sheet (to catch any bubbling overflow) and bake for 30-35 minutes, until the topping is golden brown and the filling is bubbling around the edges.
- Allow the casserole to rest for 10-15 minutes before serving. This resting period is crucial—it allows the filling to set slightly, making it easier to serve neat portions.
For a variation with international flair, add curry powder to the roux, swap peas for edamame, and incorporate ginger and lemongrass into the mix. Alternatively, a Mediterranean twist might include artichoke hearts, olives, and feta cheese beneath a phyllo dough topping.
3. Cooking Techniques & Science
The magic of chicken pot pie casserole lies in its clever combination of cooking techniques. The initial sautéing of vegetables develops their natural sugars through caramelization, creating foundational flavor compounds that simply can’t develop during boiling or steaming. This maillard reaction—where amino acids and reducing sugars transform under heat—is crucial for depth of flavor.
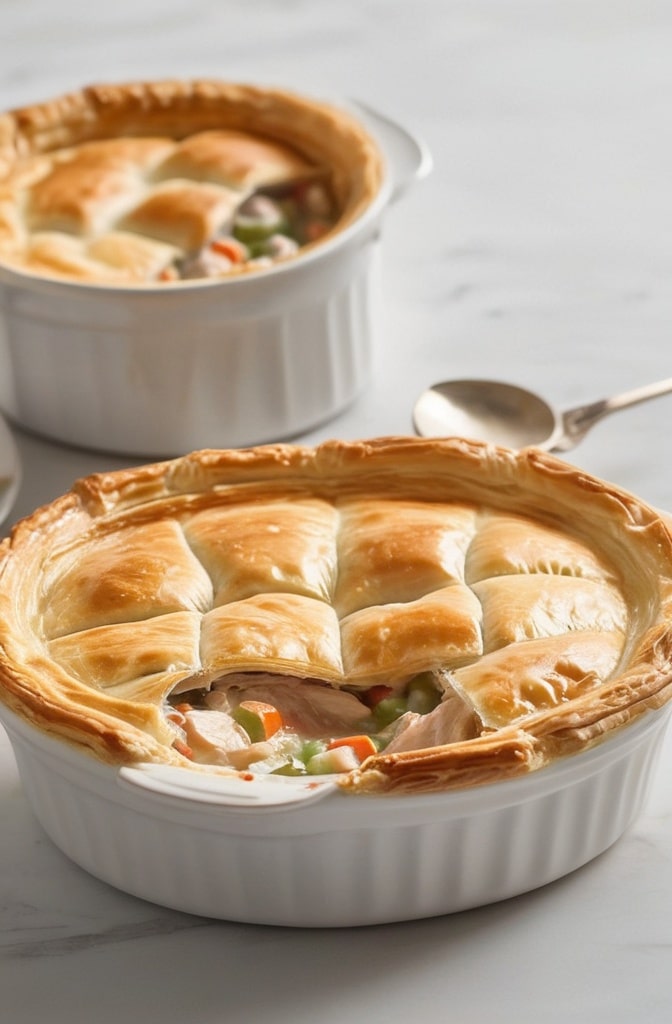
The roux (equal parts fat and flour) serves multiple purposes. Beyond thickening, it creates a protective coating around starch molecules, preventing them from clumping together. It also adds a subtle nuttiness that plain thickeners like cornstarch can’t provide. A proper roux should bubble without browning excessively—we want to cook out the raw flour taste without developing too much color, which would change the final appearance of our sauce.
Temperature control throughout the process is vital. When adding liquid to a roux, the perfect medium heat prevents lumps while allowing thickening to occur. Too hot, and the outside of the starch molecules gelatinize too quickly, forming a barrier that traps dry flour inside; too cool, and the sauce won’t thicken properly.
The biscuit topping relies on cold ingredients and minimal handling for its success. Cold butter creates steam pockets during baking as the water in the butter rapidly evaporates, pushing the dough layers apart. Each time you handle the dough, you warm it slightly and develop gluten—the protein structure that provides structure but can make baked goods tough when overdeveloped.
Baking the casserole uncovered achieves contrasting textures that make this dish so satisfying—crisp, golden topping with a moist, tender filling beneath. The egg wash contributes to browning through protein coagulation and maillard reaction, while also adding an appealing sheen to the finished dish.
Specialized equipment isn’t strictly necessary, but a few tools elevate the process. A Dutch oven with its excellent heat retention makes creating the filling more managable, while a bench scraper helps handle biscuit dough with minimal contact. A instant-read thermometer can confirm when the center of your casserole reaches 165°F, ensuring food safety without overcooking.
4. Serving & Pairing Suggestions
Chicken pot pie casserole shines brightest when served family-style, straight from the baking dish. The visual impact of golden biscuits atop bubbling filling creates anticipation that enhances the eating experience. For more formal occasions, portion individual servings onto warmed plates, garnishing with fresh herbs or a light drizzle of extra-virgin olive oil.
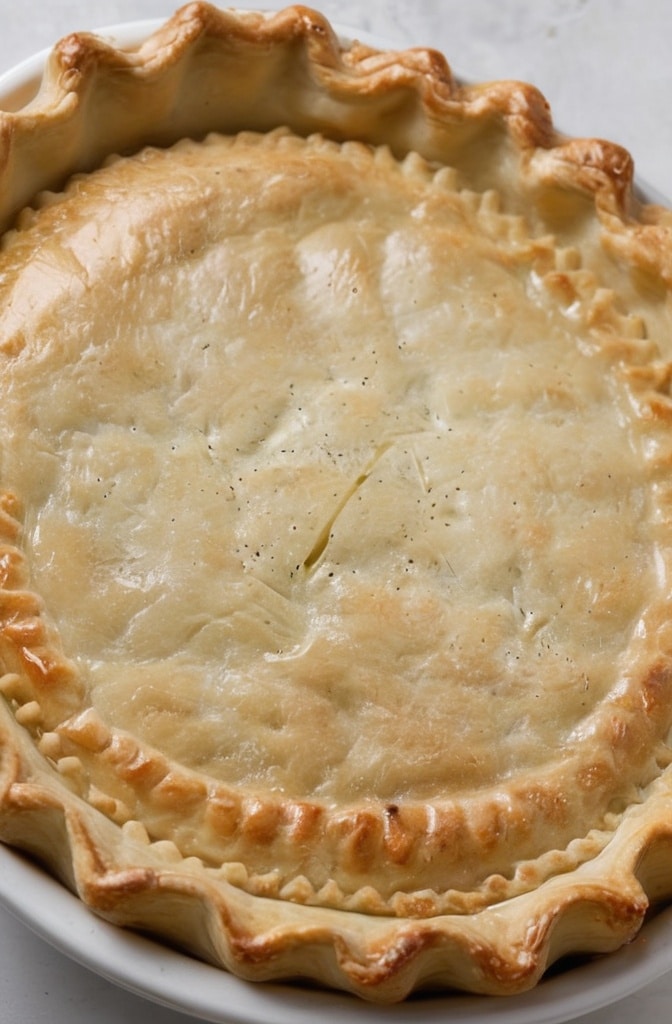
Texture contrasts elevate this dish—consider serving alongside a crisp green salad dressed simply with lemon juice and olive oil. The brightness cuts through the richness of the casserole, creating balance. A salad featuring bitter greens like arugula or frisée works particularly well against the savory backdrop of the pot pie.
Wine pairings should complement rather than compete with the dish’s flavors. A medium-bodied white with good acidity—think unoaked Chardonnay or Viognier—stands up to the creamy texture while highlighting the herb notes. For red wine enthusiasts, a light Pinot Noir brings earthy undertones that echo the vegetables and herbs without overwhelming the delicate chicken.
Make-ahead options enhance the practicality of this already convenient dish. The filling can be prepared up to two days ahead and refrigerated; simply allow it to come to room temperature before topping and baking. The biscuit dough can also be prepared in advance and frozen unbaked; there’s no need to thaw before arranging atop the filling, though you may need to add a few extra minutes to the baking time.
Leftover casserole retains its appeal when properly reheated. Cover with foil and warm in a 325°F oven until heated through, removing the foil for the final few minutes to re-crisp the topping. Microwaving is acceptable for individual portions, though the topping will lose some of its textural contrast.
Conclusion
Chicken pot pie casserole represents the perfect intersection of tradition and practicality—a dish that honors its culinary heritage while adapting to modern needs. The key to its success lies not in rigid adherence to formulas but in understanding the fundamental principles: proper seasoning throughout, temperature control for both filling and topping, and respect for ingredient quality.
What elevates this humble casserole from good to extraordinary is attention to detail—developing flavor at each step rather than relying solely on the final bake. Thoughtful touches like finishing with flaky salt or incorporating seasonal vegetables make the difference between a merely satisfying meal and a memorable dining experience.
Whether serving family on a weeknight or entertaining guests, this versatile dish adapts to your needs without sacrificing quality. The techniques mastered here—roux-making, proper reduction, and handling biscuit dough—transfer beautifully to countless other recipes in your repertoire. Mastery of chicken pot pie casserole isn’t just about one dish—it’s about becoming a more intuitive, confident cook.
Remember that the best versions of this classic aren’t necessarily the most complicated. Sometimes, the most impressive cooking comes from perfectly executing the fundamentals rather than adding unnecessary complexity. Trust the process, season boldly, and enjoy both the making and the sharing of this quintessential comfort food.
Frequently Asked Question?
Can I make chicken pot pie casserole ahead of time?
Absolutely! You can prepare the filling up to 3 days ahead and refrigerate it. The biscuit topping is best made shortly before baking, but you can mix the dry ingredients ahead of time and incorporate the butter and buttermilk just before assembling. If you’ve assembled the entire casserole but aren’t ready to bake, refrigerate for up to 24 hours, then allow it to sit at room temperature for 30 minites before baking.
Why is my filling watery after baking?
Several factors could contribute to a watery filling. Most commonly, the roux wasn’t cooked long enough or you didn’t use enough flour for the amount of liquid. Remember that vegetables release moisture during baking, so the pre-baked filling should be slightly thicker than you want the final result. Another possibility is that the casserole didn’t bake long enough or wasnt allowed to rest adequately before serving.
Can I freeze chicken pot pie casserole?
Yes, this dish freezes beautifully either before or after baking. For unbaked casseroles, freeze the filling and topping separately, combining them just before baking (adding about 15-20 minutes to the baking time if baking from frozen). For leftover baked casserole, freeze in airtight containers for up to 3 months and reheat covered at 350°F until hot throughout.
How do I ensure my biscuit topping isn’t soggy on the bottom?
The key is having a filling that’s thick enough and not overly hot when you add the topping. If your filling is very hot, the steam released can start cooking the bottom of the biscuits before they hit the oven, resulting in sogginess. Additionally, make sure your oven is fully preheated and position the rack in the upper third of the oven to expose the biscuits to more direct heat.
What’s the best way to reheat leftover chicken pot pie casserole?
For best results, reheat in a 325°F oven, covered with foil, until the filling is hot (about 20 minutes for a portion, longer for larger amounts). Remove the foil for the last 5 minutes to re-crisp the topping. While microwave reheating works in a pinch, it tends to make the topping tough or soggy—if using this method, heat at 50% power and check frequently.

Veronica is a passionate food enthusiast with over three years of experience in exploring and writing about diverse cuisines. Her expertise lies in reviewing restaurants, sharing creative recipes, and discovering the latest food trends. As the voice behind FoodieRecap.com, Anju brings fresh perspectives and culinary insights to her audience.
