A Culinary Masterclass
I still remember the first time I pulled a perfectly crusted paprika-parmesan chicken from my oven during culinary school. The kitchen filled with an aroma that managed to silence even my most critical instructor. Thats when I knew this deceptively simple dish had real power. Have you ever wondered how something requiring so few ingredients can deliver such complex flavors?
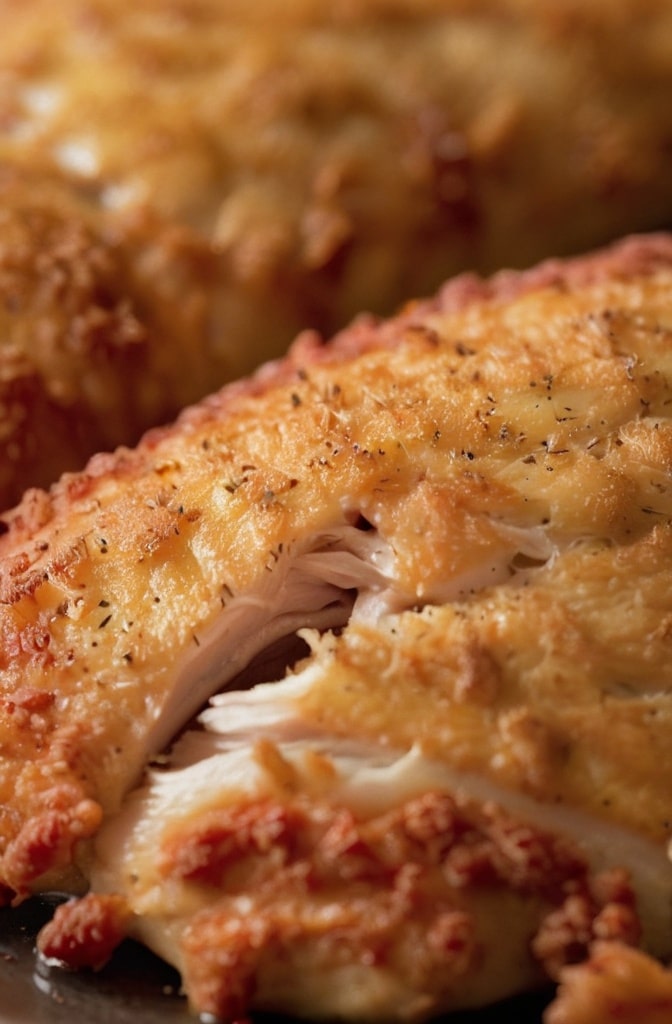
Baked Paprika-Parmesan Chicken stands out in the vast landscape of poultry recipes as a brilliant intersection of simplicity and sophistication. This dish transforms ordinary chicken into a masterpiece of contrasting textures—crisp, herb-infused exterior giving way to juicy, tender meat underneath. It’s the kind of recipe professional chefs keep in their back pocket for both weeknight dinners and elegant entertaining.
Ingredients & Substitutions
Primary Ingredients:
- 4 boneless, skinless chicken breasts (approximately 2 pounds)
- 1 cup freshly grated Parmigiano-Reggiano cheese
- 2 tablespoons high-quality sweet paprika
- 1 tablespoon smoked paprika
- 2 teaspoons garlic powder
- 1 tablespoon dried oregano
- 1 teaspoon kosher salt
- ½ teaspoon freshly ground black pepper
- ⅓ cup extra virgin olive oil
- 2 tablespoons Dijon mustard
- 1 lemon, zested and juiced
The quality of paprika matters tremendously in this dish—it’s not just a coloring agent but the foundational flavor. Hungarian paprika offers a sweeter, more complex profile than standard supermarket varieties, making it worth seeking out. For those avoiding dairy, nutritional yeast combined with ground cashews provides a surprisingly effective substitute for the Parmesan, though the texture will differ slightly.
Fresh herbs can replace dried at a 3:1 ratio (3 tablespoons fresh oregano instead of 1 tablespoon dried), bringing a more aromatic quality to the coating. For those avoiding mustard, Greek yogurt with a pinch of ground mustard seed creates a similar tangy base that helps seasonings adhere.
Step-by-Step Instructions
Preparation Phase
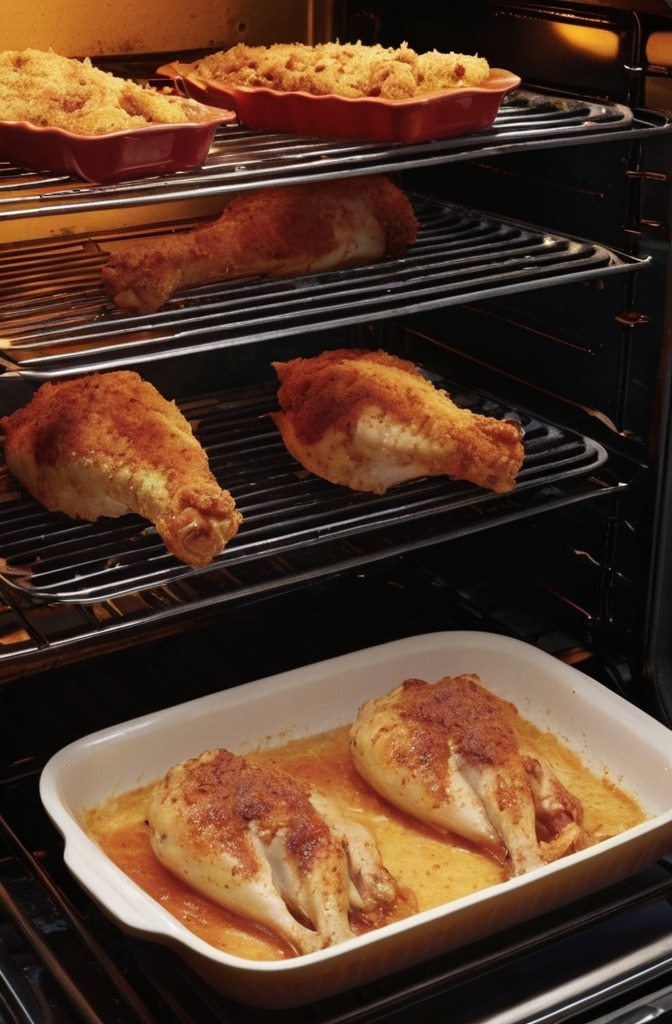
First, position your oven rack in the upper third position and preheat to 425°F (220°C). This higher placement allows for better browning without overcooking the chicken. Line a rimmed baking sheet with parchment paper or aluminum foil and place a wire rack on top—this elevation promotes crucial air circulation, preventing the dreaded “soggy bottom” that ruins many a crusted chicken.
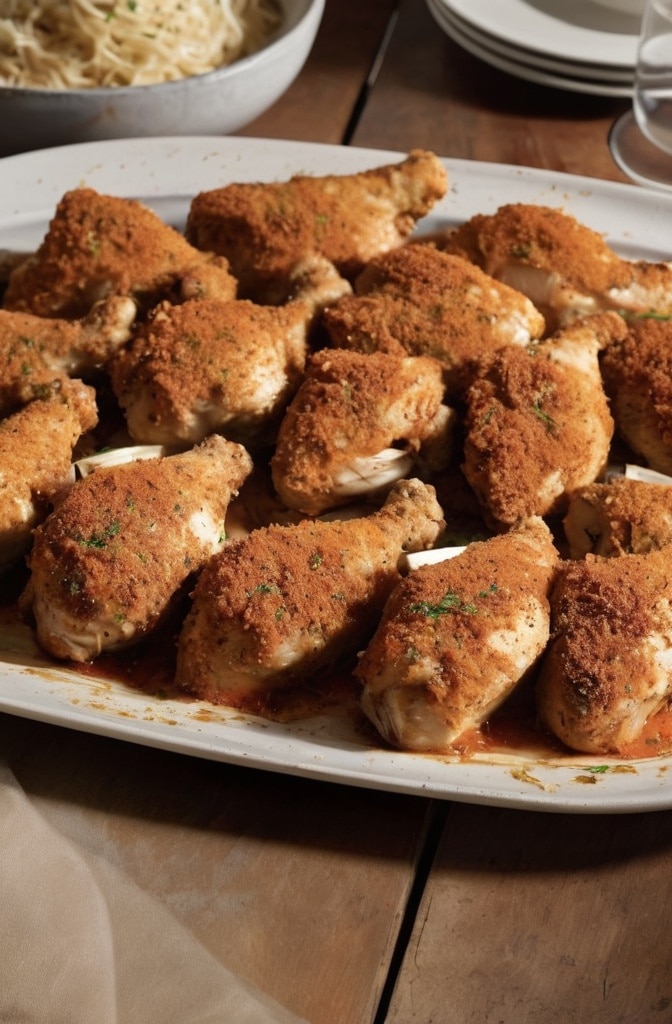
Pat the chicken breasts dry with paper towels. Moisture is the enemy of crisp coating, and many cooks skip this critical step. If your chicken breasts are very thick or uneven, consider butterflying them or using a meat mallet to create uniform thickness, which ensures even cooking throuout.
Creating the Coating
In a wide, shallow bowl, combine both paprikas, garlic powder, oregano, salt, and pepper. The wider bowl allows for easier chicken dredging later. In a separate bowl, mix the olive oil, Dijon mustard, lemon zest, and 1 tablespoon of lemon juice until fully emulsified—this creates your wet adhesive base.
Finally, spread the Parmigiano-Reggiano on a plate or shallow dish. This three-step breading station setup (dry seasonings, wet mixture, cheese) is the professional approach that creates distinct flavor layers rather than muddying everything together.
Coating Process
One at a time, dredge each chicken breast in the spice mixture, ensuring even coverage. Shake off any excess—too much spice can create bitter burnt spots during baking. Dip into the oil-mustard mixture, allowing excess to drip off while ensuring complete coverage. Many home cooks rush this step, but that 5-second drip makes the difference between a soggy and crisp result.
Finally, press firmly into the grated Parmesan, making sure both sides get thoroughly coated. The pressure matters—you’re creating an adhered crust rather than a loose topping. Place on the prepared wire rack, ensuring the pieces don’t touch, which would create unwanted steam pockets.
Baking
Bake for 20-25 minutes until the internal temperature reaches 165°F (74°C). A common mistake is trusting time over temperature—chicken thickness varies widely, making a meat thermometer essential for perfect doneness. The cheese crust should be golden brown and fragrant. If you want additional browning without overcooking, a 1-2 minute broil at the end creates a beautiful finish, but watch carefully—the line between caramelized and burnt is thin.
Let rest for 5 minutes before serving. This critically important rest period allows protein fibers to relax and juices to redistribute, preventing the heartbreak of cutting into your chicken only to watch all its moisture flood your cutting board.
Cooking Techniques & Science
The magic of this dish lies in several culinary principles working in harmony. First, the Maillard reaction—that complex browning process happening at high heat between proteins and sugars—creates hundreds of new flavor compounds that give the crust its distinctive taste profile. The Parmesan, being rich in glutamates (natural umami compounds), enhances this effect.
The mustard serves dual purposes: its vinegar content tenderizes the chicken proteins while its emulsifiers help bind the spices to the meat surface. This acid-protein interaction is similar to a quick marinade, creating a more tender result in less time.
The elevated baking method allows hot air to circulate completely around the chicken, creating what’s essentially a convection effect even in a standard oven. Without this air circulation, the bottom of your coating would become soggy from trapped moisture and steam.
Temperature control is paramount—425°F provides the perfect balance for developing exterior crispness while maintaining interior moisture. Lower temperatures fail to properly activate the Maillard reaction, while higher ones risk burning the cheese before the chicken cooks through. For even better results, let the chicken sit at room temperature for 15 minutes before cooking to remove the chill, promoting more even heat distribution.
Your baking sheet choice matters too. Heavy-gauge aluminum or steel conducts heat more evenly than thinner pans, which can develop hot spots that burn portions of your chicken. Dark-colored pans absorb more radiant heat and promote better browning, but require closer monitoring.
Serving & Pairing Suggestions
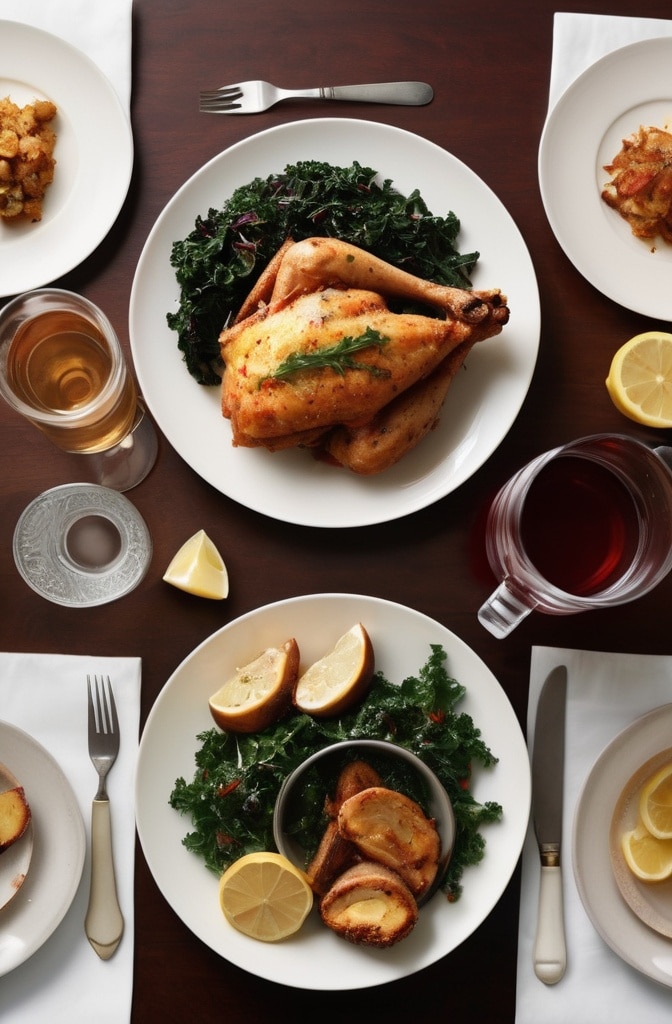
This chicken shines when presented with thoughtful accompaniments that complement its rich flavor profile. Serve over a bed of arugula dressed simply with lemon juice and olive oil—the peppery greens and bright acidity cut through the richness of the chicken. A roasted vegetable medley featuring red bell peppers, zucchini, and red onions echoes the paprika’s sweet notes.
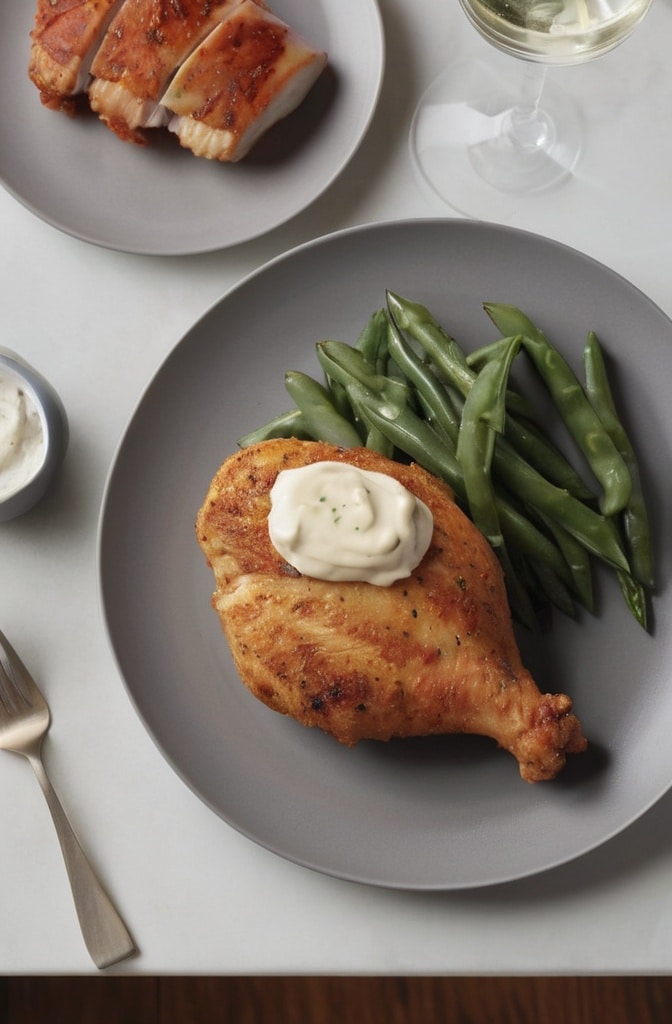
For a stunning presentation, slice the chicken on a bias and fan it across the plate, revealing the juicy interior against the vibrant crust. Garnish with fresh herbs like oregano or thyme and lemon wedges for both visual appeal and flavor enhancement. Fresh herbs provide not just color but aromatic compounds that complement the baked flavors.
On the beverage front, this dish pairs beautifully with a medium-bodied Sangiovese, whose acidity balances the richness while its herbal notes complement the oregano. For non-alcoholic options, a sparkling water infused with lemon and rosemary creates a refreshing counterpoint.
For a complete meal, consider serving alongside pearl couscous tossed with olive oil, lemon juice, and fresh herbs, which provides textural contrast while absorbing the chicken’s flavorful juices. A side of roasted cherry tomatoes burst in the mouth, releasing sweet acidity that cuts through the savory Parmesan coating.
Advanced Variations
Once you’ve mastered the basic technique, consider these professional variations:
For an Italian twist, incorporate 2 tablespoons of finely chopped sun-dried tomatoes into the Parmesan coating and add 1 teaspoon of dried basil to the spice mixture. This creates a Mediterranian flavor profile reminiscent of chicken parmesan but without the heavy sauce.
For a Spanish-inspired version, replace the smoked paprika with an equal amount of pimentón de la Vera (Spanish smoked paprika) and add ¼ teaspoon of saffron threads crushed into the oil mixture. The saffron releases its distinctive flavor and golden hue during baking.
Health-conscious cooks can create a lower-calorie version by using plain Greek yogurt instead of the oil-mustard base, though the texture will be slightly less crisp. The tangy yogurt adds a pleasant dimension that plays well with the spices.
For entertaining larger groups, this recipe scales beautifully for chicken tenders instead of full breasts, reducing cooking time to 15-18 minutes while creating perfect finger food. The higher ratio of coating to meat makes these irresistable for guests.
Troubleshooting Common Issues
When chicken turns out dry, the culprit is almost always overcooking. Remember that residual heat continues cooking the chicken even after removing from the oven, which is why hitting exactly 165°F is optimal—any higher and moisture loss accelerates dramatically.
If your coating falls off during serving, your breading station technique likely needs adjustment. Ensure your chicken is thoroughly patted dry before beginning, and press the Parmesan coating firmly to adhere. Additionally, letting the coated chicken rest for 5 minutes before baking allows the coating to set up properly.
For those finding the exterior burnt while the interior remains undercooked, your oven temperature may be running hot (common in many home ovens). Consider lowering the temperature to 400°F and extending cooking time slightly, or tenting the chicken with foil once desired brownness is achieved.
Conclusion
Baked Paprika-Parmesan Chicken represents everything I love about culinary craftsmanship—simple ingredients transformed through proper technique into something extraordinary. Its brilliance lies not in complexity but in understanding how each element contributes to the final result.
The next time you prepare this dish, pay attention to the sensory experience: the satisfying sound of knife meeting crisp crust, the aromatic melange of herbs and cheese that rises with the steam, the perfect balance of texture as you take your first bite. Thats the difference between cooking a recipe and creating a dining experience.
What truly elevates this dish is attention to detail—using freshly grated cheese rather than pre-packaged, seeking out quality paprika, monitoring temperature rather than time. These small decisions compound into remarkable results that turn a simple chicken dinner into a meal worth remembering.
Frequently Asked Question?
Can I prepare this chicken ahead of time?
You can prepare the breaded chicken up to 8 hours ahead and refrigerate uncovered (important for preventing sogginess). When ready to cook, allow an additional 2-3 minutes of baking time to compensate for the starting chill. However, this dish reaches peak texture when baked immediately after breading.
Why did my Parmesan coating burn before the chicken was cooked through?
This typically happens when using pre-grated Parmesan, which often contains anti-caking agents that burn more quickly than pure cheese. Always opt for freshly grated cheese. Additionally, if your chicken breasts are particularly thick, consider butterflying them or pounding to even thickness before coating.
Can I use chicken thighs instead of breasts?
Absolutely! Bone-in, skin-on thighs create an even more flavorful result but require adjusted cooking times (approximately 30-35 minutes). The higher fat content in thighs provides additional juiciness, though the coating may not crisp as uniformly as it does on the flatter surface of breasts.
How can I make this recipe gluten-free?
This recipe is naturally gluten-free as written, assuming your Dijon mustard is gluten-free (most are, but always check labels). The Parmesan and spices create the crust without requiring breadcrumbs or flour. However, cross-contamination can be an issue, so ensure all preparation surfaces and tools are thoroughly cleaned if cooking in a kitchen where gluten is present.
What’s the best way to reheat leftovers without losing the crispy texture?
Conventional microwaving ruins the crisp texture. Instead, reheat in a 300°F oven for 10-12 minutes until warmed through. If you’re in a hurry, a toaster oven on medium setting works remarkably well. For the absolute best leftover experience, slice leftover chicken and serve at room temperature over a salad, where the texture matters less.
Veronica is a passionate food enthusiast with over three years of experience in exploring and writing about diverse cuisines. Her expertise lies in reviewing restaurants, sharing creative recipes, and discovering the latest food trends. As the voice behind FoodieRecap.com, Anju brings fresh perspectives and culinary insights to her audience.
