Picture this: you’re rushing to prep a dinner service, the ovens are packed, and your guests are expecting that perfect golden-brown garlic bread that makes them forget about everything else on the table. I learned this lesson the hard way during a particularly chaotic Saturday night at my restaurant—when the conventional oven broke down and we had nothing but our trusty air fryer to save the evening.
That night changed how I think about garlic bread forever.
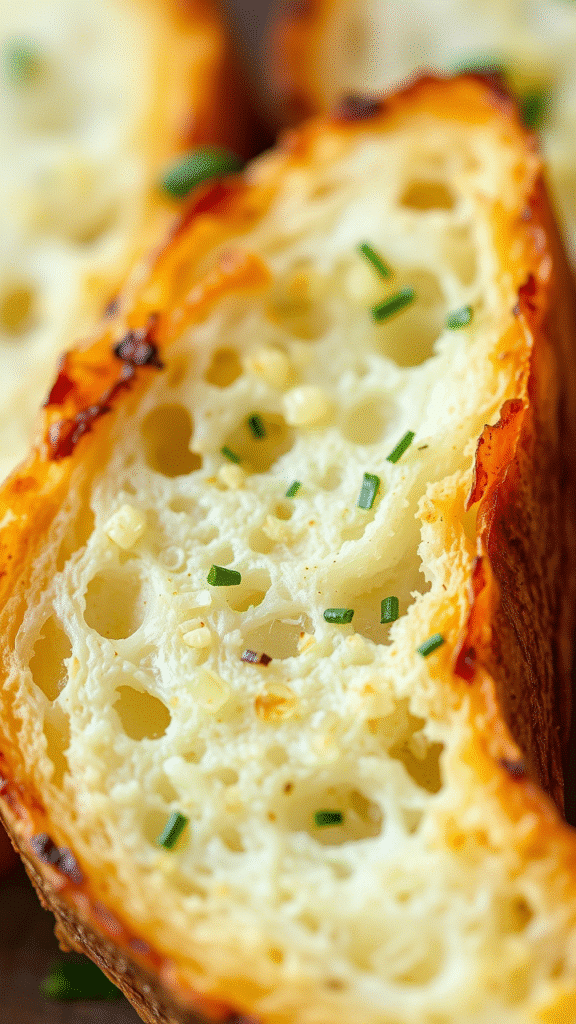
Air fryer garlic bread isn’t just a shortcut; it’s actually superior to traditional oven methods in ways that’ll surprise even seasoned professionals. The rapid air circulation creates an incredibly crispy exterior while maintaining that pillowy-soft interior that makes people close their eyes when they take the first bite. More importantly, it cooks in half the time and uses 60% less energy than conventional ovens.
What Makes Air Fryer Garlic Bread Special
The secret lies in the concentrated heat circulation that air fryers provide. Unlike traditional ovens where heat radiates from fixed points, air fryers create a vortex of hot air that reaches every surface of your bread simultaneously. This means you get even browning without the dreaded soggy spots that plague oven-baked versions.
Professional kitchens are increasingly adopting air fryers not just for efficiency, but for the consistent results they deliver. When you’re serving 200 covers a night, consistency isn’t just nice—it’s everything.
The technique also allows for incredible customization. You can control the exact level of crispiness by adjusting time and temperature in 30-second increments. Try doing that with a conventional oven without opening the door every few minutes and losing precious heat.
Ingredients & Substitutions
The Foundation
- 1 large French baguette or Italian bread loaf (day-old works best)
- 6 tablespoons unsalted European-style butter, softened
- 4 cloves fresh garlic, minced fine
- 2 tablespoons fresh Italian parsley, chopped
- 1/2 teaspoon kosher salt
- 1/4 teaspoon freshly cracked black pepper
- 1/3 cup freshly grated Parmigiano-Reggiano
- Optional: 1/4 teaspoon red pepper flakes
Professional Substitutions
Butter alternatives: If you’re dealing with dietary restrictions, use high-quality olive oil (3 tablespoons) or vegan butter. European-style butter has higher fat content which creates better browning, but don’t sacrifice quality for availability.
Bread selection: Sourdough creates incredible tang that pairs beautifully with garlic. Ciabatta gives you those irregular holes that hold more garlic butter. Day-old bread is actually preferable—it’s less likely to become soggy and absorbs flavors better without falling apart.
Garlic variations: Roasted garlic paste creates a sweeter, more mellow flavor profile. Garlic powder works in a pinch but use only 1 teaspoon—it’s more concentrated than fresh. Black garlic adds an umami depth that’ll surprise your guests.
The cheese component is where you can really personalize. Pecorino Romano brings more sharpness. Gruyère adds nuttiness. Even a blend of mozzarella and parmesan creates that Instagram-worthy cheese pull.
Herb substitutions: Fresh oregano, thyme, or even sage work beautifully. Dried herbs should be used sparingly—about 1/3 the amount of fresh.
Step-by-Step Instructions

Preparation Phase
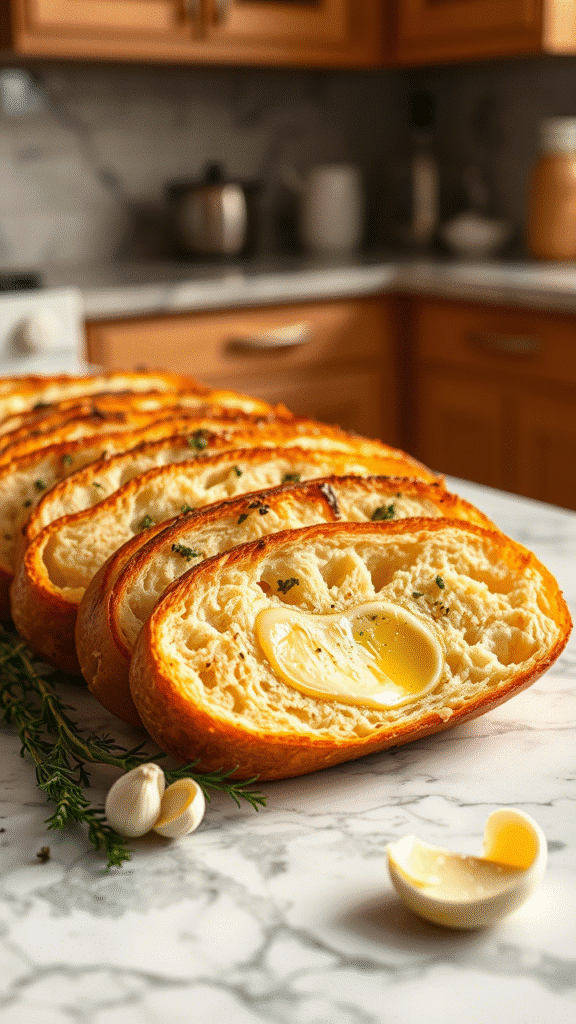
Start by slicing your bread diagonally into 1-inch thick pieces. Don’t go thinner—you’ll end up with crackers instead of proper garlic bread. The diagonal cut exposes more surface area for the garlic mixture while maintaining structural integrity.
Create your garlic compound butter by mashing the softened butter with minced garlic, parsley, salt, and pepper. The butter should be soft enough to spread easily but not melted—melted butter runs off and creates uneven coverage.
Pro tip: Mix your compound butter 30 minutes before service. This allows the flavors to meld properly. Room temperature butter spreads without tearing the bread surface.
Application Technique
Spread the garlic butter generously on each slice, getting right to the edges. Most home cooks skimp here, but professionals know that edge-to-edge coverage prevents dry spots. Use the back of a spoon or offset spatula for even distribution.
Sprinkle the cheese evenly over each slice. Don’t pile it on—a light, even coating will melt and brown properly without becoming greasy.
Air Fryer Setup
Preheat your air fryer to 350°F (175°C) for 3 minutes. This step is crucial—cold air fryers create uneven cooking patterns. Arrange the bread slices in a single layer, leaving at least 1/2 inch between pieces for proper air circulation.
Common mistake: Overcrowding the basket. Air needs to flow around each piece. Cook in batches if necessary.
Cooking Process
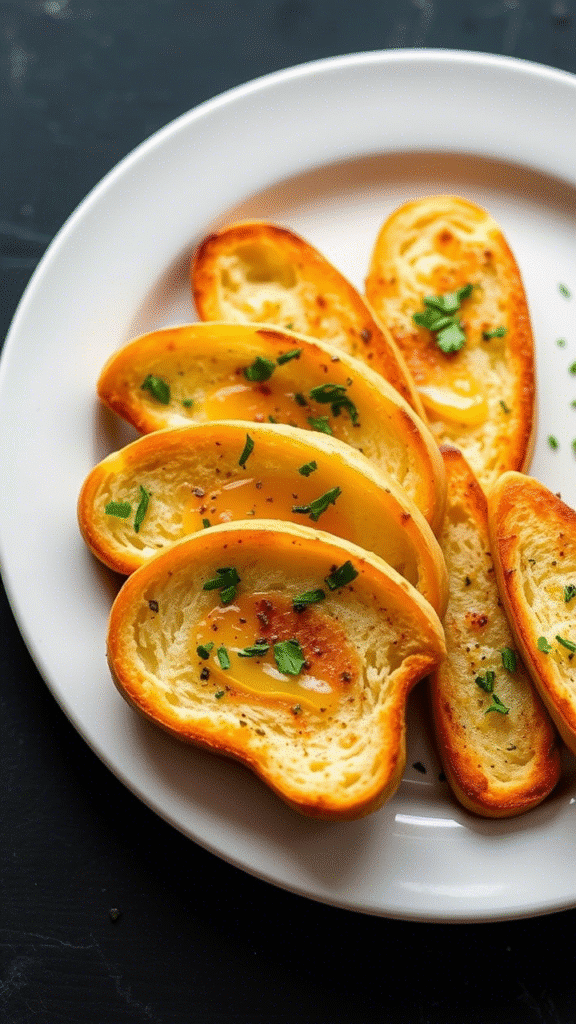
Cook for 3-4 minutes initially, then check for doneness. The surface should be golden brown with slightly darker edges. If you want more color, continue cooking in 30-second intervals.
The flip debate: Some recipes call for flipping, but I’ve found it unnecessary and risky. The air circulation cooks both sides effectively, and flipping can cause the topping to fall off.
Watch carefully during the final minute—air fryers can go from perfect to burnt quickly. The smell is your best indicator; when that garlic aroma becomes fragrant but not bitter, you’re ready.
Cooking Techniques & Science
The Maillard Reaction
Air fryers excel at creating the Maillard reaction—the chemical process that creates those complex, nutty flavors and golden-brown colors we crave. The high heat and air circulation remove surface moisture quickly, allowing proteins and sugars to react and develop flavor compounds.
This is why your air fryer garlic bread tastes more complex than oven-baked versions. The concentrated heat creates more reaction sites across the surface.
Moisture Management
The key to perfect texture lies in moisture control. Day-old bread has less internal moisture, preventing sogginess while the exterior crisps. Fresh bread requires a slightly longer cooking time to drive off excess moisture.
Temperature science: 350°F is the sweet spot. Higher temperatures burn the garlic before the bread crisps properly. Lower temperatures don’t create enough Maillard reaction for proper flavor development.
Equipment Impact
Air fryer basket material affects results. Stainless steel conducts heat more evenly than coated surfaces. If your basket has a coating, reduce temperature by 25°F to prevent hot spots.
Basket size matters too. Smaller baskets create more intense air circulation but require more batches. Larger baskets may cook less evenly but handle more volume.
Serving & Pairing Suggestions

Presentation Techniques
Serve immediately while the cheese is still slightly bubbling. The contrast between the crispy exterior and warm interior is at its peak within the first 5 minutes.
For upscale presentation, brush the crust lightly with extra olive oil immediately after cooking. This creates an attractive sheen and adds another layer of flavor.
Plating tip: Arrange slices overlapping slightly on warm plates. The residual heat keeps them perfect longer.
Pairing Combinations
Garlic bread shines alongside rich, tomato-based dishes where its buttery richness cuts through acidity. Classic pairings include osso buco, bolognese, or hearty minestrone.
Wine pairings: The garlic and herb combination pairs beautifully with medium-bodied reds like Chianti or Sangiovese. For whites, try a crisp Pinot Grigio that won’t compete with the bold flavors.
Creative serving ideas: Cut into smaller pieces for appetizers. Use as a base for bruschetta toppings. Crumble over Caesar salads for extra texture.
Temperature Service
Garlic bread should be served hot—around 140°F internal temperature. Below this, the butter begins to solidify and the texture becomes less appealing.
Advanced Variations
Herb-Crusted Version
Add 1 tablespoon mixed fresh herbs (rosemary, thyme, oregano) to your butter mixture. The air fryer’s intense heat releases the essential oils quickly, creating an aromatic crust.
Cheese-Stuffed Technique
Slice the bread 3/4 through and stuff with mozzarella before applying the garlic butter. The melted cheese center creates a different textural experience.
Spicy Variation
Incorporate 1/2 teaspoon smoked paprika and 1/4 teaspoon cayenne into the butter mixture. The air fryer intensifies spice flavors, so start conservatively.
Troubleshooting Common Issues
Problem: Burnt garlic taste Solution: Lower temperature to 325°F and extend cooking time. Fresh garlic burns more easily than granulated.
Problem: Soggy texture Solution: Use day-old bread and ensure butter isn’t melted when applied. Melted butter penetrates too deeply.
Problem: Uneven browning Solution: Don’t overcrowd the basket. Air needs to circulate freely around each piece.
Problem: Cheese not melting properly Solution: Use freshly grated cheese—pre-shredded has anti-caking agents that prevent proper melting.
Professional Tips for Consistency
Consistency is everything in professional kitchens. Weigh your butter portions instead of measuring by volume—30g per serving gives perfect results every time.

Keep compound butter made ahead and refrigerated. It’ll keep for a week and actually improves in flavor as the ingredients meld.
Timing coordination: Start your garlic bread when your main course has 6-7 minutes left. This timing ensures everything hits the table simultaneously.
For high-volume service, prepare slices on sheet pans and cook in batches. Properly made air fryer garlic bread holds well in a warming drawer for up to 15 minutes.
The Professional Advantage
Air fryer garlic bread offers several advantages over traditional methods that make it invaluable in professional settings. Energy efficiency means lower operating costs. Faster cooking times mean better table turnover. Consistent results mean fewer remakes and waste.
Most importantly, the superior texture and flavor profile it delivers makes it a standout menu item that guests remember.
The technique scales beautifully too—whether you’re making 6 pieces for a small table or 60 pieces for a banquet, the principles remain the same.
Quality control: The visual and aromatic cues are more pronounced with air fryer cooking, making it easier to achieve consistent results across different cooks and service periods.
This isn’t just about convenience—it’s about elevating a simple preparation into something memorable. When done correctly, air fryer garlic bread becomes the kind of detail that transforms a good meal into an exceptional one.
The next time someone tells you air fryers are just trendy gadgets, serve them this garlic bread. The combination of technique, science, and flavor will change their perspective entirely.
Frequently Asked Questions?
Q: Can I make air fryer garlic bread ahead of time?
A: You can prepare the slices with garlic butter up to 4 hours ahead and refrigerate them. Cook directly from cold, adding an extra 30-60 seconds to the cooking time. Don’t cook ahead and reheat—the texture suffers significantly.
Q: What’s the best bread type for air fryer garlic bread?
A: Day-old French baguette or Italian bread works best due to lower moisture content and denser crumb structure. Sourdough and ciabatta are excellent alternatives. Avoid soft sandwich breads as they become soggy easily.
Q: How do I prevent the garlic from burning?
A: Use fresh minced garlic rather than large chunks, keep temperature at 350°F or below, and ensure your garlic is evenly distributed in the butter mixture. Burnt garlic pieces create bitter flavors that overpower the entire dish.
Q: Can I freeze prepared garlic bread slices?
A: Yes, freeze prepared slices on a sheet pan, then transfer to freezer bags. Cook directly from frozen, adding 1-2 minutes to the cooking time. They’ll keep for up to 3 months with minimal quality loss.
Q: Why does my cheese not brown properly in the air fryer?
A: Use freshly grated cheese and ensure even distribution. Pre-shredded cheese contains anti-caking agents that prevent proper melting and browning. If needed, increase temperature to 375°F for the final 30 seconds to achieve better browning.

Veronica is a passionate food enthusiast with over three years of experience in exploring and writing about diverse cuisines. Her expertise lies in reviewing restaurants, sharing creative recipes, and discovering the latest food trends. As the voice behind FoodieRecap.com, Anju brings fresh perspectives and culinary insights to her audience.
