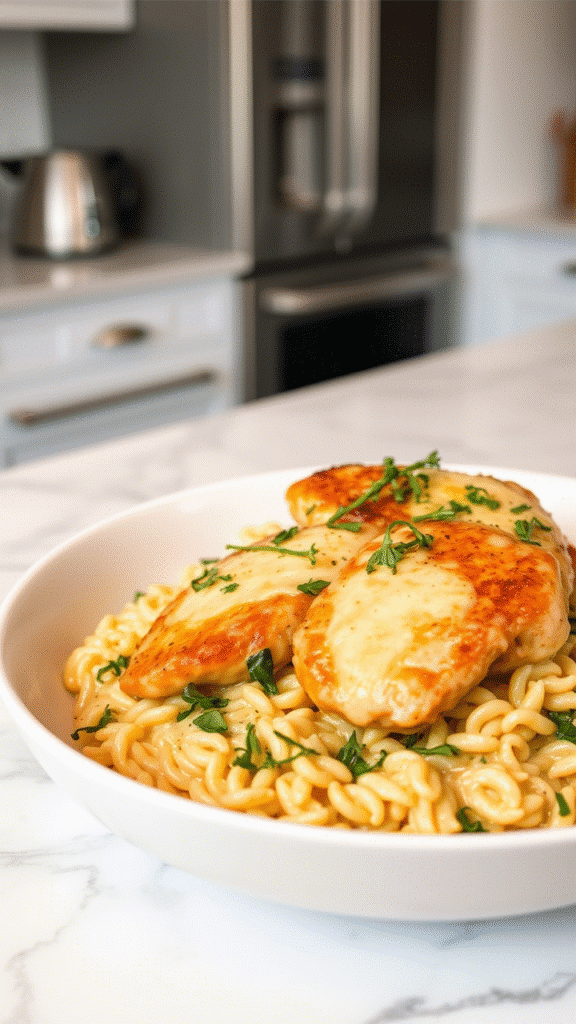
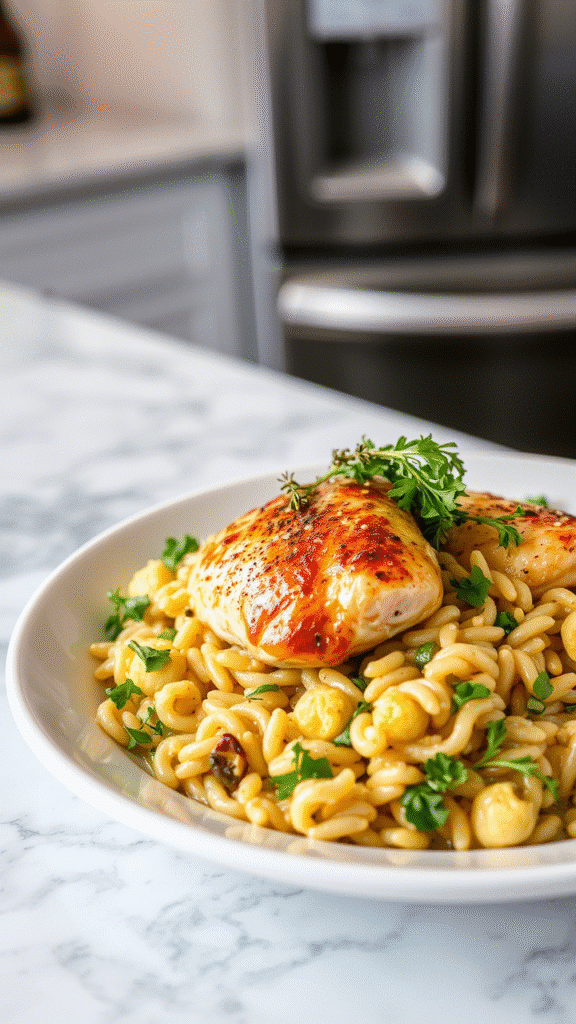
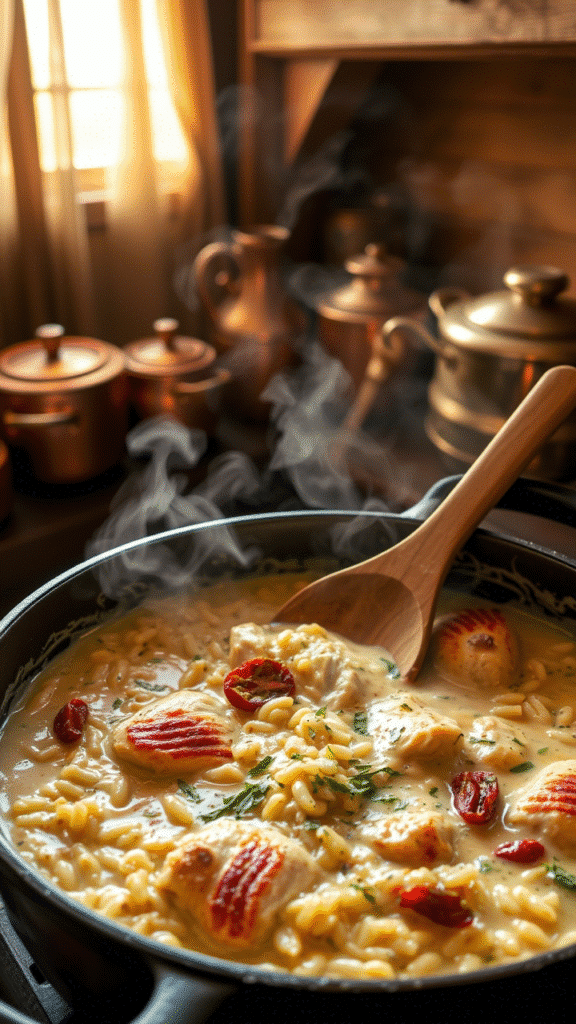
Picture this: you’re standing in your kitchen at 6 PM on a Tuesday, exhausted from work, staring at a pile of dirty dishes from last night’s elaborate dinner attempt. Your partner walks through the door just as the aroma of golden chicken, sun-dried tomatoes, and creamy orzo fills the entire house. They take one bite and joke, “If you weren’t already married to me, I’d propose right now.” That’s the magic of Marry Me Chicken Orzo—a dish so irresistibly delicious it supposedly inspires marriage proposals.
But here’s what most home cooks don’t realize: this viral sensation isn’t just about the romantic backstory. It’s a masterclass in flavor layering, texture contrast, and the kind of strategic one-pan cooking that separates amateur cooks from kitchen professionals. The genius lies in how the orzo absorbs every drop of the sun-dried tomato-infused cream sauce while the chicken develops that perfect golden-brown crust.
What Makes This Recipe Special
Marry Me Chicken Orzo transforms the classic Italian-American comfort dish into something that’s both weeknight-friendly and dinner party-worthy. Unlike traditional chicken and pasta dishes that require multiple pots and constant monitoring, this version builds layers of flavor in a single pan through careful timing and technique.
The secret is in the sequence. We’re not just throwing ingredients together—we’re creating a symphony of textures and flavors that develop through precise cooking stages. Each element contributes to the final sauce, from the fond left by seared chicken to the starchy pasta water that helps bind everything together.
Most importantly, this dish showcases how proper mise en place and understanding of heat control can elevate simple ingredients into something extraordinary. It’s comfort food with sophistication.
Ingredients & Substitutions
For the Chicken:
- 4 boneless, skinless chicken thighs (6-8 oz each)
- 2 tablespoons olive oil
- 1 teaspoon kosher salt
- ½ teaspoon freshly cracked black pepper
- 1 teaspoon garlic powder
- ½ teaspoon smoked paprika
For the Orzo Base:
- 1½ cups orzo pasta
- 3 tablespoons butter
- 4 cloves fresh garlic, minced
- ⅓ cup sun-dried tomatoes in oil, chopped (reserve 2 tablespoons oil)
- ½ cup dry white wine
- 2½ cups low-sodium chicken stock
- ¾ cup heavy cream
- ½ cup freshly grated Parmesan cheese
- 2 tablespoons fresh basil, chiffonade
- 1 tablespoon fresh thyme leaves
Expert Substitution Guide
Chicken Alternatives: While thighs are preferred for their superior flavor and moisture retention, chicken breasts work if pounded to even thickness. For a more luxurious version, try skin-on thighs—just start them skin-side down for maximum crispiness. Bone-in pieces require about 10 additional minutes of cooking time.
Orzo Substitutions: Arborio rice creates a risotto-like texture that’s equally compelling. Small shells, ditalini, or even broken spaghetti work well, though cooking times will vary. The key is choosing pasta that can absorb sauce effectively while maintaining its shape.
Dairy Modifications: Half-and-half works instead of heavy cream, though the sauce will be slightly less rich. For dairy-free versions, full-fat coconut milk provides surprising depth, while cashew cream offers neutrality. Greek yogurt stirred in at the end creates tanginess but must be tempered carefully to avoid curdling.
Wine Substitutions: Dry vermouth actually works better than many wines, offering more complex herbal notes. White wine vinegar (1 tablespoon) mixed with chicken stock replaces wine entirely for alcohol-free versions.
Ingredient Selection Insights
Choose sun-dried tomatoes packed in oil rather than dried ones—the oil carries concentrated tomato flavor that becomes part of our sauce base. The difference between fresh and dried herbs here is crucial; fresh basil and thyme provide brightness that dried versions simply cannot match.
For chicken stock, homemade is ideal, but if using store-bought, choose low-sodium versions to control salt levels. The starch from the orzo will concentrate flavors significantly as it cooks.
Parmesan quality matters enormously. Pre-grated cheese contains anti-caking agents that prevent smooth melting. Freshly grated Parmigiano-Reggiano melts seamlessly and provides nutty depth that transforms the entire dish.
Step-by-Step Instructions

Step 1: Prepare the Chicken
Season chicken thighs generously with salt, pepper, garlic powder, and smoked paprika at least 15 minutes before cooking. This brief curing period allows the salt to penetrate the meat and begin breaking down proteins for maximum tenderness.
Heat olive oil in a large, heavy-bottomed skillet or Dutch oven over medium-high heat until it shimmers but doesn’t smoke. The pan must be hot enough to create immediate sizzling when chicken hits the surface—this is how we build that crucial fond.
Place chicken thighs in the pan without overcrowding. Resist the urge to move them for the first 4-5 minutes. Properly seared chicken will release naturally from the pan when ready to flip. The underside should be deep golden-brown with crispy edges.
Flip and cook another 4-5 minutes until the internal temperature reaches 165°F. Remove chicken to a clean plate and tent with foil. Don’t worry if it’s slightly undercooked—it will finish cooking with the orzo.
Step 2: Build the Flavor Base
Reduce heat to medium and add butter to the same pan. The residual chicken fat and fond will create an incredibly rich base for our sauce. Scrape up any browned bits with a wooden spoon—this is liquid gold.
Add minced garlic and cook for 30 seconds until fragrant but not browned. Burning garlic at this stage ruins the entire dish, so watch carefully. The butter should foam gently around the garlic.
Stir in chopped sun-dried tomatoes along with their reserved oil. This concentrated tomato flavor will permeate every grain of orzo. Cook for 1 minute to release their oils and intensify the flavor.
Step 3: Deglaze and Add Orzo
Pour in white wine and scrape the bottom of the pan vigorously. The wine should sizzle and bubble immediately, indicating proper heat levels. Let it reduce by half, concentrating the alcohol-free flavor compounds.
Add orzo directly to the pan and stir constantly for 2 minutes. This toasting step adds nutty depth and helps the pasta maintain its shape during cooking. The orzo should smell fragrant and look slightly golden.
Pour in chicken stock gradually while stirring. The liquid should just cover the orzo—too much creates soupy results, too little leads to uneven cooking. Bring to a gentle simmer, not a rolling boil.
Step 4: Cook the Orzo
Simmer the orzo for 10-12 minutes, stirring frequently to prevent sticking. The pasta will absorb liquid quickly at first, then slow down as it approaches doneness. Add more stock if needed to maintain a slightly saucy consistency.
Taste the orzo for doneness—it should be tender with just a slight bite, similar to risotto. The mixture should look creamy but not thick. If it seems dry, add more stock; if too loose, cook uncovered for an additional minute or two.
Stir in heavy cream and return to a gentle simmer. The cream will thicken the sauce and create that signature velvety texture. Don’t let it boil vigorously or the cream may break.
Step 5: Finish and Serve
Nestle the seared chicken thighs back into the orzo, along with any accumulated juices. The residual heat will gently finish cooking the chicken while infusing the pasta with additional flavor.
Remove from heat and stir in grated Parmesan cheese gradually. The residual heat will melt the cheese smoothly without creating stringy clumps. Taste and adjust seasoning with salt and pepper.
Garnish with fresh basil and thyme just before serving. The herbs provide color contrast and bright flavor that cuts through the richness of the cream sauce.
Cooking Techniques & Science

The Science of One-Pan Cooking
One-pan cooking isn’t just about convenience—it’s about building layers of flavor that would be impossible to achieve with separate components. When we sear the chicken first, we create fond through the Maillard reaction. This collection of browned proteins and sugars becomes the foundation of our sauce.
The orzo cooking technique borrows from risotto methodology. By toasting the pasta first, we create a protective barrier that helps maintain texture while allowing flavor absorption. The constant stirring releases starch, which naturally thickens our sauce without additional thickeners.
Temperature control is critical throughout this process. Too high heat during the cream stage can cause curdling, while insufficient heat won’t allow proper starch release from the orzo.
Understanding Emulsification
The final sauce relies on a complex emulsion between the cream, pasta starch, and Parmesan. The starch acts as a stabilizer, while the cheese provides both flavor and additional emulsification properties. This is why the order of operations matters so much—each element contributes to the final texture.
Tool Impact on Results
A heavy-bottomed pan provides even heat distribution, preventing hot spots that could burn the garlic or stick the orzo. Cast iron or enameled Dutch ovens work exceptionally well, though stainless steel is perfectly adequate.
The size of your pan affects evaporation rates and browning. Too small creates overcrowding and steaming; too large leads to excessive evaporation and potential burning.
Serving & Pairing Suggestions

Presentation Techniques
Serve immediately in warmed bowls to maintain the creamy texture. The sauce will thicken as it cools, so timing is everything. A final drizzle of good olive oil and extra Parmesan creates restaurant-quality presentation.
For elegant plating, use a large spoon to create a nest of orzo in the center of the bowl, then place the chicken thigh on top. Scatter fresh herbs around the rim and finish with a few sun-dried tomato pieces for color contrast.
Complementary Pairings
A crisp white wine like Pinot Grigio or Sauvignon Blanc cuts through the richness beautifully. For red wine lovers, a light Chianti or Pinot Noir provides enough acidity without overwhelming the dish.
Side dishes should provide textural contrast. A simple arugula salad with lemon vinaigrette offers peppery brightness, while roasted asparagus or broccolini adds color and crunch. Crusty bread is essential for sauce-sopping purposes.
Leftover Transformations
Leftover Marry Me Chicken Orzo transforms beautifully into stuffed peppers or a casserole base. The creamy orzo also works as a side dish for grilled fish or roasted vegetables, making it more versatile than most one-pan meals.
Conclusion
Marry Me Chicken Orzo succeeds because it delivers maximum flavor impact with minimal effort and cleanup. The technique of building layers in a single pan creates depth that would normally require multiple cooking vessels and hours of preparation.
The key takeaways for professional results are: proper chicken searing for fond development, careful temperature control during cream incorporation, and understanding how pasta starch contributes to sauce consistency. Master these elements, and you’ll have a dish that truly lives up to its romantic reputation.
Remember that cooking is about understanding principles, not just following recipes. Once you grasp how the components work together, variations become intuitive. This is the kind of dish that builds confidence in the kitchen while delivering consistently impressive results.
Frequently Asked Question?
Q: Can I make this dish ahead of time?
A: While best served immediately, you can prepare components separately. Sear the chicken and store refrigerated, then cook the orzo fresh and combine. The cream sauce doesn’t reheat perfectly, but adding a splash of stock helps restore consistency.
Q: Why is my orzo mushy?
A: Overcooking is the most common culprit. Orzo should be al dente when you add the cream, as it continues cooking in the residual heat. Also, using too much liquid can lead to overcooked pasta—the orzo should be just barely covered with stock.
Q: How do I prevent the cream from curdling?
A: Keep the heat at medium or below when adding cream, and never let the mixture come to a rolling boil. If your cream does break, remove from heat immediately and whisk in a tablespoon of cold cream or stock to help re-emulsify.
Q: Can I use bone-in chicken?
A: Absolutely, but increase cooking time by 8-10 minutes and check that internal temperature reaches 165°F. Bone-in pieces actually add more flavor to the final dish, though they take longer to cook through.
Q: What’s the best way to store leftovers?
A: Store in the refrigerator for up to 3 days. Reheat gently on the stovetop with a splash of stock or cream to restore the sauce consistency. Avoid microwaving if possible, as it can make the orzo gummy and separate the sauce.

Veronica is a passionate food enthusiast with over three years of experience in exploring and writing about diverse cuisines. Her expertise lies in reviewing restaurants, sharing creative recipes, and discovering the latest food trends. As the voice behind FoodieRecap.com, Anju brings fresh perspectives and culinary insights to her audience.
