Three years ago, I watched my grandmother’s weathered hands dimple fresh focaccia dough with the precision of a master sculptor. Each indent held pools of golden olive oil that would transform into crispy, herb-scented pockets during baking. That moment taught me something profound about bread-making: focaccia isn’t just about flour and water—it’s about understanding how time, temperature, and technique create magic.
Focaccia represents one of Italy’s most beloved contributions to the bread world, yet it remains surprisingly approachable for home bakers. Unlike its temperamental cousin sourdough, focaccia forgives minor mistakes while rewarding patience with incredible flavor. This ancient Ligurian bread transforms simple pantry staples into something extraordinary through the power of proper fermentation and olive oil’s golden touch.
What makes this recipe special isn’t just its simplicity—it’s the professional techniques that elevate amateur results to bakery-quality standards. We’ll explore the science behind gluten development, the art of proper proofing, and why your choice of olive oil can make or break the final product.
Ingredients & Substitutions
The beauty of focaccia lies in its ingredient list’s elegant simplicity. Every component serves a specific purpose, and understanding these roles helps you adapt the recipe to your kitchen’s unique conditions.
For the Dough:
- 500g bread flour (or 4 cups all-purpose flour)
- 375ml warm water (about 100°F/38°C)
- 7g active dry yeast (1 packet)
- 12g fine sea salt (2 teaspoons)
- 45ml extra virgin olive oil (3 tablespoons)
- 5g sugar (1 teaspoon)
For the Topping:
- 60ml premium extra virgin olive oil
- 3-4 garlic cloves, thinly sliced
- 2 tablespoons fresh rosemary leaves
- 1 teaspoon flaky sea salt (Maldon or similar)
- Optional: cherry tomatoes, olives, or caramelized onions
Professional Substitution Guide
Bread flour creates superior gluten structure, but all-purpose flour works perfectly when handled properly. The key difference lies in protein content—bread flour’s higher protein (12-14%) develops stronger gluten networks. If using all-purpose flour, extend your kneading time by 2-3 minutes to compensate.
Water temperature matters more than most recipes suggest. Too hot kills yeast; too cold slows fermentation dramatically. The “wrist test” works better than thermometers—water should feel comfortably warm, not hot or cool.
Active dry yeast and instant yeast work interchangeably, though instant yeast can be mixed directly with flour. If you’ve got fresh yeast, use 15g and crumble it directly into the warm water. The sugar feeds yeast during initial fermentation, but honey or maple syrup make excellent substitutes.
Olive oil quality significantly impacts flavor. Extra virgin olive oil provides fruity, peppery notes that infuse throughout the dough. However, save your most expensive bottles for finishing—heat diminishes subtle flavors during baking.
Step-by-Step Instructions

Creating the Foundation
Begin by dissolving yeast and sugar in warm water. This step, called “proofing,” ensures your yeast is alive and active. Within 5-10 minutes, you should see foam forming on the surface. No foam means dead yeast—start over with fresh yeast or cooler water.
Combine flour and salt in a large mixing bowl, creating a well in the center. Professional bakers know that salt kills yeast on contact, so keep them separated until water creates a buffer. Pour the yeast mixture and olive oil into the flour well, then mix with a wooden spoon until a shaggy dough forms.
The Kneading Process
Turn the dough onto a lightly floured surface and knead for 8-10 minutes. Proper kneading develops gluten strands that create focaccia’s characteristic chewy texture. The dough should feel smooth and elastic, springing back when poked gently.
Here’s where many home bakers go wrong: they add too much flour during kneading. Focaccia dough should feel slightly sticky—this moisture creates the bread’s tender crumb. If it’s unmanageably sticky, add flour one tablespoon at a time.
First Rise: Patience Pays Off
Place the dough in an oiled bowl, turning to coat all surfaces. Cover with a damp kitchen towel and let rise in a warm, draft-free spot for 1-2 hours. The dough should double in size, though timing varies with temperature and humidity.
Professional tip: the “poke test” determines readiness better than timers. Gently poke the dough with your finger—if the indentation remains, it’s ready. If it springs back immediately, give it more time.
Shaping and Second Rise
Generously oil a 9×13 inch baking pan or large rimmed baking sheet. Transfer the risen dough to the pan and gently stretch it to fit. Don’t worry about perfect coverage—focaccia’s rustic appearance is part of its charm.
Cover again and let rise for 45-60 minutes. During this second rise, the dough relaxes and develops deeper flavors through extended fermentation.
The Signature Dimples
Here’s where focaccia gets its distinctive appearance. Using your fingertips, press deep dimples across the entire surface. These indentations hold olive oil and toppings while creating the bread’s characteristic texture.
Don’t be gentle—really press down, almost to the bottom of the pan. These dimples won’t disappear during baking; they’ll become delicious pockets of flavor.
Cooking Techniques & Science

Understanding Fermentation
Focaccia’s flavor develops through controlled fermentation, where yeast converts sugars into alcohol and carbon dioxide. The alcohol evaporates during baking, leaving behind complex flavors that distinguish artisanal bread from commercial varieties.
Longer fermentation times create more flavor but require cooler temperatures to prevent over-proofing. Professional bakers often use cold fermentation, letting dough rise slowly in the refrigerator for 24-48 hours.
The Olive Oil Factor
Olive oil serves multiple purposes in focaccia. It tenderizes the crumb, adds flavor, and creates steam during baking that contributes to the bread’s texture. The oil pooling in dimples fries slightly during baking, creating those irresistible crispy edges.
Quality matters here. Cheap olive oil can taste bitter when heated, while good extra virgin olive oil maintains its character even at high temperatures.
Baking Science
Preheat your oven to 425°F (220°C) at least 30 minutes before baking. This ensures even heat distribution and proper oven spring—the final rise that occurs when dough hits hot air.
Steam creation during initial baking helps develop focaccia’s crust. Some professional techniques include placing a pan of water on the oven floor or spraying the oven walls with water just after loading the bread.
Achieving Perfect Texture
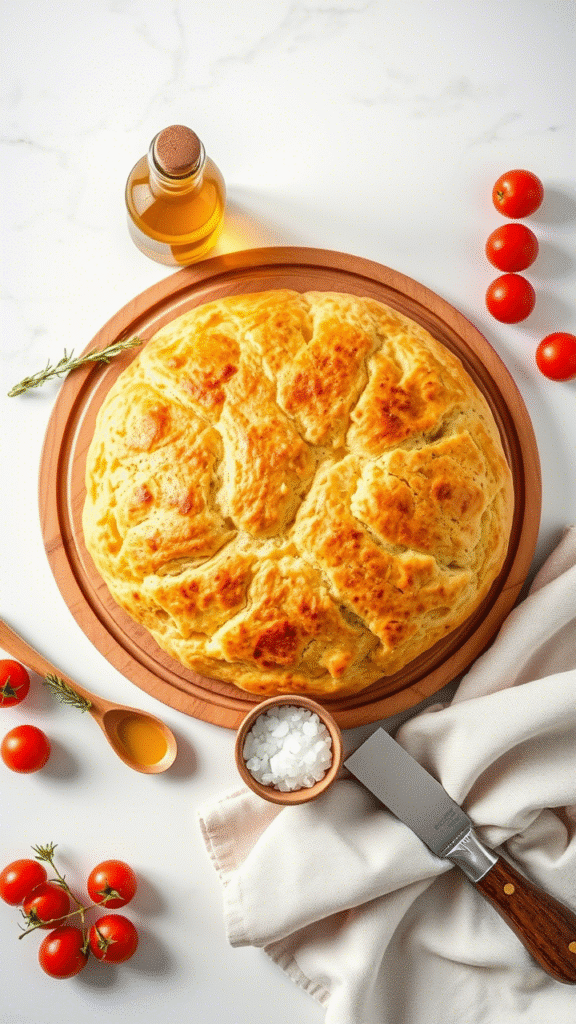
The goal is golden-brown crust with a tender, airy crumb. Internal temperature should reach 200°F (93°C) when measured with an instant-read thermometer. Visual cues work too—the top should be golden brown with darker spots where oil has concentrated.
Don’t underbake focaccia. Pale bread means underdeveloped flavors and potentially gummy texture. Trust the golden-brown color and internal temperature over timing alone.
Serving & Pairing Suggestions
Presentation Perfection
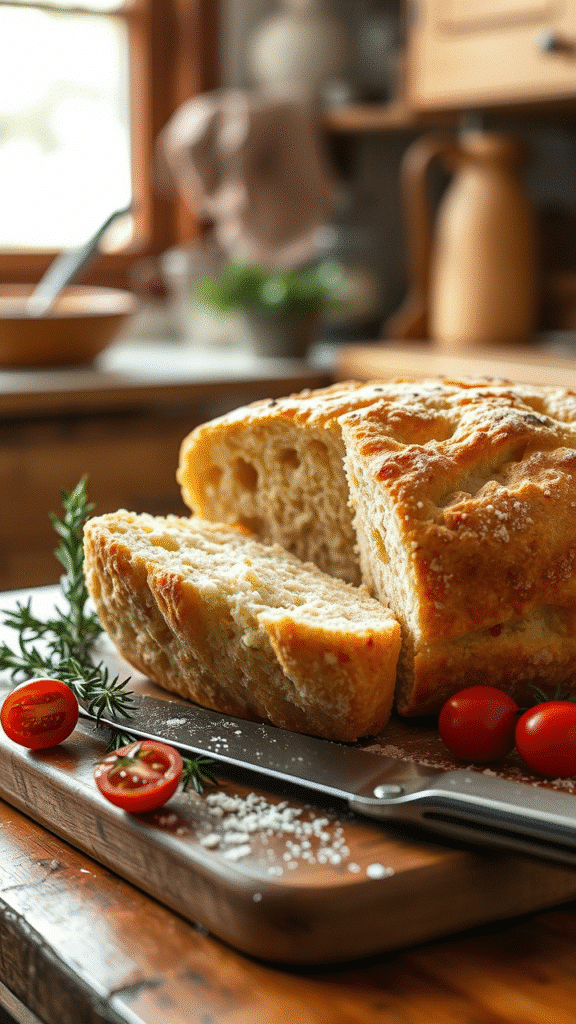
Focaccia looks best served on a wooden cutting board or rustic platter. Cut into squares or rectangles using a sharp knife, revealing the bread’s internal structure. The contrast between golden crust and pale, airy crumb creates visual appeal.
Drizzle additional olive oil over warm focaccia for extra richness. A sprinkle of flaky sea salt just before serving adds textural contrast and enhances flavors.
Pairing Possibilities
Traditional Italian meals feature focaccia as an appetizer or side dish. It pairs beautifully with aged cheeses, cured meats, and marinated vegetables. The bread’s neutral flavor profile complements both mild and bold accompaniments.
For wine pairings, consider Italian whites like Pinot Grigio or Vermentino. The bread’s olive oil richness harmonizes with these wines’ crisp acidity. Red wine lovers should try Chianti or Sangiovese—their earthy notes complement focaccia’s herbaceous toppings.
Creative Serving Ideas
Transform focaccia into sandwiches by slicing horizontally and filling with fresh mozzarella, tomatoes, and basil. The bread’s sturdy texture holds fillings without becoming soggy.
Day-old focaccia makes excellent breadcrumbs or croutons. Cube and toast for salad toppings, or pulse in a food processor for coating proteins.
Advanced Variations
Seasonal Toppings
Spring brings fresh herbs like thyme, oregano, and marjoram. Summer calls for cherry tomatoes, zucchini blossoms, or fresh corn kernels. Fall inspirations include roasted grapes, caramelized onions, or butternut squash.
Winter focaccia benefits from heartier additions like roasted root vegetables, dried fruits, or nuts. Each season offers unique topping combinations that reflect local ingredients and seasonal flavors.
Flavor Infusions
Incorporate flavor directly into the dough by adding minced garlic, dried herbs, or grated cheese. Sun-dried tomatoes, chopped olives, or caramelized onions mixed into the dough create interesting variations.
For herb-infused versions, add 2-3 tablespoons of chopped fresh herbs to the flour mixture. Rosemary, thyme, and sage work particularly well, though avoid delicate herbs that burn easily.
Regional Variations
Focaccia col formaggio from Liguria includes stracchino cheese layered between two thin sheets of dough. Focaccia alle olive incorporates olives throughout the dough rather than just as toppings.
Pugliese focaccia features cherry tomatoes pressed into the dough before baking. Each region’s variation reflects local ingredients and preferences, showing focaccia’s adaptability.
Troubleshooting Common Issues

Dense, Heavy Texture
Usually results from insufficient kneading or inactive yeast. Ensure your yeast foams during proofing, and knead until the dough feels smooth and elastic. Overfloured dough also creates density—embrace slight stickiness.
Flat, Unrisen Bread
Check yeast expiration dates and water temperature. Yeast dies in water above 120°F (49°C) but remains sluggish in cool water. Room temperature drafts can also inhibit rising.
Burnt Bottoms
Occurs when oven temperature is too high or bread is placed too low in the oven. Use the middle rack position and consider reducing temperature by 25°F if your oven runs hot.
Soggy Centers
Indicates underbaking or excessive moisture. Ensure internal temperature reaches 200°F (93°C) and don’t cover hot bread immediately after baking—trapped steam creates sogginess.
Storage and Reheating
Fresh focaccia tastes best within 24 hours but remains good for 2-3 days when stored properly. Wrap in kitchen towels rather than plastic bags, which trap moisture and soften the crust.
For longer storage, freeze focaccia wrapped in plastic then aluminum foil. Thaw at room temperature and refresh in a 350°F (175°C) oven for 5-10 minutes to restore crust crispness.
Conclusion
Mastering focaccia requires understanding the relationship between ingredients, time, and technique. This isn’t just about following steps—it’s about developing intuition for dough behavior and recognizing visual cues that indicate readiness.
The beauty of focaccia lies in its forgiving nature and endless variation possibilities. Once you understand the basic technique, you can adapt toppings, flavors, and even shapes to suit your preferences and seasonal ingredients.
Remember that great focaccia starts with quality ingredients and proper technique, but it’s perfected through practice and experimentation. Each batch teaches something new about timing, texture, and flavor development.
Don’t be discouraged if your first attempt isn’t perfect. Professional bakers spend years refining their technique, and even experienced cooks occasionally produce less-than-ideal results. The key is learning from each experience and adjusting accordingly.
Most importantly, enjoy the process. Bread-making connects us to centuries of culinary tradition while providing the satisfaction of creating something beautiful and delicious from simple ingredients.
Frequently Asked Questions?
Q: Can I make focaccia dough ahead of time?
A: Absolutely! Focaccia dough actually improves with time. After the first rise, you can refrigerate the dough for up to 3 days. The extended fermentation develops more complex flavors. Just bring it to room temperature before shaping and completing the second rise.
Q: Why is my focaccia dense instead of light and airy?
A: Dense focaccia usually results from insufficient gluten development or inactive yeast. Make sure your yeast foams during proofing and knead the dough thoroughly until it becomes smooth and elastic. Also, avoid adding too much flour during kneading—the dough should remain slightly sticky.
Q: Can I use different types of flour for focaccia?
A: Yes, though results will vary. Bread flour creates the best texture due to higher protein content, but all-purpose flour works well with slightly longer kneading. Whole wheat flour can replace up to 25% of the white flour for added nutrition and flavor. Avoid substituting more than that as it can make the bread too dense.
Q: How do I know when my focaccia is fully baked?
A: Look for a golden-brown color on top with darker spots where oil has pooled. The internal temperature should reach 200°F (93°C) when measured with an instant-read thermometer. The bread should sound hollow when tapped on the bottom, and the edges should pull slightly away from the pan.
Q: What’s the best way to reheat leftover focaccia?
A: For best results, reheat focaccia in a 350°F (175°C) oven for 5-10 minutes. This restores the crust’s crispness while warming the interior. Avoid microwaving as it makes the bread soggy. You can also toast individual slices in a toaster or skillet for a crispy texture.

Veronica is a passionate food enthusiast with over three years of experience in exploring and writing about diverse cuisines. Her expertise lies in reviewing restaurants, sharing creative recipes, and discovering the latest food trends. As the voice behind FoodieRecap.com, Anju brings fresh perspectives and culinary insights to her audience.
