Last winter, I watched a master pastry chef at Le Bernardin spend thirty minutes just examining different peanut butters under a magnifying glass. At first, I thought he’d lost his mind until I tasted his finished cookies. The difference between good and extraordinary peanut butter cookies isn’t just technique; it’s obsession with detail that most home bakers never consider.
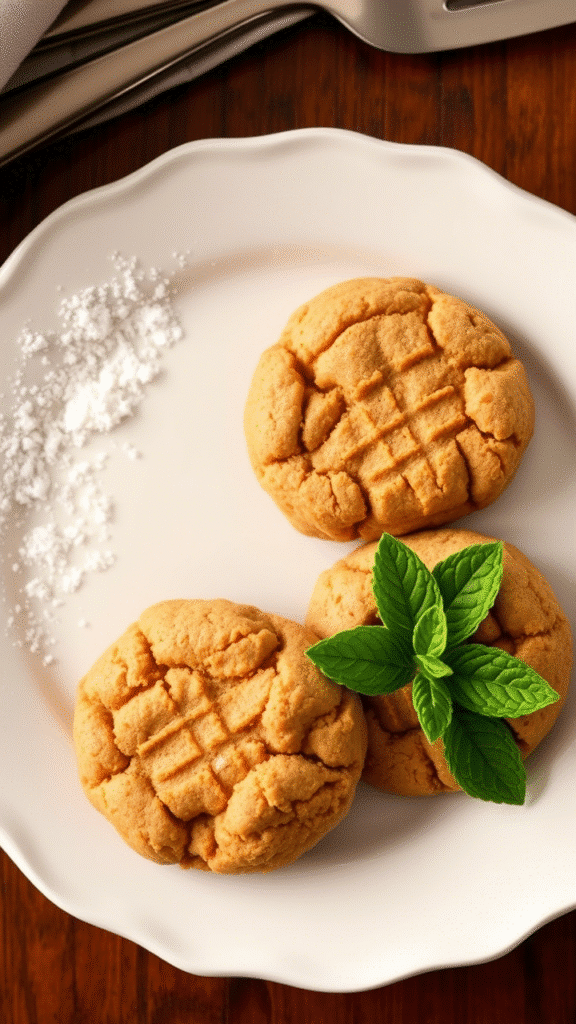
These aren’t your grandmother’s thin, crispy peanut butter cookies with the classic crosshatch pattern. We’re talking about thick, chewy masterpieces that practically melt on your tongue while delivering an intense peanut flavor that lingers long after the last bite. The secret lies in understanding fat ratios, protein structures, and how different sugars behave under heat.
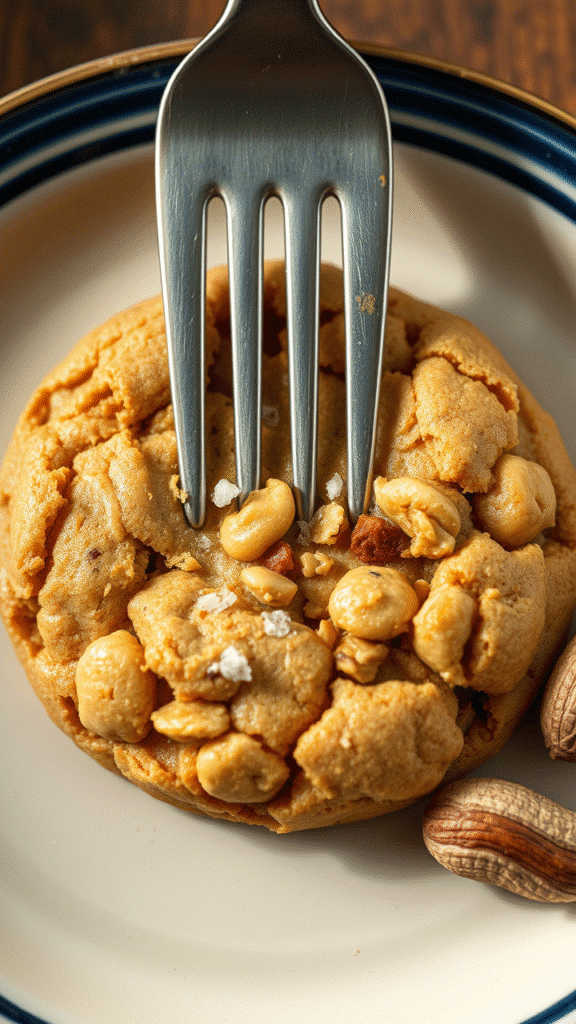
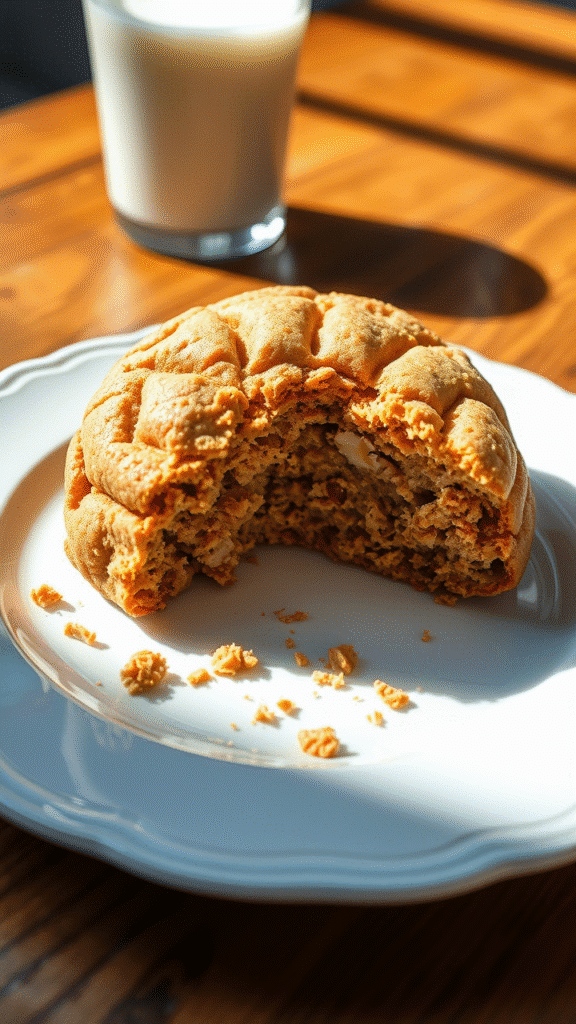
What makes these cookies truly gourmet is their complex texture profile crispy edges that give way to an almost fudge-like center, studded with chunks of roasted peanuts that provide textural contrast. Every element has been carefully calibrated to create what I call the “perfect bite syndrome” that moment when flavors and textures align so perfectly that you can’t help but reach for another.
Understanding Your Ingredients & Strategic Substitutions
The foundation of exceptional peanut butter cookies starts with selecting the right peanut butter, and this decision will make or break your final product. Natural peanut butter with visible oil separation is your best friend here that oil is pure peanut fat that contributes to both flavor intensity and that coveted chewy texture. Avoid anything labeled “reduced fat” like it’s radioactive.
For the ultimate experience, I recommend using chunky natural peanut butter combined with an additional half-cup of roughly chopped roasted peanuts. The chunks create delightful textural surprises, while the extra nuts amplify the overall peanut flavor profile. If you’re working with smooth peanut butter exclusively, you’re missing an opportunity for complexity.
Essential Ingredients:
- 1 cup natural chunky peanut butter (room temperature)
- ½ cup additional roasted peanuts, roughly chopped
- ¾ cup light brown sugar, packed
- ¼ cup granulated white sugar
- 2 large eggs (preferably free-range)
- 1¼ cups all-purpose flour
- 1 teaspoon baking soda
- ½ teaspoon fine sea salt
- ¼ cup unsalted butter, softened
- 2 teaspoons pure vanilla extract
- 1 tablespoon heavy cream
Professional Substitutions:
When working with clients who have dietary restrictions, I’ve developed several high-quality alternatives that don’t compromise flavor. For gluten-free versions, substitute the all-purpose flour with a blend of almond flour (¾ cup) and tapioca starch (½ cup) this combination maintains the chewy texture while adding subtle nutty undertones.
Vegans can replace eggs with a mixture of ground flaxseed and water (2 tablespoons ground flaxseed mixed with 6 tablespoons warm water, let sit for 15 minutes). The butter substitution is trickier; use vegan butter that contains at least 80% fat content, not margarine, which will create a different texture entirely.
For those managing blood sugar, replace both sugars with coconut sugar (use ¾ cup total). The cookies will have a slightly more complex, almost caramel-like flavor profile, though they won’t spread quite as much during baking.
Mastering the Step-by-Step Process

Temperature Control is Everything
Before you even think about mixing ingredients, bring your peanut butter, butter, and eggs to room temperature. Cold ingredients don’t emulsify properly, leading to dense, tough cookies instead of the tender texture we’re after. This step alone separates amateur results from professional-quality cookies.
Step 1: Creating the Base
In a large mixing bowl, cream together the softened butter, peanut butter, and both sugars for exactly 4 minutes using a stand mixer on medium speed. This isn’t arbitrary timing 4 minutes is the sweet spot where you achieve proper aeration without overworking the mixture. The result should be noticeably lighter in color and increased in volume.
Many bakers make the mistake of under-creaming here, which results in dense cookies that lack that signature chewy texture. The mixture should hold soft peaks when you lift the beaters.
Step 2: Incorporating Wet Ingredients
Add eggs one at a time, beating well after each addition until fully incorporated. This prevents the mixture from breaking, which would create an uneven texture in the final cookies. Follow with vanilla extract and heavy cream the cream adds richness and helps create that perfect chewy consistency.
Step 3: The Flour Integration
In a separate bowl, whisk together flour, baking soda, and salt. Add this to the wet mixture in three additions, mixing on low speed just until combined after each addition. Overmixing at this stage develops too much gluten, resulting in tough cookies instead of tender ones.
Fold in the chopped peanuts by hand using a wooden spoon this gentle incorporation prevents breaking the nuts into smaller pieces and maintains textural interest.
Step 4: The Critical Chill
This is where most home bakers go wrong. Wrap the dough in plastic wrap and refrigerate for at least 2 hours, preferably overnight. Chilled dough spreads less during baking, resulting in thicker cookies with better texture contrast between edges and centers.
Step 5: Shaping and Baking
Preheat your oven to 350°F (175°C). Using a #16 cookie scoop or your hands, form dough into 2-inch balls. Place them on parchment-lined baking sheets, spacing them 3 inches apart these cookies spread significantly.
Here’s a professional trick: lightly flatten each dough ball with the bottom of a glass dipped in granulated sugar. This creates better browning and prevents the centers from staying too raw while the edges cook.
Bake for 10-12 minutes until edges are golden brown but centers still look slightly underdone. They’ll continue cooking on the hot pan after removal this is called carryover cooking, and it’s essential for achieving that perfect chewy center.
The Science Behind Perfect Texture
Understanding why these techniques work elevates your baking from following recipes to truly understanding the craft. The combination of brown and white sugars isn’t arbitrary brown sugar contains molasses, which is hygroscopic (attracts moisture from the air), keeping cookies chewy longer. White sugar promotes spreading and crispy edges.

The baking soda serves multiple purposes beyond leavening. It raises the pH of the dough, which promotes better browning through the Maillard reaction that complex chemical process responsible for the deep, nutty flavors that develop during baking. Without adequate browning, your cookies will taste flat and one-dimensional.
The protein content in peanut butter creates structure, while the natural oils provide tenderness. This is why the fat content of your peanut butter matters so much too little fat results in dry, crumbly cookies, while too much creates cookies that spread into thin, greasy puddles.
Temperature control during baking is crucial. Too high, and the exteriors burn before the centers set properly. Too low, and you lose that textural contrast between crispy edges and chewy centers that defines a truly exceptional cookie.
Professional Presentation and Pairing
Gourmet cookies deserve thoughtful presentation. I like to serve these on dark slate or wooden boards, which provide visual contrast against the golden-brown cookies. A light dusting of flaky sea salt just before serving adds a sophisticated touch that enhances the peanut flavor.
For beverage pairings, consider the flavor profile carefully. These rich, nutty cookies pair beautifully with bold coffee specifically single-origin beans with chocolate notes. For wine pairings, try a late-harvest Riesling or a ruby port; the sweetness complements while the acidity cuts through the richness.
In restaurant settings, I’ve served these alongside house-made vanilla bean ice cream with a drizzle of salted caramel sauce. The temperature contrast and complementary flavors create a memorable dessert experience that justifies premium pricing.
For retail applications, package these in clear cellophane bags tied with baker’s twine. The rustic, artisanal appearance appeals to customers seeking premium baked goods, and the transparency allows them to see the quality and texture.
Advanced Variations and Flavor Development
Once you’ve mastered the base recipe, consider these professional-level variations that can command higher prices and create signature items.
Bourbon Barrel-Aged Version: Replace vanilla extract with 2 teaspoons of bourbon and add ¼ teaspoon of smoked paprika. The alcohol cooks off, leaving complex vanilla and oak notes that pair beautifully with peanuts.
Chocolate-Studded Luxury: Fold in 6 ounces of chopped dark chocolate (minimum 70% cacao) along with the peanuts. Use high-quality chocolate this isn’t the place for chocolate chips. The bitterness balances the sweetness while adding richness.
Spiced Autumn Version: Add ½ teaspoon ground cinnamon, ¼ teaspoon ground ginger, and a pinch of cayenne pepper. This creates warmth and complexity that works particularly well for fall menu items.
Troubleshooting Common Issues
Even experienced bakers encounter problems. If your cookies spread too much, your butter was likely too warm, or you didn’t chill the dough long enough. Conversely, if they don’t spread at all and remain thick and cakey, your dough was probably too cold, or you used too much flour.

Cookies that crack excessively usually indicate overmixing after flour addition or an oven that’s running too hot. Those that turn out dry and crumbly often result from overbaking or using peanut butter with too low fat content.
For cookies that lack flavor depth, examine your ingredients. Old baking soda loses potency, affecting both rise and browning. Stale peanut butter lacks the robust flavor necessary for exceptional cookies.
Storage and Quality Maintenance
Proper storage maintains quality and extends shelf life important considerations for commercial operations. Store completely cooled cookies in airtight containers with parchment paper between layers. They’ll maintain optimal texture for up to one week at room temperature.
For longer storage, freeze baked cookies in single layers on baking sheets, then transfer to freezer bags once solid. They’ll maintain quality for up to three months frozen. Thaw at room temperature for best texture recovery.
Alternatively, you can freeze the shaped dough balls on baking sheets, then store in freezer bags. Bake directly from frozen, adding 2-3 minutes to the baking time. This allows for fresh cookies on demand a valuable technique for restaurants and cafes.
Conclusion
Creating truly exceptional peanut butter cookies requires understanding the interplay between ingredients, techniques, and science. It’s not enough to simply follow a recipe; you must understand why each step matters and how small changes affect the final product.
The difference between good and extraordinary lies in those details that most bakers overlook the quality of your peanut butter, the importance of proper creaming, the critical chilling step, and understanding how different sugars behave under heat. Master these elements, and you’ll produce cookies that command premium prices and create devoted customers.
Remember, baking is both art and science. While these techniques provide the scientific foundation, don’t be afraid to develop your own signature touches. The best bakers combine technical excellence with creative vision to create something truly memorable.
Whether you’re operating a commercial bakery, running a restaurant dessert program, or simply pursuing perfection in your home kitchen, these techniques will elevate your peanut butter cookies from ordinary to extraordinary. The investment in quality ingredients and proper technique pays dividends in flavor, texture, and customer satisfaction.
Frequently Asked Questions?
Q: Can I make these cookies without chilling the dough?
A: While technically possible, skipping the chilling step compromises both texture and appearance. Unchilled dough spreads excessively during baking, resulting in thin, overly crispy cookies that lack the signature thick, chewy texture that defines gourmet peanut butter cookies. The chilling process also allows flavors to meld and develop, creating more complex taste. For best results, plan ahead and allow at least 2 hours chilling time.
Q: Why do my cookies turn out too sweet, and how can I balance the flavor?
A: Excessive sweetness often results from using conventional peanut butter with added sugars instead of natural peanut butter. Switch to natural varieties and consider reducing the granulated sugar by 2 tablespoons while increasing the salt by ¼ teaspoon. Additionally, using darker brown sugar instead of light brown sugar adds molasses notes that provide complexity and balance. A pinch of flaky sea salt on top before baking also helps cut through sweetness.
Q: What’s the ideal thickness for these cookies, and how do I achieve consistency?
A: Properly made gourmet thick peanut butter cookies should be approximately ¾ to 1 inch thick when fully baked. Consistency comes from using a cookie scoop (#16 size works perfectly) and ensuring all dough balls are identical in size. Proper chilling prevents excessive spreading, while correct oven temperature (verified with an oven thermometer) ensures even baking. Rotating pans halfway through baking also promotes uniform results.
Q: How do I prevent the cookies from becoming too hard or too soft?
A: Texture control depends on precise timing and proper ingredient ratios. Overbaking by even 2-3 minutes creates hard cookies, while under baking leaves them too soft and fragile. The cookies should appear slightly underdone in the centers when removed from the oven they’ll continue cooking on the hot pan. Using the correct ratio of brown to white sugar is also crucial; too much white sugar creates crispy cookies, while too much brown sugar can make them overly soft.
Q: Can I double or triple this recipe for commercial production?
A: Yes, but scaling requires adjustments beyond simply multiplying ingredients. Large batches generate more heat during mixing, which can melt butter prematurely and affect texture. Mix in smaller batches using a commercial mixer, and consider reducing mixing times slightly. Additionally, larger quantities may require longer chilling times for the center of the dough mass to properly cool. Always test a small batch first when scaling up to ensure quality remains consistent.

Veronica is a passionate food enthusiast with over three years of experience in exploring and writing about diverse cuisines. Her expertise lies in reviewing restaurants, sharing creative recipes, and discovering the latest food trends. As the voice behind FoodieRecap.com, Anju brings fresh perspectives and culinary insights to her audience.
