The first time I witnessed a veteran chef reduce a grown line cook to tears wasn’t over a burned steak or broken hollandaise. It was over scalloped potatoes that had seized into a grainy, separated mess during the dinner rush. That’s the thing about this deceptively simple dish it looks like something your grandmother could whip up blindfolded, but achieving perfection requires the precision of French technique and the patience of a saint.
Scalloped potatoes represent the pinnacle of comfort food sophistication. Unlike their cheese-laden cousin au gratin, true scalloped potatoes rely solely on the marriage of cream, properly prepared potatoes, and careful temperature control to create layers of silky, tender perfection. This isn’t just another casserole it’s a masterclass in understanding starch behavior, protein coagulation, and the delicate dance between heat and dairy.
What makes exceptional scalloped potatoes isn’t just following a recipe; it’s understanding why each step matters and how small adjustments can mean the difference between creamy excellence and grainy disappointment.
Ingredients & Substitutions
Potatoes (3 pounds): Russets are your workhorses here, not because they’re fancy, but because their high starch content creates the creamy texture we’re after. Yukon Golds work beautifully too, offering a slightly waxier texture that holds up well to slicing. Avoid red potatoes entirely their low starch content will leave you with individual potato slices swimming in cream rather than the cohesive, creamy layers we want.
Heavy Cream (2 cups): This is non-negotiable for restaurant-quality results. Half-and-half will work in a pinch, but you’ll sacrifice richness and the cream’s ability to thicken properly during baking. For those watching calories, whole milk can substitute, though you’ll need to add a tablespoon of flour to help with thickening.
Whole Milk (1 cup): Acts as a lighter counterpoint to the heavy cream, preventing the dish from becoming overwhelmingly rich. Buttermilk makes an interesting substitution here, adding a subtle tang that cuts through the richness beautifully.
Butter (4 tablespoons): European-style butter with higher fat content performs best, but regular unsalted butter works fine. For dairy-free versions, use refined coconut oil or high-quality vegan butter, though the flavor profile will shift considerably.
All-Purpose Flour (3 tablespoons): Creates the roux that prevents separation and helps thicken the cream. Wondra flour dissolves more easily if you have it on hand. Gluten-free cooks can substitute with equal parts cornstarch, though add it gradually to avoid clumping.
Fresh Thyme (2 teaspoons): Dried thyme works, but use half the amount. Rosemary or sage can substitute, though they’ll change the flavor profile significantly. Some chefs swear by adding a bay leaf during the cream heating process just remember to remove it before assembling.
Garlic (3 cloves, minced): Fresh is essential here. Garlic powder lacks the aromatic oils that infuse the cream properly. For a milder flavor, rub the baking dish with a cut garlic clove instead of adding it directly to the cream.
Salt and White Pepper: Kosher salt for seasoning, white pepper to avoid black specks in your elegant cream sauce. Black pepper works fine if that’s what you have, but white pepper provides a cleaner appearance and slightly different heat profile.
Optional Enhancement: A splash of dry white wine added to the cream mixture adds complexity without overpowering the potatoes. Chardonnay or Sauvignon Blanc work beautifully.
Step-by-Step Instructions

Prepare Your Workspace: Preheat oven to 350°F and butter a 9×13-inch baking dish thoroughly. This isn’t just for non-stick purposes the butter adds flavor and helps create those coveted golden edges. Have your mandoline or sharp knife ready, along with a large bowl of cold water for the sliced potatoes.
Slice with Precision: Cut potatoes into uniform 1/8-inch slices. Consistency matters more than you’d think uneven slices mean uneven cooking, which translates to some pieces being mushy while others remain firm. A mandoline is worth the investment here, though a sharp chef’s knife and steady hand work fine. Drop slices immediately into cold water to prevent oxidation and remove excess surface starch.
The cold water trick serves double duty: it prevents browning and removes some surface starch that could make your final product gluey. Don’t skip this step, even if you’re in a hurry.
Create the Cream Base: In a heavy-bottomed saucepan, melt butter over medium heat. Whisk in flour and cook for 2 minutes, creating a light roux. This step is crucial cooking the flour eliminates that raw flour taste and creates the thickening base for your cream. The mixture should smell nutty, not floury.
Gradually add cream and milk, whisking constantly to prevent lumps. Add minced garlic, thyme, salt, and white pepper. Heat until just beginning to simmer you’ll see tiny bubbles around the edges. Don’t let it boil; dairy proteins will curdle under high heat, and you’ll end up with a grainy texture that’s impossible to fix.
Test for Consistency: The cream should coat the back of a spoon lightly. If it’s too thin, simmer gently for a few more minutes. Too thick? Whisk in a bit more milk. Remember, it will continue thickening in the oven, so err on the side of slightly thin rather than thick.
Assembly is Everything: Drain potatoes thoroughly and pat dry with clean kitchen towels. Excess water will dilute your carefully prepared cream sauce. Layer half the potatoes in your prepared dish, slightly overlapping each slice. Pour half the cream mixture over the potatoes, using a spoon to ensure even distribution.
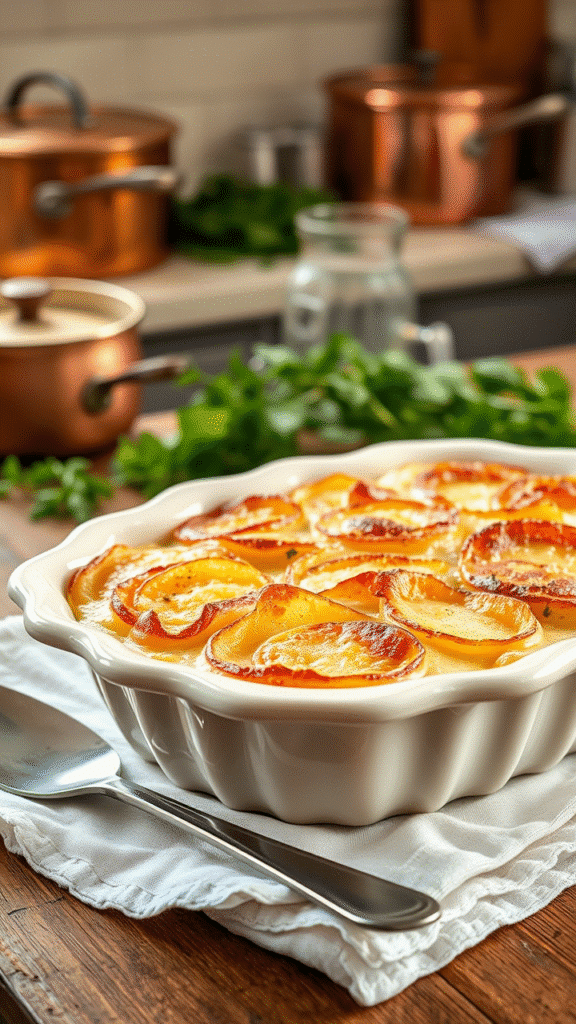
Add remaining potatoes in an attractive overlapping pattern this is your top layer, so make it pretty. Pour remaining cream mixture over the top, again ensuring even coverage. Give the dish a gentle shake to settle everything and eliminate air pockets.
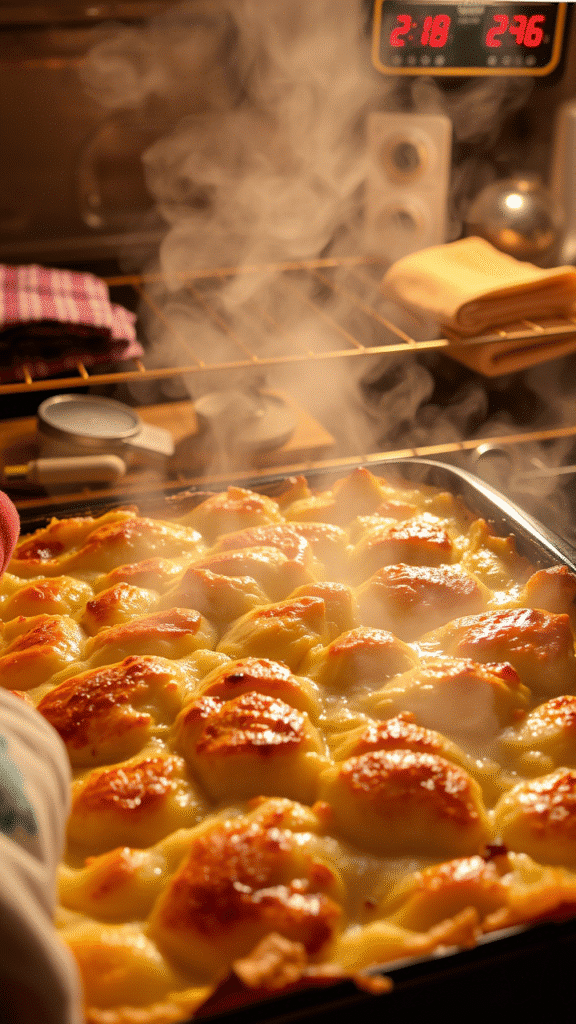
The Foil Technique: Cover tightly with aluminum foil for the first 45 minutes of baking. This creates a steam environment that helps cook the potatoes evenly without browning the top too quickly. Remove foil and continue baking for 20-30 minutes until the top is golden brown and a knife inserted in the center meets little resistance.
Many home cooks rush this step, but patience pays off. The potatoes need time to break down slightly and absorb the cream. Under baked scalloped potatoes will have individual slices that haven’t melded together properly.
Cooking Techniques & Science
Understanding the science behind scalloped potatoes transforms this from guesswork to precision cooking. When potatoes heat in cream, their starch granules swell and burst, releasing starch that thickens the liquid naturally. This is why high-starch potatoes work better they contribute more thickening power to the final dish.

The roux serves as insurance against separation. Dairy proteins can coagulate under heat, creating an unpleasant grainy texture. The flour proteins in the roux help stabilize the emulsion, keeping everything smooth and creamy. This technique comes straight from classical French cuisine, where it’s used in dishes like gratin dauphinoise.
Temperature control is absolutely critical throughout the process. Keeping the cream mixture below boiling prevents protein coagulation, while the gentle oven heat allows the potatoes to cook through without curdling the dairy. Professional kitchens often use convection ovens at slightly lower temperatures (325°F) for more even heat distribution.
The covered baking period serves multiple purposes beyond even cooking. It prevents moisture loss, which would concentrate the cream and potentially cause separation. It also creates gentle steam that helps break down the potato cell walls, contributing to that creamy texture we’re after.
Tool Selection Matters: A heavy-bottomed saucepan distributes heat evenly, preventing hot spots that could scorch the cream. A mandoline ensures uniform slicing, which translates to even cooking. Glass or ceramic baking dishes work best metal can create hot spots that cause uneven browning.
Some professional kitchens use a technique called “parcooking” briefly simmering the sliced potatoes in salted water before assembly. This reduces overall baking time and ensures tender potatoes, though it’s not strictly necessary with proper technique and patience.
Serving & Pairing Suggestions
Scalloped potatoes shine as both a side dish and a vegetarian main course. Their rich, creamy nature pairs beautifully with simple roasted meats think herb-crusted pork tenderloin, roast chicken, or grilled lamb chops. The dish’s elegance makes it perfect for holiday tables and dinner parties where you want something impressive but not fussy.

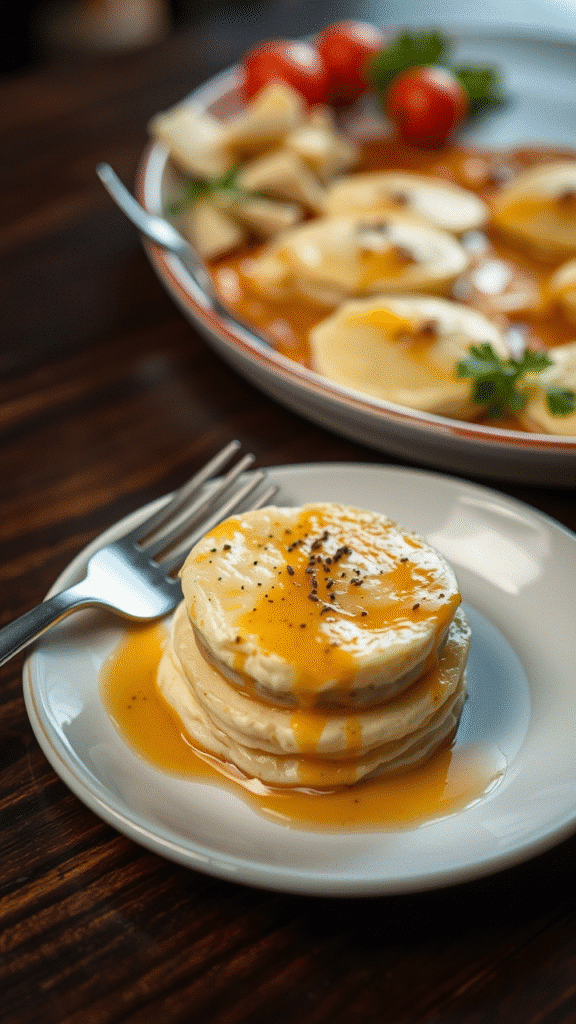
For plating, use a large serving spoon to cut clean squares, maintaining those beautiful layers you worked so hard to create. A sprinkle of fresh thyme or chives adds color and freshness that cuts through the richness. Some chefs like to finish with a light dusting of smoked paprika for both color and subtle flavor enhancement.
Wine pairings should complement rather than compete with the cream’s richness. A crisp Sauvignon Blanc or unoaked Chardonnay works beautifully, as does a light Pinot Noir if you prefer red wine. Avoid heavy, oaked wines that will overwhelm the dish’s subtle flavors.
Temperature Service: Scalloped potatoes are best served hot but not scorching. Let the dish rest for 10-15 minutes after removing from the oven this allows the cream to set slightly and makes serving much easier. The dish will stay warm for quite a while thanks to its thermal mass.
Make-Ahead Magic: These actually improve when made a day ahead and reheated gently in a 300°F oven, covered with foil. The flavors meld beautifully overnight, and the texture often improves as the potatoes continue absorbing the cream.
For brunch service, scalloped potatoes make an elegant alternative to hash browns or home fries. Pair with eggs Benedict or smoked salmon for a luxurious morning meal that’s sure to impress.
Conclusion
Perfect scalloped potatoes represent everything beautiful about comfort food simple ingredients transformed through technique into something truly special. The key lies not in exotic ingredients or complicated methods, but in understanding the science behind the process and executing each step with care and patience.
Temperature control, proper potato selection, and understanding how starch and dairy interact will elevate your scalloped potatoes from good to exceptional. Remember that this dish rewards patience rushing any step, from slicing to baking, will compromise the final result.
The beauty of mastering this technique extends beyond just one dish. The roux method for stabilizing cream sauces, the importance of uniform slicing, and the gentle heat approach all apply to numerous other preparations in your culinary repertoire.
Don’t be discouraged if your first attempt isn’t perfect even experienced cooks sometimes struggle with dairy-based dishes. Pay attention to the visual and textural cues described above, and adjust your technique accordingly. With practice, you’ll develop the intuition to know exactly when your cream base is ready and your potatoes are perfectly cooked.
Frequently Asked Questions?
Q: Why did my scalloped potatoes turn out grainy instead of creamy?
A: Grainy texture usually results from the cream mixture getting too hot and the proteins coagulating. Keep your cream mixture below a simmer when preparing the base, and make sure your oven temperature isn’t too high. Using a roux (flour and butter mixture) helps stabilize the dairy and prevent this issue. If it happens during cooking, try whisking in a bit of cold cream to help smooth things out.
Q: Can I make scalloped potatoes ahead of time?
A: Absolutely, and they often taste better the next day. Assemble the dish completely, cover tightly with plastic wrap, and refrigerate for up to 24 hours before baking. You’ll need to add about 15-20 minutes to the baking time since you’re starting with a cold dish. You can also fully cook them, then reheat gently in a 300°F oven covered with foil. Just add a splash of cream if they seem dry.
Q: My potatoes seem to be cooking unevenly some pieces are mushy while others are still firm. What went wrong?
A: This usually comes down to inconsistent slicing. Thicker pieces take longer to cook through than thinner ones, creating this texture problem. Use a mandoline or practice your knife skills to get uniform 1/8-inch slices. Also, make sure you’re using the right type of potato waxy varieties like red potatoes don’t break down as readily as starchy russets or Yukons.
Q: Is there a way to lighten up scalloped potatoes without sacrificing flavor?
A: Yes, but with some compromises. You can substitute half the heavy cream with whole milk or even evaporated milk, though you’ll lose some richness. Adding a bit more flour to the roux helps compensate for the reduced thickening power. Another trick is to use a combination of regular milk and a small amount of cream cheese, which adds richness and helps with texture. Just remember that significant changes will alter the classic flavor profile.
Q: What’s the difference between scalloped potatoes and potatoes au gratin? A: Traditional scalloped potatoes contain no cheese they rely on cream, milk, and the potato’s natural starch for their creamy texture. Potatoes au gratin include cheese, usually Gruyère or cheddar, which adds both flavor and additional richness. Many American recipes blur this distinction, but understanding the difference helps you choose the right preparation for your menu. Scalloped potatoes let the potato flavor shine through, while au gratin is more about the cheese and potato combination.

Veronica is a passionate food enthusiast with over three years of experience in exploring and writing about diverse cuisines. Her expertise lies in reviewing restaurants, sharing creative recipes, and discovering the latest food trends. As the voice behind FoodieRecap.com, Anju brings fresh perspectives and culinary insights to her audience.
