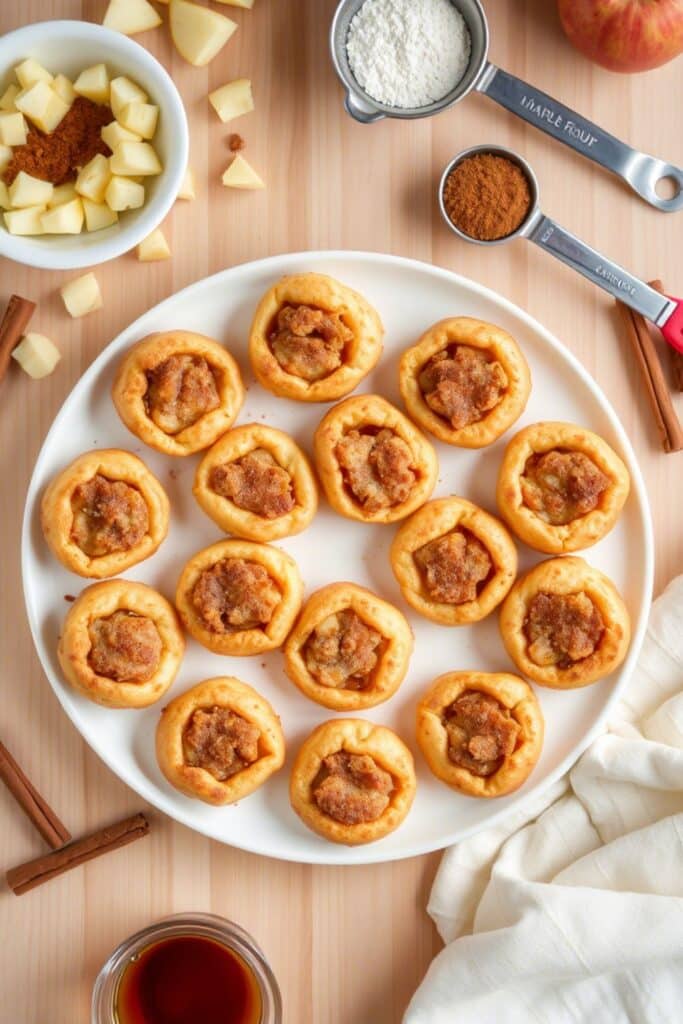
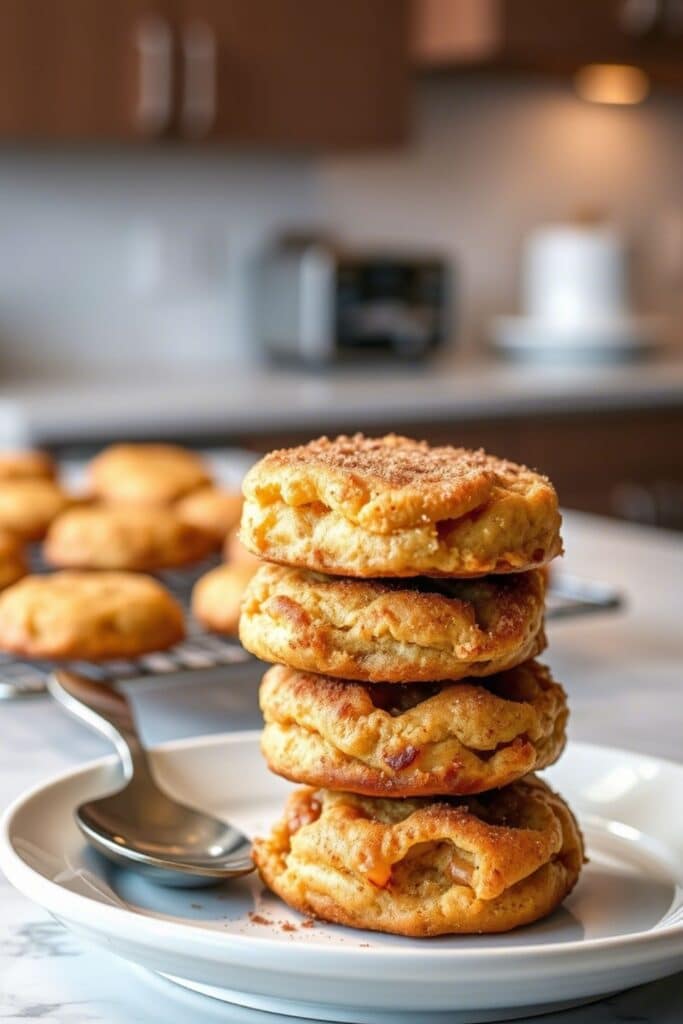
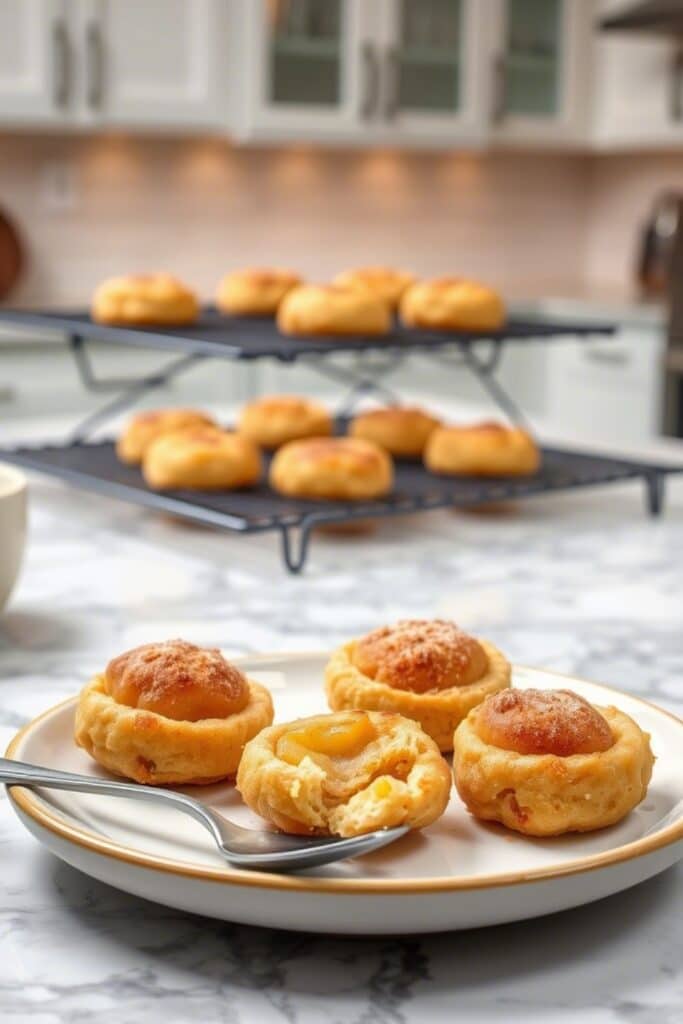
The first time I witnessed a seasoned pastry chef crafting apple fritter bites, I thought I understood the concept. Then she handed me one straight from the oil golden, crackling with residual heat, the apple chunks still firm yet yielding, all wrapped in that impossibly light yet substantial dough. I realized I’d been making glorified doughnut holes with apple bits thrown in. Real apple fritter bites are architectural marvels in miniature.
These aren’t your carnival fair knockoffs or the dense, overly sweet versions that populate coffee shop display cases. Apple fritter bites represent the intersection of French choux technique and American comfort food sensibilities. They demand respect for both the science of fermentation and the art of frying at precise temperatures.
What sets exceptional apple fritter bites apart is their textural complexity a crisp exterior that shatters to reveal tender, yeasted interior studded with caramelized apple pieces. The glaze should be thin enough to penetrate the surface irregularities while maintaining enough body to create that signature glossy finish. Most importantly, they should taste like apples that happen to be wearing a doughnut costume, not the other way around.
Understanding Your Foundation: Ingredients & Substitutions
For the Dough:
- 2¼ cups bread flour (avoid all-purpose here)
- ¾ cup whole milk, warmed to 110°F
- ¼ cup granulated sugar
- 2¼ teaspoons active dry yeast
- 3 tablespoons unsalted butter, melted
- 1 large egg, room temperature
- 1 teaspoon kosher salt
- ½ teaspoon vanilla extract
For the Apple Component:
- 2 large Honeycrisp apples, peeled and diced to ¼-inch pieces
- 2 tablespoons brown sugar
- 1 teaspoon ground cinnamon
- ¼ teaspoon nutmeg
- 1 tablespoon unsalted butter
- Pinch of salt
For the Glaze:
- 1½ cups powdered sugar
- 3-4 tablespoons whole milk
- ½ teaspoon vanilla extract
- Pinch of salt
Bread flour isn’t negotiable here its higher protein content creates the gluten structure necessary for proper texture development. All-purpose flour will leave you with dense, cake-like results that lack the characteristic chew. If you absolutely must substitute, use 2 cups all-purpose flour plus 3 tablespoons vital wheat gluten.
The apple variety matters more than most realize. Honeycrisp maintains its structure during cooking while providing the right balance of sweetness and acidity. Granny Smith works well for those preferring more tartness, while Gala or Fuji lean sweeter. Avoid Red Delicious they turn to mush and contribute little flavor complexity.
For dietary modifications, oat milk can replace dairy milk with minimal impact on flavor, though you’ll lose some richness. Coconut milk works but introduces its own flavor profile. Vegan butter substitutes perform adequately in the dough, but the apple sauté benefits from real butter’s browning capabilities.
Active dry yeast versus instant yeast creates different timelines. Instant yeast can be mixed directly with dry ingredients, reducing proofing time by about 15 minutes. If using fresh yeast, use 1.5 times the amount and dissolve it directly in the warm milk.
Mastering the Method: Step-by-Step Excellence

Preparing the Apple Component
Start with the apples because they need time to cool before incorporation. Heat butter in a large skillet over medium heat until it begins to foam. Add diced apples, brown sugar, cinnamon, nutmeg, and salt. Cook for 4-5 minutes, stirring occasionally, until apples soften slightly but retain some firmness. They should glisten with caramelized juices without becoming mushy.
The key is achieving what the French call “al dente” for fruit cooked enough to concentrate flavors but firm enough to provide textural contrast in the finished product. Remove from heat and spread on a plate to cool completely. This prevents the apples from continuing to cook and becoming oversoft.
Building the Dough
Dissolve yeast in warm milk with a pinch of sugar. Let it proof for 5-8 minutes until foamy and active. Dead yeast creates dense, heavy fritters that no amount of technique can save. If your yeast doesn’t foam, start over with fresh yeast.
In a large mixing bowl, whisk together bread flour, remaining sugar, and salt. Create a well in the center and add the proofed yeast mixture, melted butter, egg, and vanilla. Using a wooden spoon or Danish whisk, combine ingredients until a shaggy dough forms.
Turn onto a lightly floured surface and knead for 8-10 minutes until smooth and elastic. The dough should be slightly tacky but not sticky. If it clings to your hands, add flour one tablespoon at a time. Over-flouring creates tough fritters, so err on the side of tackiness.
First Rise and Apple Integration
Place dough in an oiled bowl, cover with damp towel, and let rise in a warm spot for 60-75 minutes until doubled. Punch down gently and turn onto lightly floured surface. Roll into a rough rectangle about ½-inch thick.
Distribute cooled apple mixture evenly over dough surface, leaving a 1-inch border. Here’s were most people go wrong they try to knead the apples in, which breaks them down and creates uneven distribution. Instead, fold the dough over the apples like a business letter, then roll gently to distribute without aggressive kneading.
The apple pieces should be visible throughout the dough but not breaking through the surface. If they do, you’ve been too aggressive. Form into a ball and let rest 15 minutes before shaping.
Shaping and Second Rise
Divide dough into portions using a bench scraper or sharp knife. For professional-sized bites, aim for pieces roughly 1.5 inches in diameter they’ll puff significantly during frying. Roll each piece gently between your palms to create uniform spheres.
Place shaped fritters on parchment-lined baking sheets, spacing them 2 inches apart. Cover with damp towels and let rise for 30-40 minutes until puffy but not doubled. They should feel light when gently lifted and show slight jiggle when moved.
The Science of Perfect Frying
Temperature control separates amateur from professional results. Heat oil to exactly 350°F in a heavy-bottomed pot or deep fryer. Use a thermometer guessing leads to greasy, undercooked centers or burnt exteriors. Maintain oil temperature between 345-355°F throughout frying.

The oil level matters too. You need at least 3 inches of depth for proper circulation and even cooking. Shallow oil creates uneven browning and temperature fluctuations that affect texture.
Fry in small batches to prevent temperature drops. Add 4-5 fritters at once, depending on pot size. They should sizzle immediately upon contact but not violently bubble. Cook for 2-3 minutes per side until deep golden brown, turning once with a slotted spoon.
The sound changes as they cook initial aggressive bubbling quiets to gentle sizzling when moisture evaporates and crust forms. Trust your ears alongside visual cues. Internal temperature should reach 190°F for fully cooked centers.
Oil Selection and Maintenance
Neutral oils with high smoke points work best canola, vegetable, or peanut oil all perform well. Avoid olive oil, which breaks down at frying temperatures and imparts unwanted flavors. Fresh oil is crucial; rancid oil ruins even perfect technique.
Strain oil between batches if frying large quantities. Burnt bits create off-flavors and can cause new fritters to brown too quickly. Store used oil properly for reuse it actually improves with one or two uses before declining.
Glazing Techniques for Professional Results
Mix glaze ingredients while fritters drain on paper towels. The consistency should coat the back of a spoon but still drip freely think heavy cream rather than thick frosting. Too thick and it won’t penetrate the surface irregularities; too thin and it slides off without adhering.
Glaze while fritters remain slightly warm but not hot. Scalding surfaces cause glaze to melt and run off, while completely cool fritters don’t absorb properly. The sweet spot is when you can comfortably handle them but they still radiate gentle warmth.
Dip each fritter face-down into glaze, allowing excess to drip back into bowl. Set on wire racks to dry for 5-10 minutes. The glaze should set to a glossy finish that doesn’t transfer to fingers when handled.
For enhanced presentation, double-glaze by applying a second coat after the first sets completely. This creates the mirror-like finish seen in professional bakeries, though it does increase sweetness considerably.
Elevating Presentation and Service
Apple fritter bites shine brightest when served within 2-4 hours of preparation. They maintain optimal texture during this window crisp exterior, tender interior, and vibrant apple flavor. Day-old fritters become chewy and lose their textural contrast.
For immediate service, arrange on elevated pedestals or tiered stands to showcase their golden color and irregular, rustic shapes. Dust lightly with powdered sugar just before service for visual appeal, though this isn’t necessary with proper glazing.
Temperature matters for optimal enjoyment. Room temperature allows full flavor development, while slightly warm fritters provide comfort-food satisfaction. Avoid serving cold the dough becomes dense and apple flavors muted.
Wine and Beverage Pairings
These pair beautifully with coffee, obviously, but consider more sophisticated combinations. Champagne or prosecco cuts through richness while complementing apple sweetness. Late-harvest Riesling echoes fruit flavors without competing. For non-alcoholic options, chai tea or spiced cider create harmonious flavor bridges.
Hot beverages work better than cold the contrast between warm drink and rich fritter creates pleasant sensory juxtaposition. Iced beverages can make the fritters seem heavy by comparison.
Professional Troubleshooting and Variations
Dense, Heavy Texture: Usually indicates over-flouring, insufficient rising time, or dead yeast. Check yeast freshness and ensure adequate proofing. Dough should feel light and airy before frying.

Greasy Finish: Oil temperature too low or overcrowding during frying. Maintain 350°F and fry in small batches. Proper draining on wire racks also prevents grease accumulation.
Apple Pieces Too Soft: Overcooked during initial sauté or incorporated while still warm. Cook apples just until tender-crisp and cool completely before adding to dough.
Glaze Won’t Adhere: Fritters too hot or glaze consistency wrong. Allow cooling to warm (not hot) temperature and adjust glaze thickness with additional milk or powdered sugar.
For seasonal variations, substitute pears for apples in autumn, or add cranberries during winter months. Spice variations might include cardamom, allspice, or even a pinch of black pepper for complexity. Orange zest in both dough and glaze creates bright citrus notes that complement apple flavors beautifully.
Final Mastery Notes
The hallmark of exceptional apple fritter bites lies in their restraint each component should be identifiable and balanced rather than muddled together. The dough provides structure and richness, apples contribute sweetness and acidity, spices add warmth without overwhelming, and glaze unifies everything with additional sweetness and visual appeal.
Professional consistency comes from measuring ingredients by weight rather than volume, maintaining detailed temperature logs, and timing each stage precisely. Keep detailed notes on environmental factors like humidity and ambient temperature, which significantly affect rising times and oil behavior.
Most importantly, taste throughout the process. The apple mixture should taste slightly sweeter than desired in the finished product, since other components will dilute its intensity. The dough should be pleasant on its own, not relying entirely on other elements for flavor.
These aren’t difficult techniques, but they require attention to detail and respect for the process. Master these fundamentals, and you’ll produce apple fritter bites that rival the best bakeries while understanding exactly why each step matters.
Frequently Asked Questions?
Can I make the dough ahead of time?
Yes, but with modifications. After the first rise, punch down dough and refrigerate for up to 24 hours. The cold fermentation actually improves flavor development. Remove from refrigeration 30 minutes before shaping to allow easier handling. The second rise will take longer from cold dough.
Why do my fritters absorb too much oil?
This typically results from oil temperature being too low (under 340°F) or overcrowding the pot. Low temperature means longer cooking time and more oil absorption. Always use a thermometer and fry in small batches to maintain proper temperature.
Can I bake these instead of frying?
While possible, baked versions lack the characteristic texture that defines apple fritters. If you must bake, preheat oven to 375°F and bake for 15-18 minutes until golden brown. Brush with melted butter before and after baking for better flavor, but expect a more muffin-like result.
How do I store leftover fritters?
Store unfrosted fritters in airtight containers at room temperature for up to 2 days. Reheat in 300°F oven for 3-4 minutes to crisp exterior. Glazed fritters should be consumed within 24 hours and don’t reheat as successfully due to glaze breakdown.
What’s the best apple variety for consistent results?
Honeycrisp remains the gold standard for its balance of sweetness, acidity, and structural integrity during cooking. Granny Smith works well for tarter flavor profiles, while Braeburn and Jonagold offer similar performance to Honeycrisp with slight flavor variations. Avoid softer varieties like Red Delicious or McIntosh, which break down during cooking.

Veronica is a passionate food enthusiast with over three years of experience in exploring and writing about diverse cuisines. Her expertise lies in reviewing restaurants, sharing creative recipes, and discovering the latest food trends. As the voice behind FoodieRecap.com, Anju brings fresh perspectives and culinary insights to her audience.
