I’ll never forget the first time I served bruschetta chicken at my restaurant in downtown Chicago. A regular customer—an elderly Italian woman who’d been coming for years—took one bite and her eyes lit up with something between surprise and approval. “This isn’t what my nonna would make,” she said, pausing to take another forkful, “but she would’ve loved it anyway.”
That moment crystallized everything beautiful about this dish. Bruschetta chicken takes the soul of traditional Italian bruschetta—that perfect marriage of ripe tomatoes, fresh basil, and garlic—and transforms it into a complete, restaurant-quality entrée that satisfies both purists and innovators.
What Makes Bruschetta Chicken Special
Bruschetta chicken isn’t just chicken with tomatoes on top. It’s a masterclass in layered flavors and textural contrast. The dish combines the Mediterranean freshness of classic bruschetta with perfectly cooked protein, creating something that’s both familiar and surprising.
The magic happens in the interplay between temperatures and textures. Hot, juicy chicken breast provides a canvas for cool, vibrant tomato mixture. The residual heat from the chicken gently warms the tomatoes, releasing their aromatics without cooking away their bright acidity.
What sets professional-level bruschetta chicken apart is timing and technique. The chicken must be cooked to perfection—juicy interior, golden exterior—while the bruschetta topping maintains its fresh, garden-like quality. It’s this balance that seperates restaurant-quality from home-cooking attempts.
Ingredients & Substitutions
For the Chicken:
- 4 boneless, skinless chicken breasts (6-8 oz each)
- 2 tablespoons olive oil (preferably extra virgin)
- 1 teaspoon kosher salt
- 1/2 teaspoon freshly ground black pepper
- 1 teaspoon Italian seasoning
- 1/2 teaspoon garlic powder
For the Bruschetta Topping:
- 4 large ripe tomatoes, diced (about 3 cups)
- 1/4 cup fresh basil leaves, chiffonade
- 3 cloves garlic, minced
- 2 tablespoons extra virgin olive oil
- 1 tablespoon balsamic vinegar
- 1/2 teaspoon kosher salt
- 1/4 teaspoon freshly ground black pepper
For Finishing:
- 4 oz fresh mozzarella, sliced
- 2 tablespoons grated Parmesan cheese
- Fresh basil leaves for garnish
- Balsamic glaze (optional)
Professional Substitution Notes
Chicken breast can be swapped for chicken thighs, but adjust cooking time accordingly—thighs need about 5-7 minutes longer. For dietary restrictions, this recipe works beautifully with thick-cut pork chops or even portobello mushroom caps for vegetarians.
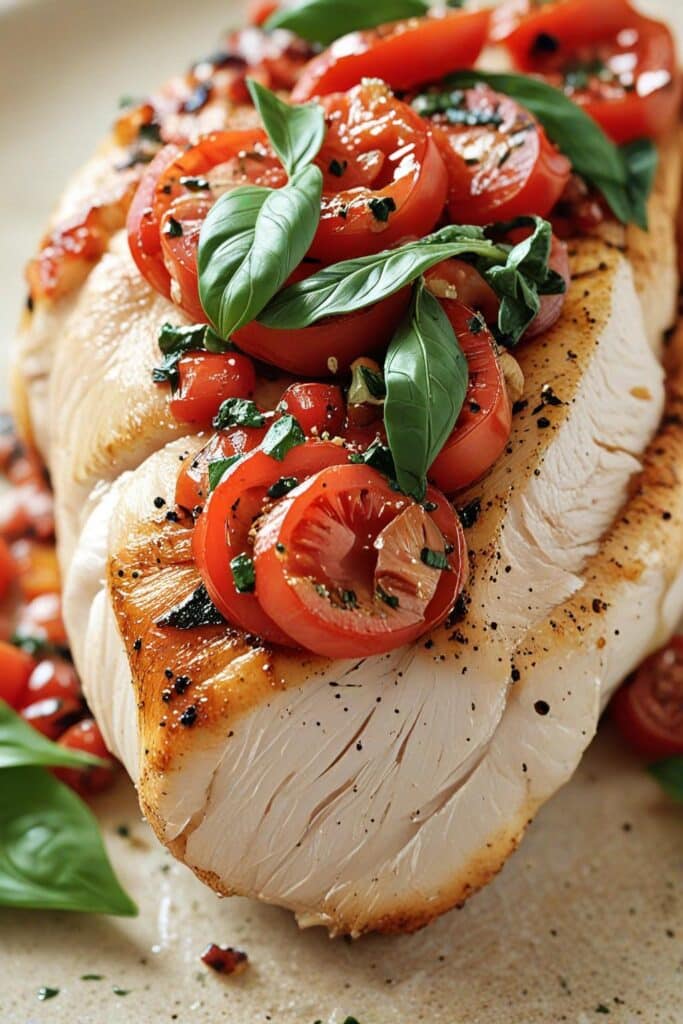
Tomato selection is crucial. San Marzano tomatoes offer superior flavor, but good-quality Roma tomatoes work well too. Avoid beefsteak tomatoes—they’re too watery for this application. Cherry tomatoes, halved, provide excellent concentrated flavor and hold their shape better than larger varieties.
Fresh mozzarella is non-negotiable for professional results. Pre-shredded mozzarella contains anti-caking agents that prevent proper melting. If you can’t find fresh mozzarella, use whole milk mozzarella and slice it yourself.
Balsamic vinegar quality matters enormously. Cheap balsamic creates harsh acidity. Look for aged balsamic from Modena—the sweetness balances the tomatoes’ natural acidity perfectly.
Step-by-Step Instructions
Preparing the Bruschetta Mixture
Start with the bruschetta topping because it benefits from resting time. Dice tomatoes into consistent 1/4-inch pieces—uniformity ensures even distribution and professional presentation. Remove excess seeds and juice, but don’t go overboard. Some moisture is necessary for the mixture to cohesively cling to the chicken.
Combine diced tomatoes with minced garlic, fresh basil, olive oil, and balsamic vinegar. Season with salt and pepper, then let it rest at room temperature for at least 30 minutes. This resting period allows flavors to meld and the salt to draw out just enough tomato juices to create a light sauce.
Professional tip: taste and adjust seasoning after the resting period. Tomatoes vary in acidity and sweetness depending on the season, so your final seasoning should reflect this variance.
Preparing the Chicken
Remove chicken from refrigerator 20-30 minutes before cooking. Cold chicken cooks unevenly—the exterior overcooks before the interior reaches proper temperature.
Pound chicken breasts to even thickness, about 3/4 inch. This isn’t just about tenderness—it’s about consistent cooking. Use a meat mallet or rolling pin, working from the center outward. Place chicken between plastic wrap to prevent splashing.
Season both sides generously with salt, pepper, Italian seasoning, and garlic powder. Let seasoned chicken rest 10 minutes minimum. This allows salt to penetrate the protein, improving flavor throughout.
Cooking the Chicken
Heat olive oil in a large oven-safe skillet over medium-high heat. The oil should shimmer but not smoke—smoking means it’s too hot and will create bitter flavors.
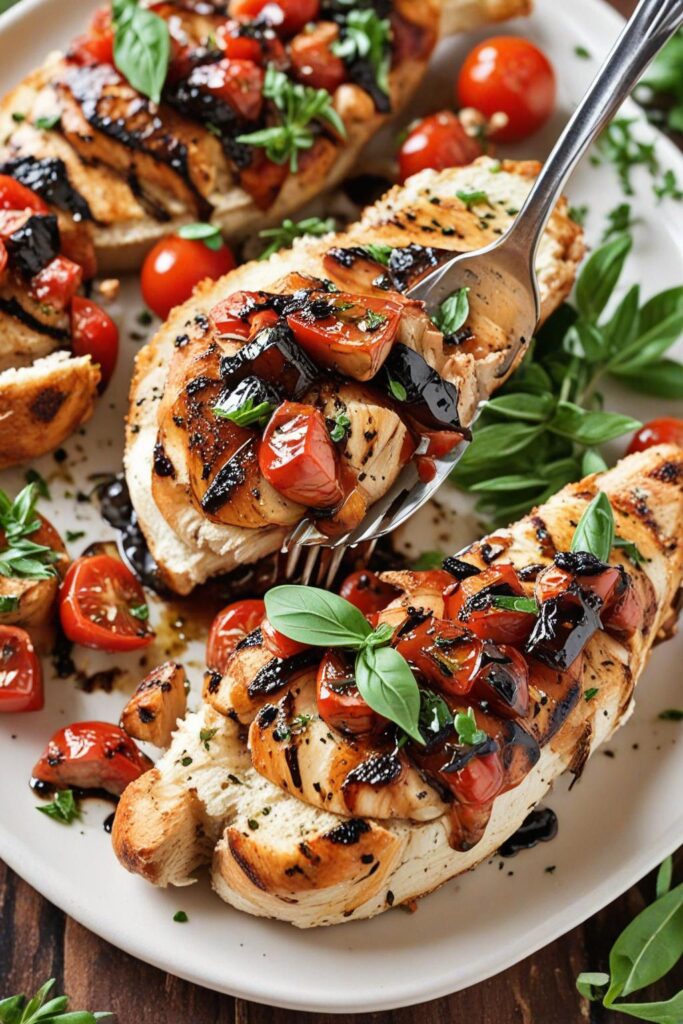
Add chicken smooth-side down first. Don’t move it for 6-7 minutes. This develops the golden crust that provides textural contrast to the tender interior. Listen for the sizzle—it should be consistent but not violent.
Flip chicken when it releases easily from the pan. If it sticks, it’s not ready to flip. Cook second side for 4-5 minutes, then check internal temperature. Professional cooks rely on thermometers, not guesswork. Chicken is done at 165°F internal temperature.
Assembly and Finishing
Preheat your broiler while chicken rests. Resting is crucial—it allows juices to redistribute throughout the meat. Cover loosely with foil and rest 5 minutes minimum.
Top each chicken breast with bruschetta mixture, distributing evenly. Don’t heap it on—you want coverage, not a mountain. Layer mozzarella slices over the bruschetta, followed by a light sprinkle of Parmesan.
Place under broiler for 2-3 minutes until cheese melts and begins to bubble. Watch carefully—broilers vary significantly in intensity. The goal is melted cheese with light golden spots, not charred disaster.
Cooking the Chicken
The science behind perfect bruschetta chicken lies in understanding protein coagulation and moisture retention. Chicken breast contains approximately 75% water, and proper cooking technique prevents this moisture from escaping too rapidly.
Starting chicken at room temperature ensures even cooking. Cold protein creates a temperature gradient—hot exterior, cold interior—leading to overcooked outsides and undercooked centers. The 20-30 minute tempering period eliminates this issue.
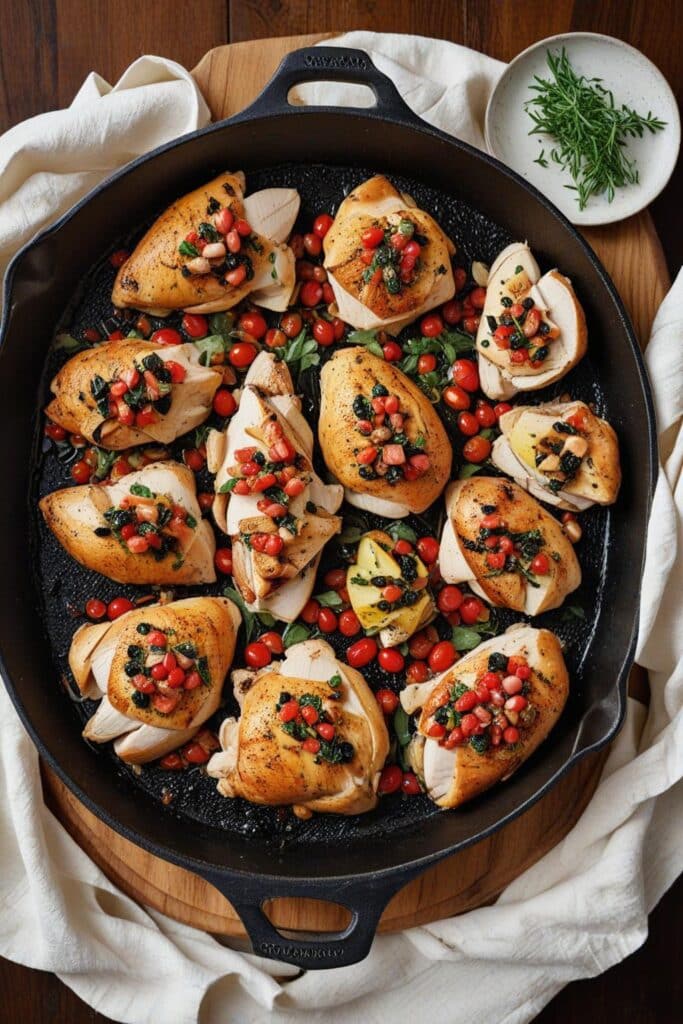
Pounding chicken serves multiple purposes beyond tenderization. It breaks down muscle fibers mechanically and creates uniform thickness for even cooking. More importantly, it increases surface area for better seasoning penetration and browning.
The searing technique develops the Maillard reaction—the complex chemical process that creates brown crusts and deep flavors. This reaction occurs around 280-300°F, which is why proper oil temperature is crucial. Too hot, and you’ll burn before browning. Too cool, and you’ll steam rather than sear.
Resting cooked meat allows protein fibers to relax and reabsorb juices. Cut into chicken immediately after cooking, and you’ll lose precious moisture to the cutting board. Five minutes of patience makes the difference between dry and succulent.
The bruschetta topping’s chemistry is equally important. Salt draws moisture from tomatoes through osmosis, creating a light sauce that clings to the chicken. The acid in tomatoes and balsamic vinegar brightens the rich chicken flavor and cuts through the creamy mozzarella.
Equipment Considerations
A heavy-bottomed, oven-safe skillet is essential. Thin pans create hot spots that lead to uneven cooking. Cast iron is ideal—it retains heat evenly and transitions seamlessly from stovetop to broiler.
An instant-read thermometer eliminates guesswork. Even experienced chefs use thermometers for chicken—food safety isn’t worth risking. Digital thermometers with thin probes minimize holes in the meat and provide fastest readings.
A sharp knife makes clean, precise cuts in tomatoes without crushing them. Dull knives crush cellular structure, releasing excess moisture and creating mushy bruschetta. Keep your knife sharp, and your tomatoes will thank you.
Serving & Pairing Suggestions
Bruschetta chicken deserves thoughtful presentation. Place each breast slightly off-center on the plate, allowing space for accompanying elements. The colorful bruschetta topping provides natural visual appeal—don’t hide it under excessive garnish.
A simple arugula salad dressed with lemon vinaigrette complements the dish perfectly. The peppery greens and bright acidity balance the rich chicken and cheese. Toss arugula with lemon juice, olive oil, and a pinch of salt just before serving.
For starch, consider garlic roasted potatoes or creamy polenta. Both provide neutral bases that won’t compete with the bruschetta flavors. Alternatively, crusty Italian bread allows diners to soak up any delicious juices.
Wine pairing should emphasize the Italian inspiration. Pinot Grigio offers crisp acidity that cuts through the mozzarella richness. For red wine lovers, a light Chianti provides earthy notes that complement the basil and tomatoes without overwhelming the delicate chicken.
Consider finishing with a drizzle of high-quality balsamic glaze. The concentrated sweetness adds restaurant-level sophistication and visual appeal. Make your own by reducing balsamic vinegar with a touch of honey until syrupy.
Variations and Professional Tips
For enhanced flavor, consider marinating chicken in Italian dressing for 2-4 hours before cooking. The acid tenderizes while herbs and garlic penetrate deeper into the meat.
Grill enthusiasts can adapt this recipe beautifully. Grill chicken over medium-high heat, then top with bruschetta mixture and cheese. Close the lid for 2-3 minutes to melt cheese—the smoky flavor adds another dimension to the dish.
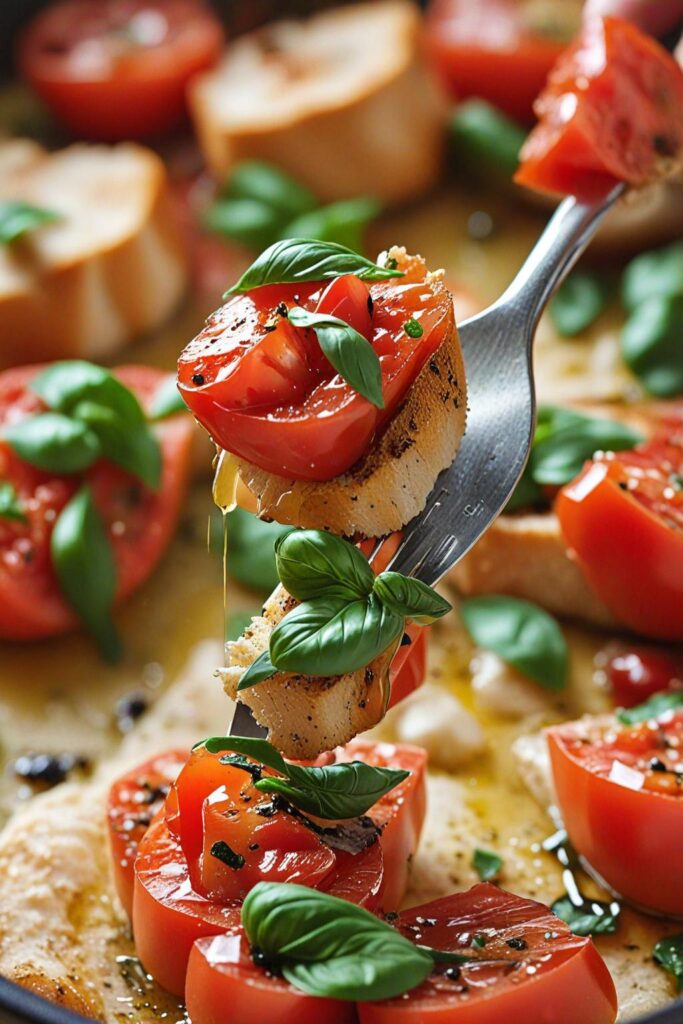
A Mediterranean variation incorporates kalamata olives and feta cheese into the bruschetta mixture. The briny olives and tangy feta create a Greek-inspired twist that’s equally delicious.
For spice lovers, add red pepper flakes to the bruschetta mixture or use spicy Italian seasoning on the chicken. Start conservatively—you can always add more heat, but you cant take it away.
Make-ahead tip: prepare bruschetta mixture up to 4 hours in advance. The flavors actually improve with time. However, don’t add basil until shortly before serving—it darkens and loses vibrancy when mixed too early.
Professional kitchens often prepare components separately and assemble to order. Cook chicken ahead and reheat gently in a 300°F oven before topping with fresh bruschetta mixture and cheese.
Troubleshooting Common Issues
Dry chicken results from overcooking or starting with poor-quality meat. Invest in good chicken breasts and use a thermometer religiously. If your chicken tends to dry out, try brining for 2-4 hours before cooking.
Watery bruschetta usually stems from overly ripe tomatoes or insufficient draining. Choose tomatoes that give slightly to pressure but aren’t soft. Remove excess seeds and juice, but leave enough moisture for the mixture to cohere.
Cheese that won’t melt properly often indicates pre-shredded varieties or insufficient heat. Use fresh mozzarella sliced to 1/4-inch thickness, and ensure your broiler is fully preheated before adding the cheese.
Tough chicken can result from not pounding to even thickness or cooking at too high heat. Medium-high heat allows for proper browning without overcooking. If your stove runs hot, reduce the temperature slightly.
Bland results usually indicate insufficient seasoning or not allowing enough resting time for flavors to develop. Season generously and let both chicken and bruschetta mixture rest as directed.
Conclusion
Bruschetta chicken represents the best of fusion cooking—taking beloved flavors from one tradition and applying them thoughtfully to create something new and exciting. The dish succeeds because it respects both the Italian bruschetta tradition and American comfort food sensibilities.
The key to professional results lies in attention to detail: proper ingredient selection, correct technique, and understanding the science behind cooking. Every component—from the perfectly cooked chicken to the vibrant bruschetta topping—plays a crucial role in the final dish.
Master this recipe, and you’ll have a versatile, impressive dish that works equally well for weeknight dinners and special occasions. The techniques you’ll learn—proper chicken cookery, flavor balancing, and component timing—will serve you well in countless other recipes.
Remember that cooking is both art and science. Follow the techniques precisely the first few times, then allow your palate and creativity to guide variations. The best cooks understand rules before they break them, and this recipe provides an excellent foundation for culinary exploration.
Frequently Asked Questions?
Q: Can I use chicken thighs instead of breasts for this recipe?
A: Absolutely! Chicken thighs actually work wonderfully for bruschetta chicken. They’re more forgiving than breasts and less likely to dry out. Increase cooking time to 8-10 minutes per side and ensure internal temperature reaches 175°F. The slightly higher fat content in thighs complements the fresh bruschetta topping beautifully.
Q: How far ahead can I prepare the bruschetta mixture?
A: The bruschetta mixture can be prepared up to 4 hours in advance and actually improves in flavor as it sits. However, add the fresh basil only 30 minutes before serving to prevent it from darkening. Store the mixture at room temperature for best flavor development—refrigeration dulls the tomato taste.
Q: What’s the best way to reheat leftover bruschetta chicken?
A: Reheat in a 325°F oven for 10-15 minutes until warmed through. Avoid microwaving, which makes the chicken rubbery and the cheese tough. Remove the original bruschetta topping before reheating and add fresh mixture after warming—this maintains the contrast between hot chicken and cool, fresh topping that makes the dish special.
Q: Can I make this recipe dairy-free?
A: Yes! Simply omit the mozzarella and Parmesan cheese, or substitute with high-quality dairy-free alternatives. The bruschetta topping provides plenty of flavor on its own. For extra richness without dairy, drizzle with good-quality extra virgin olive oil and finish with toasted pine nuts or a balsamic reduction.
Q: Why does my chicken stick to the pan even with oil?
A: Sticking usually indicates the pan isn’t hot enough or the chicken isn’t ready to flip. Make sure your oil shimmers before adding chicken, and resist the urge to move it too soon. Chicken will release naturally from the pan when it’s properly seared. Also, ensure your chicken is completely dry before seasoning—moisture creates steam, which prevents proper browning.

Veronica is a passionate food enthusiast with over three years of experience in exploring and writing about diverse cuisines. Her expertise lies in reviewing restaurants, sharing creative recipes, and discovering the latest food trends. As the voice behind FoodieRecap.com, Anju brings fresh perspectives and culinary insights to her audience.
