I’ll never forget the first time I walked into a kitchen where someone was roasting thirty bulbs of garlic at once. The smell wasn’t sharp or pungent like you’d expect—it was sweet, almost caramelized, filling the air with this incredible warmth that made everyone stop what they were doing. That chef was making what would become my obsession: roasted garlic soup.
Most people think garlic soup sounds intense, maybe even overwhelming. They’re imagining raw garlic’s bite multiplied into something that’ll clear your sinuses for a week. But here’s the thing—roasting transforms garlic completely. It becomes nutty, sweet, almost buttery in it’s richness. This soup isn’t just about garlic; it’s about understanding how heat changes everything.
What Makes This Soup Special
Roasted garlic soup represents one of cooking’s most beautiful transformations. Raw garlic contains allicin, the compound responsible for that sharp bite. When you roast whole bulbs at low heat, those harsh sulfur compounds break down into sugars and develop these complex, mellow flavors that taste nothing like their raw counterpart.
The technique here isn’t complicated, but it requires patience. You’re essentially caramelizing garlic on a cellular level, creating depth that can’t be rushed. This soup has roots in Mediterranean cuisine, where garlic is treated with the same reverence as onions in French cooking—as a foundation flavor rather than just seasoning.
What sets this version apart is the method of extracting every bit of roasted goodness from those bulbs, then building layers of flavor that complement rather than compete with the garlic’s sweetness.
Ingredients & Substitutions
For the Roasted Garlic Base:
- 4 large heads of garlic, papery outer layers removed
- 3 tablespoons extra virgin olive oil
- 1 teaspoon kosher salt
- 1/2 teaspoon freshly ground black pepper
The garlic is everything here. Look for heads that feel firm and heavy, with tight, unbroken skin. Avoid any with green shoots poking through—that’s a sign they’re past their prime and will taste bitter even when roasted.
For the Soup:
- 2 medium yellow onions, roughly chopped
- 2 tablespoons butter
- 1 tablespoon olive oil
- 6 cups low-sodium chicken stock (or vegetable stock)
- 1 medium russet potato, peeled and cubed
- 1/2 cup heavy cream
- 2 sprigs fresh thyme
- 1 bay leaf
- Salt and white pepper to taste
Smart Substitutions: If you’re avoiding dairy, coconut cream works beautifully here—it adds richness without competing flavors. For a lighter version, skip the cream entirely and puree one of the roasted garlic bulbs back into the finished soup for body.
The potato isn’t traditional in all versions, but I include it because it creates this silky texture when pureed. Yukon Gold works too, though russets break down more completely. Some chefs use white beans instead for protein and creaminess—cannellini beans pureed smooth make an excellent substitute.
Step-by-Step Instructions
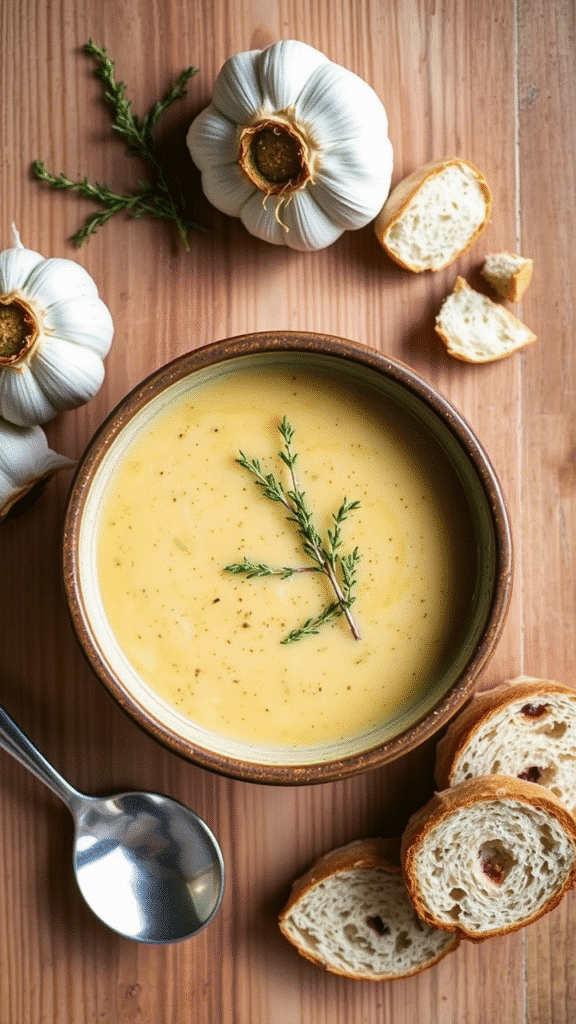
Roasting the Garlic
Preheat your oven to 400°F. This temperature is crucial—too high and the outer cloves burn before the inner ones soften; too low and you’ll wait forever for proper caramelization.
Cut about 1/4 inch off the top of each garlic head, exposing the clove tips. Don’t cut too deep or you’ll lose precious garlic to the bottom of your roasting pan. Drizzle each head with olive oil, letting it seep between the cloves. Season with salt and pepper.
Wrap each head in aluminum foil, creating loose packets that trap steam while allowing some caramelization. This technique gives you the best of both worlds—the gentle steaming effect keeps the garlic from drying out while the direct heat creates those sweet, golden edges.
Roast for 45-60 minutes until the cloves are golden brown and completely soft when pressed. The exact timing depends on your garlic’s size and age. Older garlic takes longer but often develops deeper flavors.
Common Mistake: Rushing this process by increasing the heat. I’ve seen cooks try to speed things up at 450°F, only to end up with bitter, burnt outer cloves and raw centers. Low and slow is the only way.
Building the Soup Base
While the garlic roasts, start your aromatics. Heat butter and olive oil in a heavy-bottomed pot over medium-low heat. The combination prevents the butter from browning too quickly while adding flavor complexity.
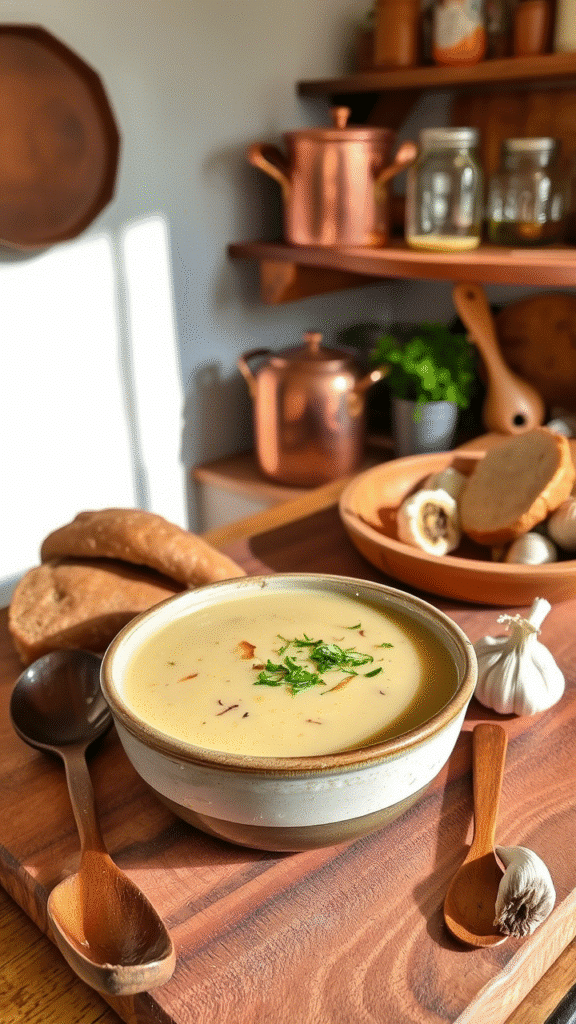
Add the chopped onions with a pinch of salt. Cook slowly, stirring occasionally, until they’re soft and lightly golden—about 15 minutes. This isn’t about caramelization; you want them sweet but not colored.
Expert Tip: The onions should release their moisture and become almost translucent. If they start browning before they’re soft, your heat’s too high. Patience here builds the flavor foundation.
Add the cubed potato and cook for another 3-4 minutes, just until the edges start to soften slightly. Pour in your stock, add the thyme and bay leaf, and bring to a gentle simmer.
Extracting Roasted Garlic
Once your garlic is perfectly roasted, let it cool just enough to handle safely. Squeeze each bulb from the bottom, pushing the soft, caramelized cloves out into a bowl. They should slide out easily—if you’re fighting them, they need more roasting time.
Don’t waste those roasted skins. Add them to your simmering soup for extra depth, then strain them out later. This technique extracts every bit of flavor from your roasted garlic investment.
Mash the roasted garlic cloves with a fork until you have a rough paste. Some chefs puree everything smooth later, but I like keeping a few small chunks for texture variation.
Finishing the Soup
Add the mashed roasted garlic to your simmering soup. Let everything cook together for 20-25 minutes until the potatoes are completely tender and starting to break apart.
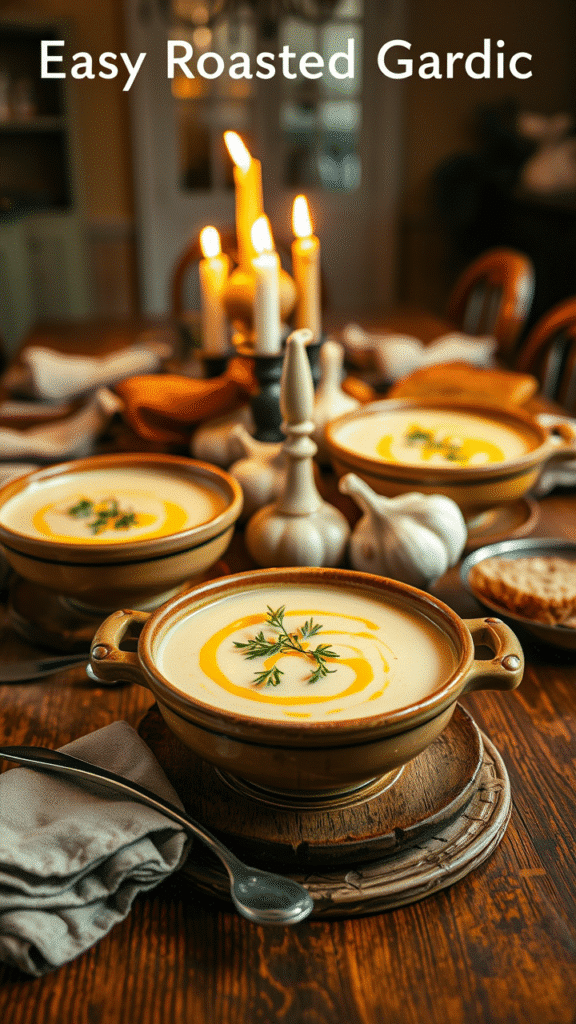
Remove the thyme stems and bay leaf. Using an immersion blender, puree the soup until smooth. If you don’t have one, let it cool slightly and use a regular blender in batches—but be careful with hot liquids.
Science Note: The potato starch, combined with the natural sugars from the roasted garlic, creates a naturally thick, creamy texture even before adding cream. This is why the soup feels substantial rather than thin.
Stir in the heavy cream and season carefully with salt and white pepper. White pepper maintains the soup’s elegant color while providing heat. Taste and adjust—roasted garlic’s sweetness can mask the need for salt, so add more than you might expect.
Cooking Techniques & Science
The magic in this soup happens through the Maillard reaction during garlic roasting. Heat breaks down the garlic’s cellular structure, converting starches to sugars and creating hundreds of new flavor compounds. This same process that browns bread and caramelizes onions transforms sharp garlic into something sweet and complex.
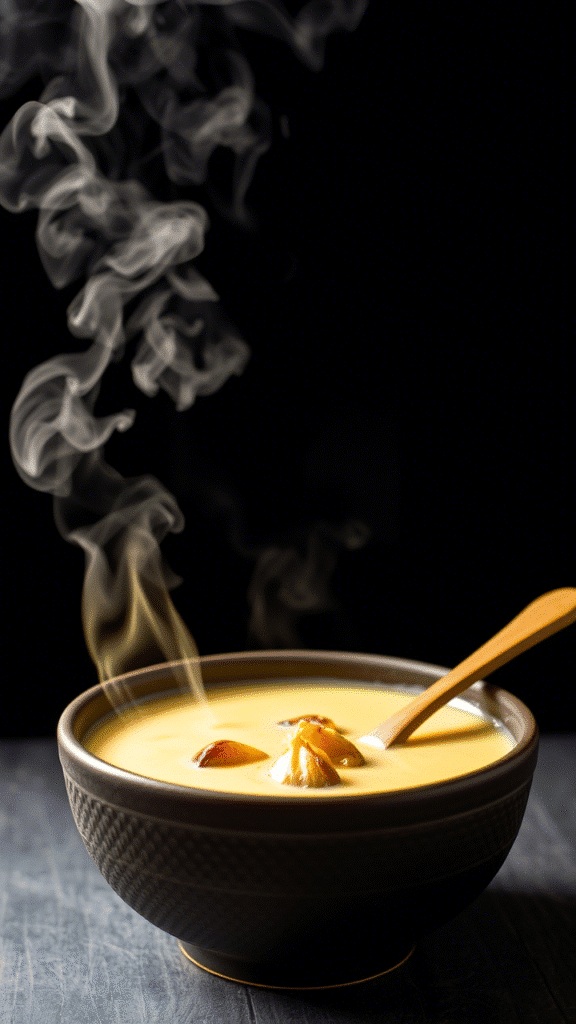
Temperature control is everything. At 400°F, moisture slowly evaporates while sugars concentrate and caramelize. The foil wrap creates a mini-braise environment, keeping the garlic from drying out while the direct heat develops color and flavor.
Traditional Technique: In classical French cuisine, this soup would be thickened with a roux or egg yolk liaison. I prefer the potato method because it’s lighter and lets the garlic flavors shine without competition from flour or eggs.
The choice of stock matters more than you might think. Chicken stock adds subtle richness without overwhelming the delicate garlic flavors. Vegetable stock works but choose one that’s not too aggressive—avoid brands heavy on celery or herbs that might compete.
Serving & Pairing Suggestions
Serve this soup hot in warmed bowls—the difference in temperature retention is noticeable. A small drizzle of good olive oil on top adds richness and visual appeal. Fresh thyme leaves or a few drops of truffle oil make elegant garnishes for special occasions.
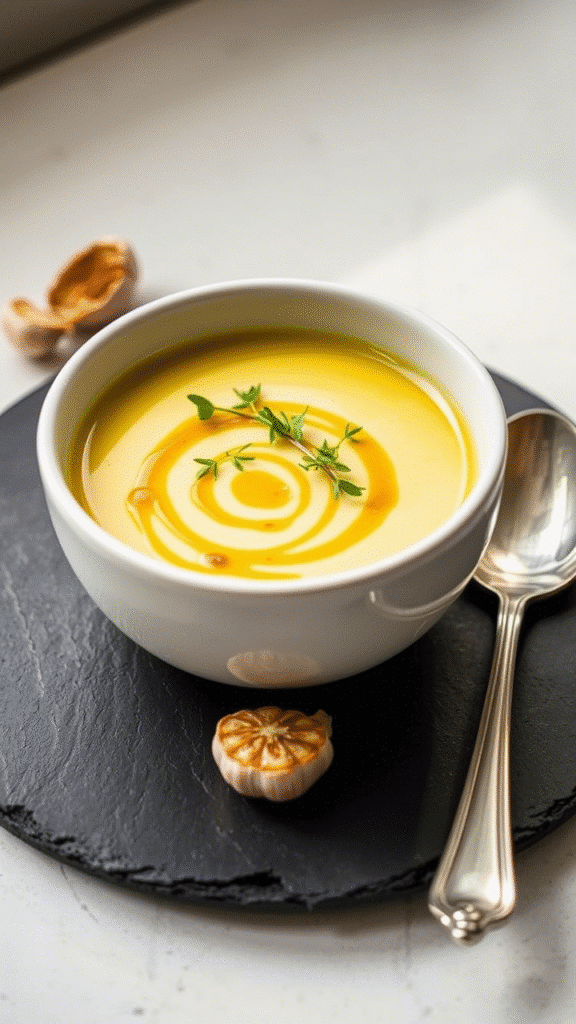
Bread Pairing: This soup practically demands good bread. A crusty sourdough or artisanal whole grain provides texture contrast and helps soak up every drop. Toast the bread lightly and rub with a fresh garlic clove for extra flavor harmony.
For wine pairing, think about balancing the soup’s richness and sweetness. A crisp Sauvignon Blanc cuts through the cream beautifully, while a light Pinot Noir complements the roasted flavors without overwhelming them. If you prefer white wine, Chardonnay works—but choose one that’s not too oaky.
Creative Presentations: Some chefs serve this in small portions as an amuse-bouche, garnished with a single roasted garlic clove and microgreens. Others make it the centerpiece of a casual dinner, served family-style with an assortment of breads and simple salads.
The soup keeps well and actually improves overnight as flavors meld. It also freezes beautifully for up to three months—just leave out the cream and add it when reheating.
Mastering the Details
Temperature consistency during roasting makes the difference between good and exceptional results. If your oven runs hot, lower the temperature to 375°F and extend the cooking time. The garlic should caramelize slowly, not steam or burn.
Professional Tip: Make extra roasted garlic while you’re at it. Those extra bulbs keep refrigerated for a week and transform everything from mashed potatoes to pasta sauces. The investment in time pays dividends in future meals.
Seasoning requires a delicate touch. The roasted garlic provides natural sweetness that can mask saltiness, so taste multiple times throughout cooking. What seems under-seasoned hot might be perfect when it cools to serving temperature.
Conclusion
Roasted garlic soup represents cooking at its most fundamental—taking a simple ingredient and transforming it through technique and patience into something extraordinary. The sweet, mellow flavors bear no resemblance to raw garlic’s sharpness, proving that understanding how heat changes ingredients is one of a chef’s most powerful tools.
The beauty lies in the soup’s simplicity. No exotic ingredients or complicated techniques, just garlic treated with respect and time. When you master this soup, you understand something deeper about cooking—that the best flavors often come from restraint rather than complexity.
Final Expert Advice: Don’t rush any step, especially the roasting. Good roasted garlic soup can’t be hurried, but the results justify every minute of patience. Make it once following these techniques exactly, then experiment with your own variations. The foundation is solid enough to support creative additions while remaining true to the garlic’s starring role.
Frequently Asked Questions?
Can I make this soup vegan?
Absolutely. Replace the butter with olive oil and use vegetable stock instead of chicken. Skip the heavy cream or substitute full-fat coconut milk for richness. The roasted garlic provides plenty of flavor depth without needing dairy enhancement.
How do I prevent the soup from being too garlicky?
The roasting process mellows garlic significantly, but if you’re still concerned, start with three bulbs instead of four. You can always roast additional garlic and add more later. Remember that roasted garlic tastes completely different from raw—it’s sweet and nutty rather than sharp.
Why is my soup thin instead of creamy?
This usually means the potatoes weren’t cooked long enough to break down properly, or they weren’t pureed completely smooth. Make sure the potatoes are falling-apart tender before blending, and puree thoroughly. The starch from properly cooked potatoes creates natural thickness even without cream.
Can I prepare components ahead of time?
Yes, this soup is excellent for advance preparation. Roast the garlic up to three days ahead and refrigerate. The complete soup keeps well for three days refrigerated and freezes for up to three months. If freezing, add the cream after thawing and reheating.
What’s the best way to reheat leftover soup?
Reheat gently over low heat, stirring frequently to prevent scorching. The cream can separate if heated too quickly. If the soup seems thick after refrigeration, thin with additional stock or cream. Taste and adjust seasoning after reheating, as flavors can dull when chilled.
Veronica is a passionate food enthusiast with over three years of experience in exploring and writing about diverse cuisines. Her expertise lies in reviewing restaurants, sharing creative recipes, and discovering the latest food trends. As the voice behind FoodieRecap.com, Anju brings fresh perspectives and culinary insights to her audience.
