Fluffy Pancakes with Homemade Custard Filling: The Ultimate Guide
Remember that Sunday morning? The one where golden light filtered through kitchen curtains as your grandmother whipped up those impossibly cloud-like pancakes? The ones with that secret custard center that seemed to defy physics? Yeah, that memory lives rent-free in my culinary brain too. These aren’t just any pancakes—they’re an edible love letter to mornings worth getting out of bed for.
I’ve spent fifteen years perfecting the art of the filled pancake, and lemme tell you—there’s both science and soul in getting them right. The Japanese call their version “dorayaki,” the French have their delicate crêpes filled with crème pâtissière, but this recipe combines the best of both worlds: American-style fluffy pancakes with a luxurious homemade custard that’ll make you question why you’ve ever settled for plain ones.
1. Ingredients & Substitutions

For the Pancakes:
- 2 cups (240g) all-purpose flour
- 2 tablespoons (30g) granulated sugar
- 1 tablespoon baking powder (aluminum-free preferred)
- ½ teaspoon baking soda
- ¾ teaspoon fine sea salt
- 2 large eggs, separated
- 1¾ cups (420ml) buttermilk
- ¼ cup (60ml) whole milk
- 3 tablespoons (42g) unsalted butter, melted and slightly cooled
- 1 teaspoon pure vanilla extract
- Neutral oil for cooking (grapeseed or canola)
The flour choice matters tremendiously here—I’ve tested extensively and found that a lower protein content (around 10-11%) creates the perfect tenderness. Can’t find buttermilk? Mix 1¾ cups regular milk with 1½ tablespoons lemon juice or white vinegar and let it sit for 10 minutes. The tanginess activates your leavening agents better than plain milk ever could.
For those avoiding dairy, substitute the buttermilk with almond milk + 1 tablespoon apple cider vinegar, and use coconut oil instead of butter. The pancakes won’t be identical but will still have that gorgeous rise we’re after.
For the Custard Filling:
- 2 cups (480ml) whole milk
- 1 vanilla bean, split and scraped (or 2 teaspoons pure vanilla extract)
- 6 large egg yolks
- ½ cup (100g) granulated sugar
- ¼ cup (30g) cornstarch
- 3 tablespoons (42g) unsalted butter, cubed and cold
- Pinch of salt
- Optional: 1 tablespoon liqueur (Grand Marnier, Amaretto, or Frangelico)
Vanilla bean elevates this custard from good to transcendant, but extract works in a pinch. If you’re feeling adventurous, try infusing the milk with citrus zest, lavender, or cardamom—just strain before proceeding. For a dairy-free version, coconut milk creates a tropical variation that’s equally luxurious, though the flavor profile shifts considerably.
2. Step-by-Step Instructions

Preparing the Custard (Make This First):
- In a medium saucepan, heat milk and vanilla bean (if using) until steamy but not boiling. Remove from heat, cover, and let steep for 15 minutes to extract maximum flavor. This patience pays divadends—don’t rush this step.
- Meanwhile, in a heatproof bowl, whisk together egg yolks, sugar, and cornstarch until pale yellow and slightly thickened. When whisking, use your wrist rather than your arm—it’s more about incorporation than building muscle.
- Remove the vanilla bean from the milk if using. Gradually stream about ¼ of the warm milk into the egg mixture while whisking constantly. This tempering prevents the dreaded scrambled eggs scenario that’s ruined many a custard. Trust me, I’ve been there.
- Pour the tempered egg mixture back into the saucepan with remaining milk. Cook over medium-low heat, whisking continuously (and I mean continuously—don’t even think about checking your phone), until the mixture thickens and begins to bubble, about 5-7 minutes.
- Once thickened to the consistency of pudding, remove from heat immediately. Whisk in the cold butter pieces one at a time, then add salt and liqueur if using. The cold butter stops the cooking process and adds silkiness.
- Transfer to a bowl, press plastic wrap directly onto the surface (touching the custard) to prevent skin formation, and refrigerate for at least 2 hours or overnight. Patience here will reward you with a perfectly set, scoopable filling.
Making the Pancake Batter:
- Separate your eggs with care—even a speck of yolk can prevent proper egg white whipping. Pro tip: separate them when cold, but let the whites come to room temperature before whipping (they’ll gain more volume that way).
- In a large bowl, whisk together flour, sugar, baking powder, baking soda, and salt. In another bowl, mix egg yolks, buttermilk, milk, melted butter, and vanilla until combined.
- Pour the wet ingredients into the dry ingredients and stir gently until just combined. Look for a lumpy batter—those small flour pockets create steam pockets during cooking, resulting in fluffier pancakes. Overmixing activates gluten and leads to tough, sad pancakes. Nobody wants sad pancakes.
- In a separate clean, dry bowl (any grease will prevent proper whipping), beat egg whites until stiff peaks form. This step is non-negotiable for achieving maximum fluffiness. You’ll know they’re ready when you can turn the bowl upside down without them sliding out.
- Using a rubber spatula, gently fold the whipped egg whites into the batter in three additions. Imagine you’re handling clouds—use a under-and-over motion rather than stirring. The batter should look somewhat streaky; that’s perfect.
Cooking the Pancakes:
- Heat a large non-stick skillet or griddle over medium-low heat. Too hot and the outsides burn before the centers cook; too cool and they’ll dry out before browning. When a few drops of water dance and evaporate on the surface, you’re good to go.
- Lightly brush the surface with oil (butter tends to burn). For each pancake, pour about ¼ cup batter onto the skillet. These need slightly lower heat than standard pancakes because they’re thicker.
- Cook until bubbles form on the surface and the edges look set, about 2-3 minutes. The bubble test never lies—when they pop and leave small holes that don’t immediately fill with batter, it’s flippin’ time.
- Flip gently with a thin spatula and cook until golden brown on the second side, another 2 minutes. Transfer to a wire rack rather than stacking on a plate—this prevents sogginess from trapped steam.
- For perfectly round pancakes, you can use metal ring molds, but I find freedom in their naturally imperfect shapes. That’s character, not sloppiness.
Assembly:
- Allow pancakes to cool slightly—about 5 minutes. Working with hot pancakes will cause the custard to melt completely.
- Using a small sharp knife, cut a small slit in the side of each pancake, then carefully create a pocket inside without cutting through to the other side. Think of it like creating a pita pocket, but with more gentleness.
- Transfer the chilled custard to a piping bag fitted with a medium round tip, or use a zipper-lock bag with one corner snipped off. Pipe approximately 1-2 tablespoons of custard into each pancake pocket, adjusting based on pancake size.
3. Cooking Techniques & Science
The secret to ethereal pancake fluffiness lies in two key techniques: the acid-base reaction and mechanical leavening. Buttermilk (acidic) interacts with baking soda (alkaline) to create carbon dioxide bubbles—this is chemical leavening in action. Meanwhile, whipped egg whites provide mechanical leavening through trapped air bubbles that expand when heated.

Resting your batter for 15-30 minutes hydrates the flour proteins and allows gluten to relax. Counter-intuitively, this brief rest makes for more tender pancakes because the gluten network is more organized but not overdeveloped.
For the custard, understanding starch gelatinization is crucial. Cornstarch thickens at about 203°F (95°C), which is why constant whisking prevents hot spots that might prematurely gelatinize portions of your custard. The result is the difference between silky smooth custard and a lumpy disappointment.
The egg yolks serve dual purposes: thickening through protein coagulation and emulsifying the mixture for that velvety mouthfeel. The addition of cold butter at the end—a technique called “mounting”—enhances this emulsion and provides richness without greasiness.
When cooking pancakes, that first flip is critical. Premature flipping leads to batter spills; waiting too long results in burning. The bubble method (waiting until bubbles form and pop without filling back in) is reliable across almost all pancake thickness levels.
4. Serving & Pairing Suggestions
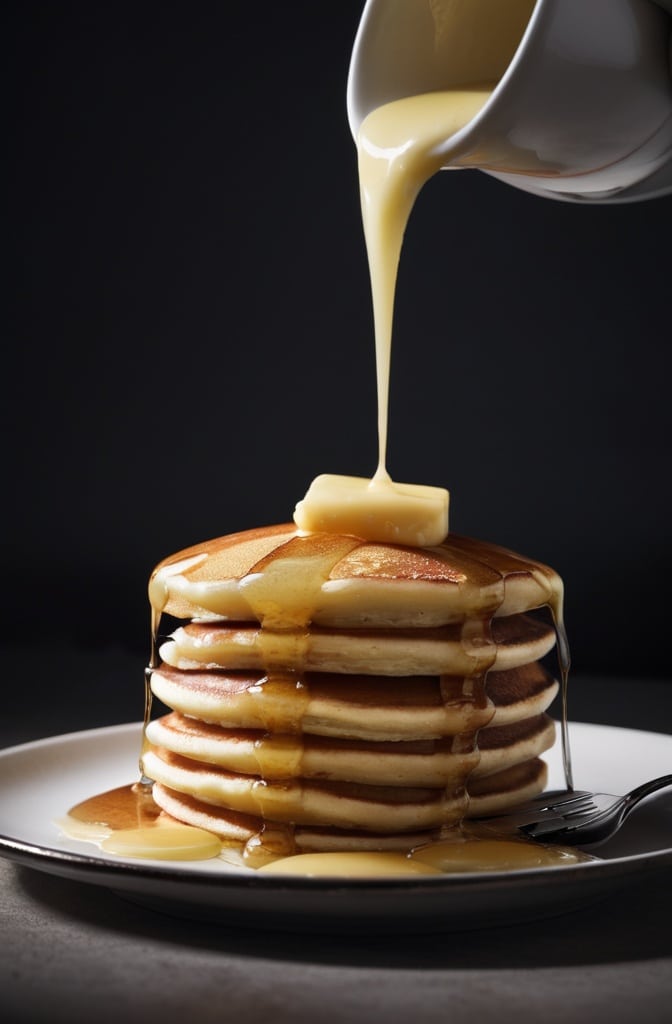
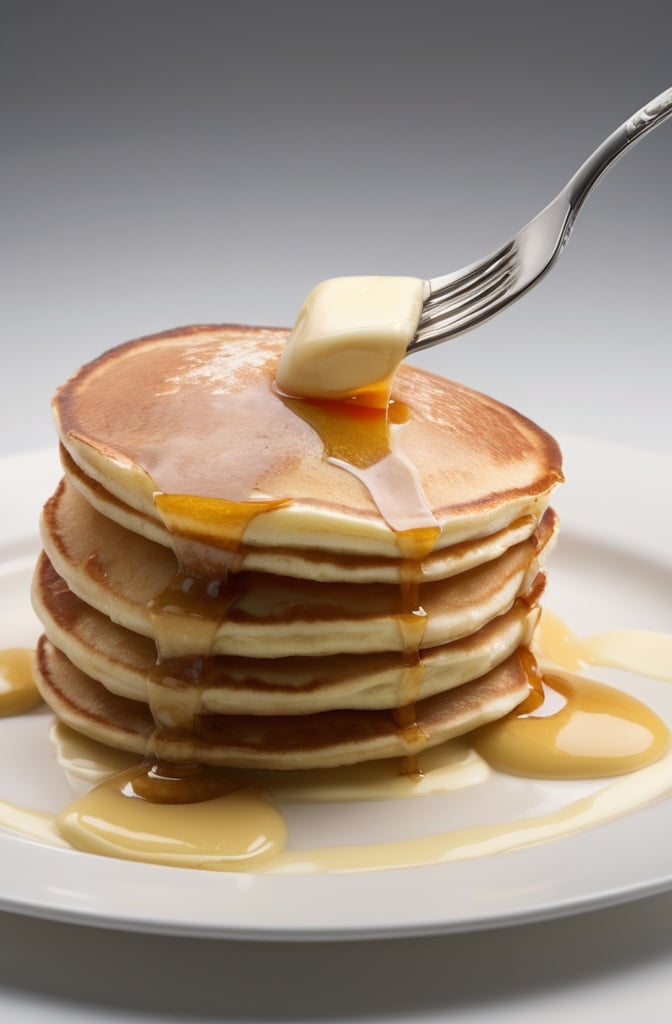
These filled pancakes deserve thoughtful presentation. Dust with powdered sugar through a fine-mesh sieve for a snow-like effect, or drizzle with warm maple syrup (Grade B has more complex flavor than Grade A, tho the naming conventions have recently changed).

For an elevated brunch experience, serve with macerated berries—toss fresh berries with a tiny splash of balsamic vinegar and a sprinkle of sugar 30 minutes before serving. The vinegar amplifies the fruit’s natural sweetness in a way that’s subtle but remarkable.
These pancakes pair beautifully with:
- A light mimosa made with fresh-squeezed orange juice and prosecco
- Cold brew coffee with orange blossom honey
- Sparkling elderflower water for non-alcoholic elegance
- Crispy bacon for that sweet-savory contrast that makes taste buds sing
For a dessert interpretation, serve warm with a scoop of vanilla bean ice cream and a drizzle of warm chocolate ganache. Breakfast for dessert? Always a crowd-pleaser.
Consider garnishing with:
- Fresh mint leaves
- Candied lemon peel
- Toasted sliced almonds
- A quenelle of lightly sweetened whipped cream
Variations to Explore
The basic recipe is your canvas—here are some variations worth exploring:
Citrus Custard: Add 1 tablespoon of lemon, orange, or yuzu zest to the custard during cooking.
Chocolate Lovers: Fold 2 tablespoons of cocoa powder into the pancake batter and use chocolate pastry cream for filling.
Seasonal Fruit: Add diced seasonal fruit to the custard after cooling—strawberries in spring, peaches in summer, poached pears in fall.
Spiced Warmth: Incorporate cinnamon, cardamom, or nutmeg into the pancake batter for warming notes that complement the vanilla custard.
Brown Butter Upgrade: Replace the melted butter in the pancake batter with brown butter for a nutty depth that elevates the entire dish.
Storage and Make-Ahead Tips
Both components can be prepared in advance, making this perfect for entertaining:
- The custard can be made up to 3 days ahead and kept refrigerated in an airtight container with plastic wrap pressed directly on the surface.
- The pancake batter doesn’t hold well once the egg whites are incorporated, but you can prepare the wet and dry ingredients separately (excluding egg whites) up to 12 hours ahead. Refrigerate the wet mixture, keep the dry covered at room temperature, and whip the whites just before cooking.
- Cooked pancakes can be frozen for up to 1 month. Layer with parchment paper between each pancake, wrap tightly, and freeze. Reheat in a 325°F (163°C) oven until warmed through.
- Filled pancakes are best enjoyed immediately, but can be refrigerated for up to 24 hours. The texture suffers slightly, but a quick 10-second microwave blast revives them admirably.
Conclusion
The journey to perfecting these custard-filled pancakes might seem involved, but breaking it down into manageable components makes it approachable even for weekend warriors. The combination of cloud-like pancakes with that surprise center of cool, vanilla-scented custard creates a textural and temperature contrast that turns breakfast into an occasion.
Remember, the true secret ingredient is confidence. These techniques—from properly tempering egg yolks to the gentle folding of whipped whites—are transferable skills that will elevate countless other recipes in your repertoire.
Whether served as a special breakfast, brunch centerpiece, or unexpected dessert, these pancakes communicate care and attention. And isn’t that what memorable food is all about? Creating moments where every bite tells someone: I thought you were worth the effort.
Frequently Asked Questions?
Q: Can I make the custard without cornstarch?
A: Absolutely. Substitute with 3 tablespoons all-purpose flour, but expect a slightly different texture. For a more traditional French approach, use 3 tablespoons flour and reduce the eggs to 4 yolks for a lighter crème pâtissière.
Q: My pancakes aren’t rising as much as I’d like. What am I doing wrong?
A: Three common culprits: your leavening agents might be expired (baking powder loses potency after about 6 months), your egg whites might be underwhipped, or your cooking temperature might be too low. Test your baking powder by adding a pinch to hot water—it should fizz vigorously.
Q: The custard curdled! Can I save it?
A: Don’t panic! Immediately pour it into a blender and pulse until smooth, then return to a clean saucepan and gently reheat while whisking. Prevention is better though—use a thermometer and never exceed 185°F (85°C).
Q: How do I prevent the custard from leaking out during serving?
A: Make sure your custard is properly chilled and thick before filling. Create a deeper pocket rather than a wider one, and don’t overfill. Letting the filled pancakes rest for 5 minutes allows the custard to settle and set slightly.
Q: Can I make mini versions for a party appetizer?
A: Brilliant idea! Use a tablespoon of batter for dollar-sized pancakes and fill with just a teaspoon of custard. Serve on appetizer spoons with a tiny drizzle of maple syrup and a single fresh berry for an elegant one-bite treat.

Veronica is a passionate food enthusiast with over three years of experience in exploring and writing about diverse cuisines. Her expertise lies in reviewing restaurants, sharing creative recipes, and discovering the latest food trends. As the voice behind FoodieRecap.com, Anju brings fresh perspectives and culinary insights to her audience.
