A Professional Chef’s Guide
The sizzle of the flat-top grill still haunts my dreams. Twenty years in professional kitchens, and I still remember my first encounter with authentic hibachi cooking in Osaka. The chef’s hands moved with lightning speed, tossing ingredients with choreographed precision as flames leapt skyward. Audience and artistry combined in perfect harmony.

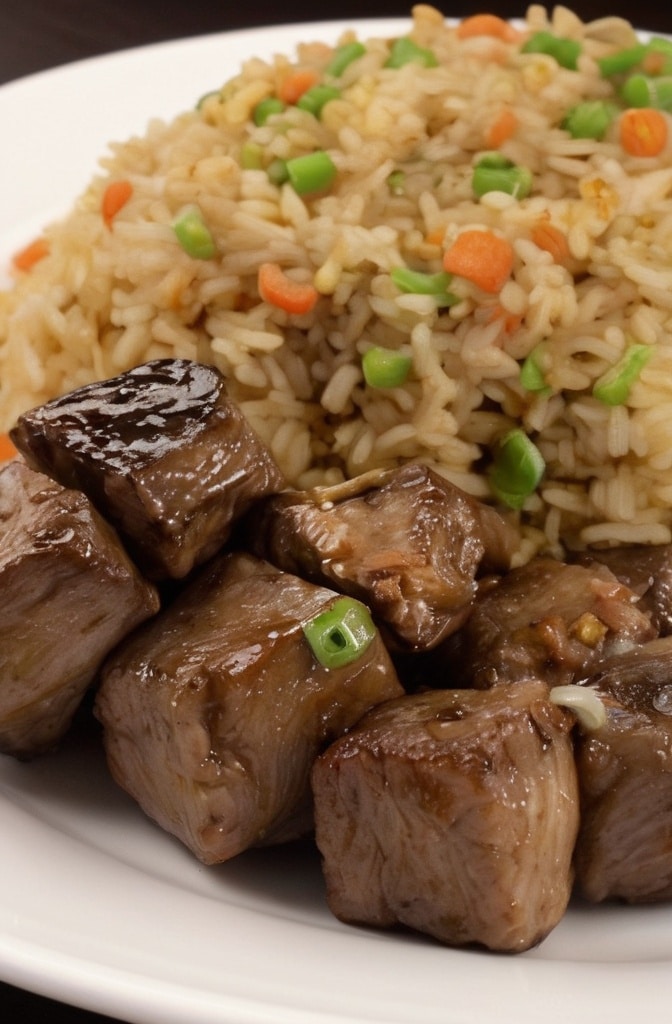
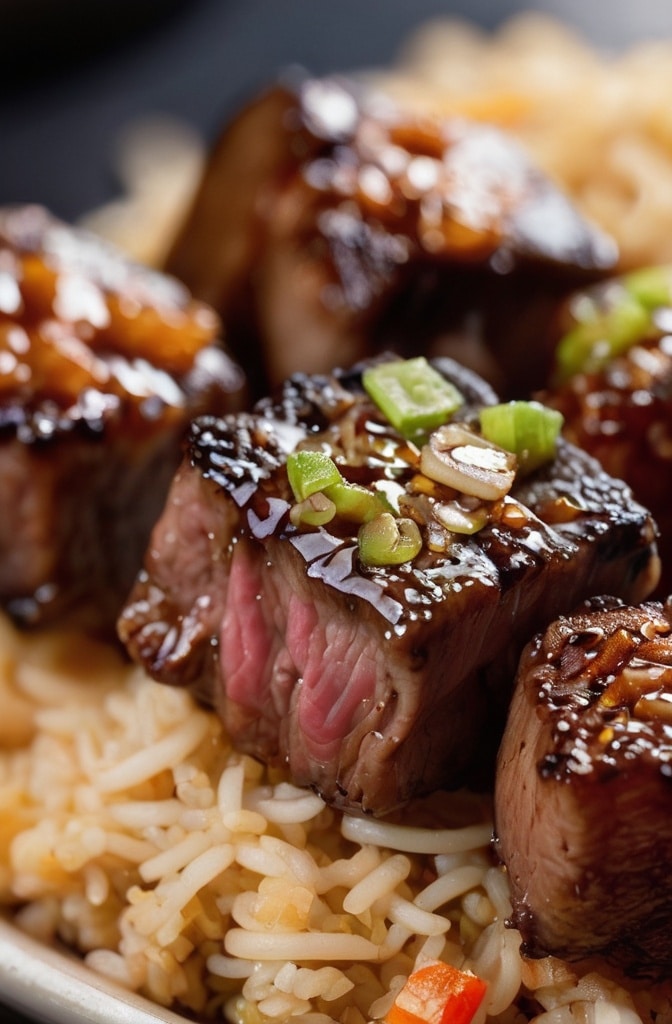
Hibachi cooking isn’t just about the food—it’s theater, tradition, and technique all rolled into one unforgettable experience. But what if I told you that you could recreate that same magic at home? Those tender, umami-rich steak bites with perfectly caramelized edges and fluffy, savory fried rice aren’t reserved for special occasions at Japanese steakhouses. With the right guidance, these crave-worthy flavors can become part of your culinary repertoire.
What Makes Hibachi Special
Hibachi (literally “fire bowl”) traditionally refers to the heating devices used in Japanese homes, but in Western cultures, it’s become synonymous with teppanyaki-style cooking—food prepared on a flat iron griddle. The magic lies in the high heat, minimal ingredients, and split-second timing. Nothing’s overcomplicated, yet everything’s perfectly executed.
The beauty of hibachi cooking is it’s deceptively simple. You don’t need fancy equipment or obscure ingredients to achieve authentic results. What you do need is understanding the core techniques that elevate simple proteins and rice into something extraordinary. Temperature control, ingredient preparation, and precise timing are tha keys to success.
Ingredients & Substitutions
For the Steak Bites:
- 1 pound ribeye steak (well-marbled, cut into 1-inch cubes)
- 2 tablespoons vegetable oil (or any high smoke point oil)
- 3 tablespoons soy sauce (preferably Japanese)
- 1 tablespoon unsalted butter
- 4 garlic cloves, minced
- 1 tablespoon fresh ginger, grated
- 1 teaspoon sesame oil
- 2 tablespoons mirin (Japanese sweet rice wine)
- 1 tablespoon granulated sugar
- Freshly ground black pepper
For the Fried Rice:
- 3 cups cooked short-grain rice (day-old, cold)
- 3 tablespoons vegetable oil
- 2 eggs, lightly beaten
- 1/2 cup frozen peas and carrots, thawed
- 1/2 cup yellow onion, finely diced
- 3 green onions, thinly sliced (white and green parts separated)
- 2 cloves garlic, minced
- 2 tablespoons soy sauce
- 1 tablespoon butter
- 1 teaspoon toasted sesame oil
- Salt and pepper to taste
For Hibachi Sauce (optional):
- 1/4 cup soy sauce
- 3 tablespoons unsalted butter
- 2 tablespoons rice vinegar
- 1 tablespoon honey
- 2 cloves garlic, minced
- 1 teaspoon fresh ginger, grated
- 1/2 teaspoon white pepper
Ingredient Insights
The steak selection is crucial here. While traditional teppanyaki chefs might opt for wagyu or extremely high-quality cuts, I’ve found that a well-marbled choice ribeye offers the perfect balance of flavor, tenderness, and affordability. The intramuscular fat creates those pockets of juiciness that make each bite sing.

If ribeye isn’t available, sirloin or New York strip work admirably, though you’ll want to be extra vigilant about overcooking. For vegetarians, extra-firm tofu (pressed and marinated) or king oyster mushrooms sliced into medallions provide excellent textural alternatives with plenty of surface area for caramelization.
Day-old rice isn’t just tradition—it’s science. Freshly cooked rice contains too much moisture, resulting in soggy fried rice. The aging process allows excess moisture to evaporate and starches to firm up, creating distinct grains that’ll absorb flavor without turning mushy. In a pinch, spread freshly cooked rice on a baking sheet and refrigerate uncovered for 30 minutes—it’s not perfect but gets you closer to ideal texture.
Mirin might seem dispensable, but its unique combination of sweetness and acidity balances the umami-rich soy sauce. If unavailable, substitute with 1 tablespoon rice vinegar mixed with 2 teaspoons sugar.
Step-by-Step Instructions
Preparing the Steak
- Start with the steak at room temperature (about 30 minutes on the counter). Pat dry thoroghly with paper towels—any moisture will inhibit proper searing and caramelization.
- In a small bowl, whisk together soy sauce, mirin, sugar, ginger, and black pepper. Reserve half for basting during cooking and use the remaining half for marinating.
- Toss the steak cubes in the marinade, coating evenly. Don’t marinate longer than 30 minutes—the salt in the soy sauce will begin to cure the meat, changing its texture. This is a common mistake that can transform tender bites into overly firm, hammy-textured disappointments.
Cooking the Steak Bites
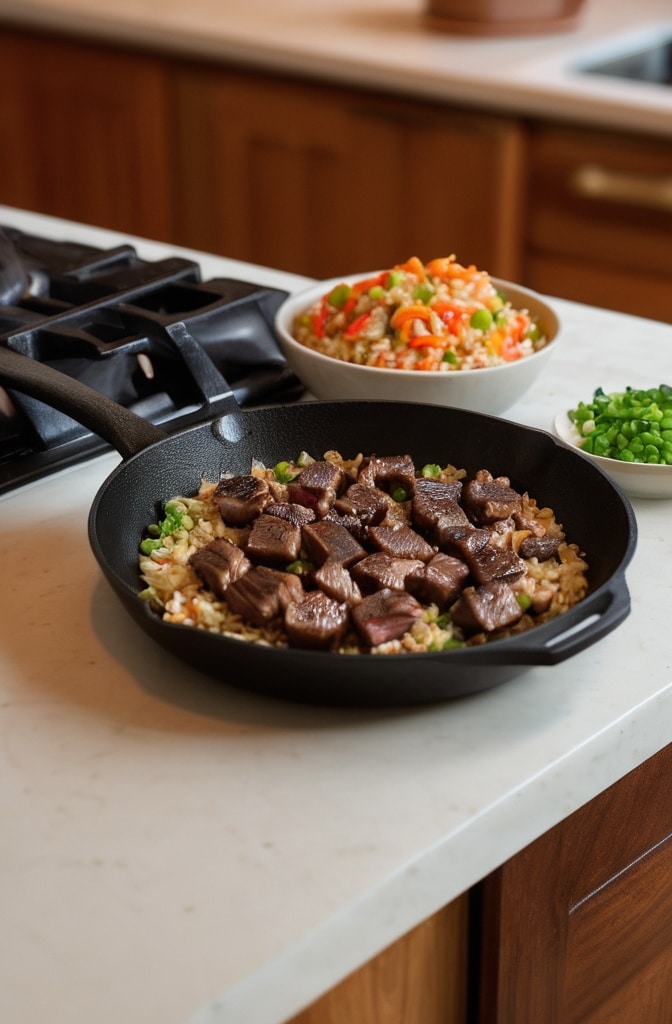
- Heat a large cast iron skillet or carbon steel pan over high heat until smoking hot. A drop of water should dance and immediately evaporate on contact—anything less means inadequate heat for proper searing.
- Add vegetable oil and swirl to coat. Working in batches (overcrowding is the enemy of caramelization), add steak pieces with space between each cube. Don’t touch them for 45-60 seconds.
- Once the first side has developed a rich brown crust, flip each piece and cook for another 30-45 seconds. Add a small piece of butter, garlic, and a splash of the reserved marinade mixture to the pan, tossing quickly to coat.
- Remove immediately to a warm plate—residual heat will continue cooking the meat. For medium-rare, the entire cooking process should take no more than 2 minutes total. Remember, you can always cook steak more, but you can’t uncook it!
Preparing the Fried Rice
- Heat 2 tablespoons of oil in a wok or large skillet over medium-high heat. Add beaten eggs and scramble until just set but still slightly wet, about 30 seconds. Remove to a plate.
- Increase heat to high and add remaining tablespoon of oil. Add onions and the white parts of green onions, stirring constantly for about 1 minute until fragrant but not browned.
- Add garlic and stir for just 15 seconds—any longer and it’ll burn, creating bitter notes that will ruin your dish. Immediately add the day-old rice, breaking up any clumps with your spatula or wooden spoon.
- Press rice against the hot surface of the pan in a thin layer for 15-20 seconds without stirring (this creates the coveted crispy bits), then toss and repeat. Continue this process for 2-3 minutes until rice is heated through and beginning to toast slightly.
- Add peas and carrots, tossing for 1 minute until heated through. Return scrambled eggs to the pan, breaking into smaller pieces as you stir.
- Drizzle soy sauce around the perimeter of the pan (not directly on the rice), allowing it to sizzle and caramelize slightly before mixing. This technique creates complex flavor compounds through the Maillard reaction—a secret many home cooks miss.
- Add butter and toss until melted and incorporated. Finish with sesame oil and green parts of scallions, tossing once more to distribute evenly.
For the Hibachi Sauce (Optional)
- In a small saucepan, melt butter over medium heat until it begins to foam.
- Add garlic and ginger, stirring constantly for 30 seconds until aromatic but not browned.
- Add soy sauce, rice vinegar, honey, and white pepper, whisking to combine. Simmer for 2-3 minutes until slightly thickened. Strain through a fine mesh strainer for a silky smooth finish if desired.
Cooking Techniques & Science
Hibachi cooking is fundamentally about harnessing heat effectively. The professional hibachi chef’s advantage isn’t just equipment—it’s understanding heat zones and timing. On a traditional teppan, temperatures can exceed 450°F (232°C), creating instant caramelization. At home, our goal is recreating this intense heat with standard equipment.

Cast iron and carbon steel retain and distribute heat superbly, making them ideal for home hibachi cooking. Allowing your pan to preheat properly is non-negotiable—many home cooks get impatient and start too soon, resulting in steamed rather than seared meat.
The Maillard reaction—the complex chemical dance between amino acids and reducing sugars under heat—is what creates the distinctive flavor compounds in properly cooked hibachi steak. This reaction begins at around 285°F (140°C) but accelerates dramatically above 350°F (177°C). This is why that initial searing phase is done without moving the meat—disturbing it too soon interrupts this crucial reaction.
For the rice, the key technique is what I call “press and toss.” By periodically pressing the rice against the hot surface, you create texture variation—some grains become crispy while others remain tender. This textural contrast is what separates exceptional fried rice from mediocre versions.
The sequence of ingredient addition matters tremendously. Adding garlic too early results in bitterness. Adding soy sauce directly onto the rice causes immediate absorption before caramelization can occur. These seem like small details, but they compound to create dramatically different results.
Serving & Pairing Suggestions
Presentation
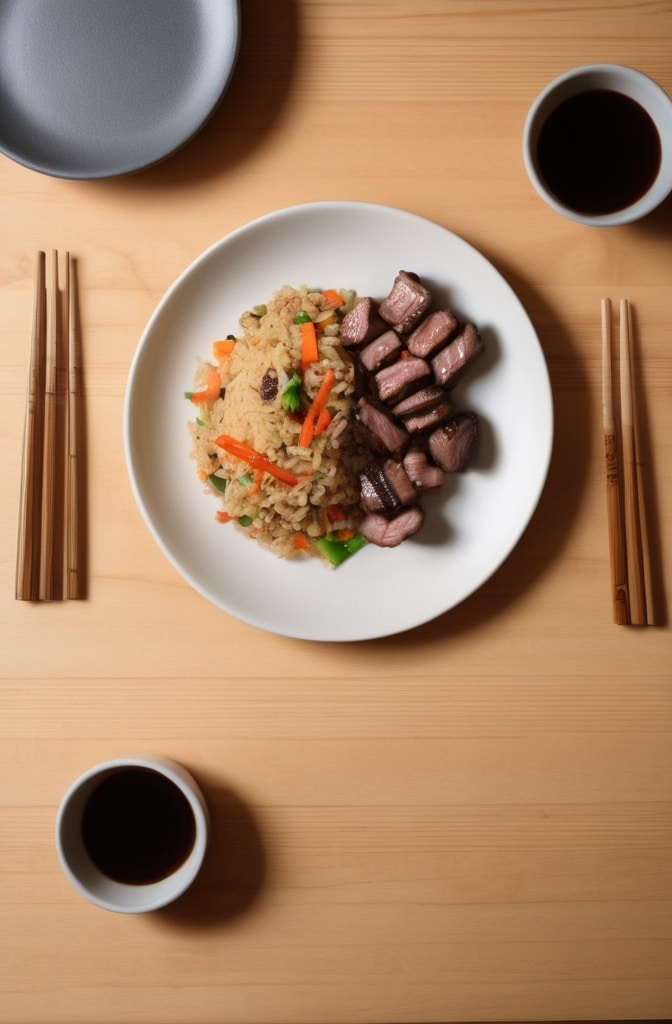
For authentic hibachi presentation, serve family-style on a large platter with steak bites arranged atop or alongside the fried rice. Garnish with additional sliced green onions and sesame seeds. A small ramekin of hibachi sauce on the side allows diners to adjust flavor to taste.

For individual plating, use a ring mold to shape rice into a perfect circle, top with steak bites arranged in a fan pattern, and finish with a drizzle of sauce and microgreens for elegant height and color contrast.
Complementary Dishes
Hibachi meals traditionally include simple sides that don’t compete with the main attraction:
- Miso soup provides a light, umami-rich starter that prepares the palate
- A simple cucumber salad with rice vinegar dressing offers refreshing acidity
- Steamed edamame with flaky sea salt provides textural contrast and shareable fun
- Grilled shishito peppers complement the smoky notes in the steak
Beverage Pairings
Japanese beer (Sapporo, Asahi, or Kirin) is the traditional choice, offering crisp, clean flavors that don’t overwhelm the food. For wine lovers, medium-bodied reds with moderate tannins work beautifully—think Pinot Noir or Merlot.
For non-alcoholic options, cold barley tea (mugicha) or a yuzu-based spritzer complements the rich, savory flavors perfectly.
Conclusion
Mastering hibachi cooking is about respecting simplicity while perfecting technique. The true secret isn’t exotic ingredients or specialized equipment—it’s attention to detail, proper heat management, and timing. These principles apply whether you’re cooking on a professional teppan or your home stove.
Once you’ve mastered these fundamentals, the possibilities are endless. Experiment with different proteins, incorporate seasonal vegetables, or develop your own signature sauce. The heart of hibachi lies in transformation—turning simple ingredients into something greater than the sum of their parts through technique and care.
Remember that hibachi cooking is inherently adaptable. Don’t be afraid to adjust techniques to suit your equipment’s capabilities. A traditional cast iron pan may never reach the temperatures of a commercial teppan, but with patience and proper technique, you can come remarkably close to that authentic experience.
Whether you’re cooking for a casual family dinner or trying to impress dinner guests, these hibachi steak bites with fried rice offer accessibility without sacrificing authenticity—proof that sometimes the most satisfying culinary experiences can happen right in your own kitchen.
Frequently Asked Question?
Why is my fried rice turning out mushy instead of fluffy?
This usually happens when using freshly cooked rice or not letting your pan get hot enough. Day-old refrigerated rice has had time to dry out slightly, allowing each grain to maintain its integrity. Also ensure you’re using the right rice variety—short to medium grain works best. If you must use fresh rice, spread it on a baking sheet and refrigerate uncovered for at least 1 hour before frying.
Can I make this dish with chicken or shrimp instead of steak?
Absolutely! For chicken, use boneless thighs cut into 1-inch pieces and cook for slightly longer (about 3 minutes total) until internal temperature reaches 165°F. For shrimp, cook for just 1-2 minutes total until they just turn pink—overcooked shrimp become rubbery. The marinade works beautifully with both proteins.
What’s the best pan to use if I don’t have a cast iron skillet?
Carbon steel and heavy-gauge stainless steel pans are excellent alternatives. The key is something that retains heat well and can withstand high temperatures without warping. Non-stick pans generally don’t get hot enough for proper hibachi cooking and the coating can release harmful chemicals when heated beyond manufacturer recommendations.
How do I adjust this recipe for a large group?
Rather than trying to cook everything at once, work in batches and keep completed portions warm in a 200°F oven. Cook the rice first (it holds heat well), then focus on the protein. For parties, consider setting up a DIY hibachi station with pre-cut ingredients where guests can customize their own combinations.
Can I prepare any components ahead of time?
The rice actually benefits from being made a day ahead. You can also prep the vegetable components and mix the sauce ingredients in advance. For best results, the steak should be cut and cooked just before serving—pre-cutting and storing can dry out the meat and affect texture.

Veronica is a passionate food enthusiast with over three years of experience in exploring and writing about diverse cuisines. Her expertise lies in reviewing restaurants, sharing creative recipes, and discovering the latest food trends. As the voice behind FoodieRecap.com, Anju brings fresh perspectives and culinary insights to her audience.
