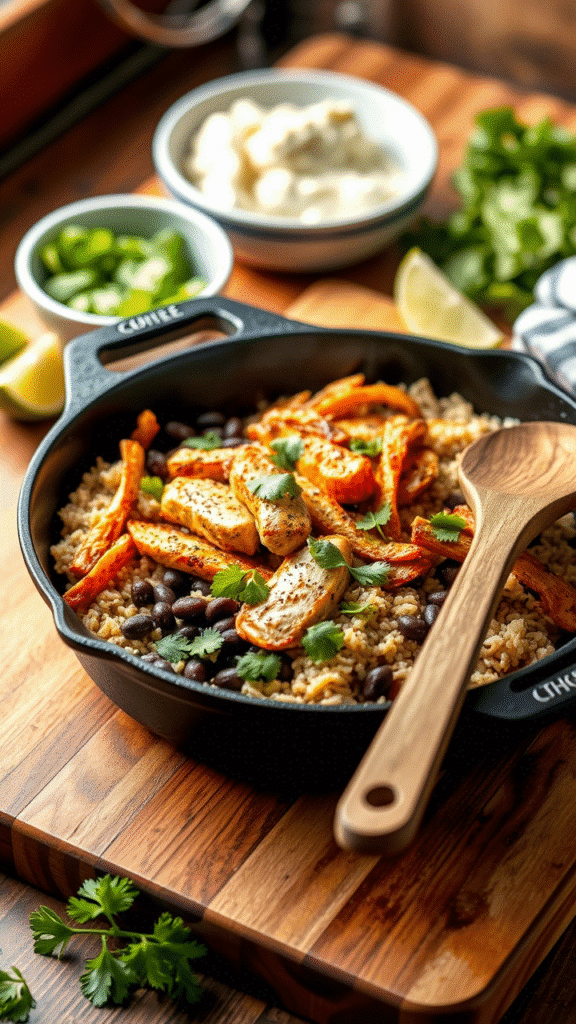
Last Tuesday, I stood in my kitchen at 6:47 PM, staring at a sink full of dishes from the night before and a family of four waiting for dinner. The thought of creating another mountain of cookware made me want to order takeout for the third time that week. That’s when I remembered the game-changing technique I’d learned from a line cook in Santa Fe—the art of the one-pan burrito bowl.
This isn’t just another “easy weeknight dinner” recipe. It’s a masterclass in flavor layering, texture contrast, and efficient cooking that transforms simple ingredients into something that rivals your favorite Mexican restaurant. The beauty lies in how each component builds upon the last, creating layers of flavor that would normally require multiple pans and hours of prep time.
What makes this recipe truly special is the sequential cooking method. We’re not just throwing everything together; we’re orchestrating a symphony of flavors where each ingredient hits the pan at precisely the right moment. The result? Perfectly seasoned chicken with those coveted caramelized edges, fluffy rice that’s absorbed all the pan drippings, and vegetables that maintain their vibrant crunch.
Ingredients & Substitutions
For the Chicken & Base:
- 1.5 lbs boneless, skinless chicken thighs (or breasts, though thighs are superior)
- 1 cup long-grain white rice (jasmine works beautifully)
- 2 cups low-sodium chicken broth
- 1 large yellow onion, diced
- 3 cloves garlic, minced
- 1 bell pepper (any color), diced
- 1 jalapeño, seeded and minced (leave seeds for heat lovers)
For the Seasoning Blend:
- 2 tsp chili powder
- 1 tsp ground cumin
- 1 tsp smoked paprika
- 1/2 tsp oregano
- 1/2 tsp garlic powder
- 1/4 tsp cayenne pepper
- Salt and black pepper to taste
For the Finishing Touches:
- 1 can (15 oz) black beans, drained and rinsed
- 1 cup frozen corn kernels
- 1/4 cup fresh cilantro, chopped
- 2 limes, juiced
- 3 tbsp olive oil
- Optional: shredded cheese, sour cream, avocado, salsa
Let’s talk substitutions because flexibility is key to mastering this dish. Chicken thighs are my go-to because they’re nearly impossible to overcook and their fat content keeps everything moist. However, if you’re team chicken breast, just reduce the cooking time by about 2-3 minutes to avoid that dreaded rubber texture.
Rice choices matter more than most people realize. Long-grain varieties like jasmine or basmati absorb liquid beautifully without becoming mushy. Short-grain rice will work, but you’ll need to adjust the liquid ratio—use about 1.75 cups of broth instead of 2 cups. Brown rice enthusiasts can absolutely make this work, but you’ll need to pre-cook it partially or extend the cooking time significantly.
The spice blend is where you can truly make this recipe your own. Don’t have smoked paprika? Regular paprika works, though you’ll miss that subtle smoky depth. No cumin? Try ground coriander for a different but equally delicious flavor profile. The key is maintaining the balance between heat, earthiness, and brightness.
Step-by-Step Instructions

Step 1: Prep and Season the Chicken
Pat your chicken completely dry with paper towels—this is crucial for achieving those beautiful caramelized edges. Moisture is the enemy of browning, and we want every bit of surface area to develop that golden crust. Season generously with your spice blend, making sure to coat both sides evenly.
Here’s a pro tip that changed my cooking game: let the seasoned chicken sit at room temperature for 15-20 minutes before cooking. This ensures even cooking and helps the spices penetrate the meat better than slapping cold, seasoned chicken straight into the pan.
Step 2: Sear the Chicken
Heat 2 tablespoons of olive oil in a large, heavy-bottomed skillet or cast-iron pan over medium-high heat. The pan should be large enough to fit everything comfortably—crowding is the enemy of good browning. When the oil shimmers and moves freely across the surface, it’s ready.
Place the chicken in the pan and resist the urge to move it around. Let it sear undisturbed for 4-5 minutes until golden brown and easily releases from the pan. Flip and sear the other side for another 3-4 minutes. The chicken doesn’t need to be fully cooked at this stage—we’re just building flavor.
Remove the chicken to a plate and tent with foil. Don’t clean the pan! Those beautiful browned bits (called fond) are pure flavor gold that will elevate every other component of our dish.
Step 3: Build the Flavor Base
In the same pan, add the diced onion to those gorgeous brown bits. The residual heat and fond will immediately start working their magic. Cook for 3-4 minutes until the onion begins to soften and turn translucent. You’ll hear gentle sizzling—that’s the sound of flavor developing.
Add the minced garlic and cook for another 30 seconds until fragrant. Garlic burns quickly, so keep it moving in the pan. This is where the kitchen starts smelling absolutely incredible and your family begins hovering around asking when dinner will be ready.
Step 4: Add the Rice and Liquid
Pour in the rice and stir to coat with the aromatic oil and onion mixture. Toast the rice for about 2 minutes—you’ll hear it crackling slightly. This step adds a subtle nutty flavor that elevates the entire dish beyond basic rice.
Slowly pour in the chicken broth, scraping up any remaining fond from the bottom of the pan. The liquid should come up about 1/2 inch above the rice level. Add the bell pepper and jalapeño now, distributing them evenly throughout the rice.
Step 5: Nestle and Simmer
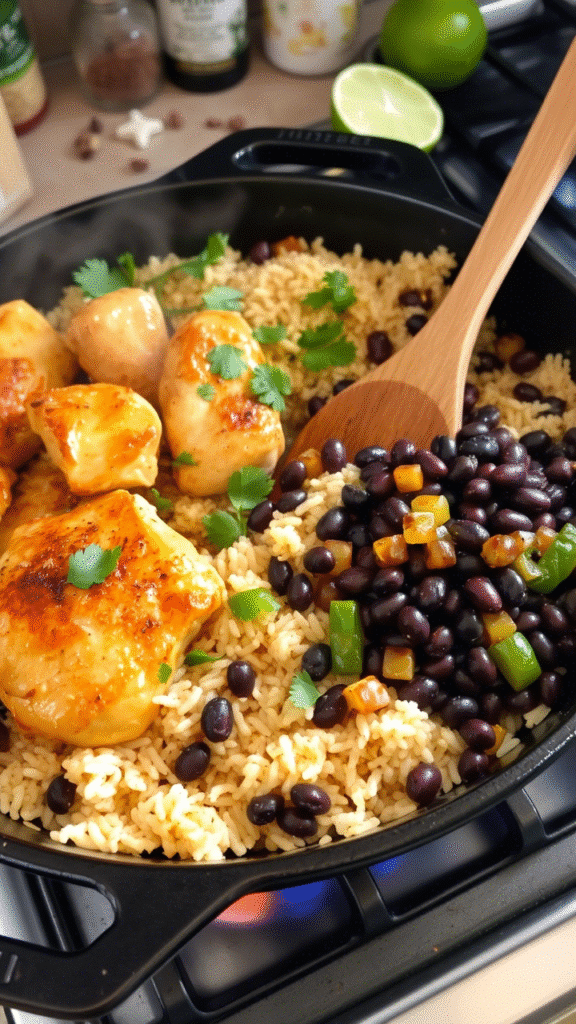
Return the chicken to the pan, nestling it into the rice mixture. The pieces should be partially submerged but not completely covered. Bring the mixture to a gentle boil, then immediately reduce heat to low and cover tightly.
The key to perfect rice is maintaining consistent, gentle heat. Too high and the bottom burns while the top stays crunchy. Too low and everything becomes mushy. You’re looking for the occasional gentle bubble breaking the surface when you lift the lid to peek.
Step 6: The Waiting Game
Simmer covered for 18-20 minutes without lifting the lid. I know it’s tempting to check, but every time you lift that lid, you’re releasing precious steam that’s cooking the rice. Set a timer and walk away.
This is the perfect time to prep your finishing ingredients—chop the cilantro, juice the limes, and prepare any toppings you’re planning to use.
Step 7: Final Assembly
After the timer goes off, remove the pan from heat but keep it covered for another 5 minutes. This resting period allows the rice to finish cooking in its own steam and helps prevent mushiness when you stir everything together.
Remove the lid and check that the rice is tender and the liquid has been absorbed. If there’s still liquid visible, return to low heat for another 2-3 minutes. Stir in the black beans, corn, and remaining tablespoon of olive oil.
Step 8: Finish with Brightness
Remove from heat and stir in the fresh lime juice and cilantro. Taste and adjust seasoning—you might need more salt, lime juice, or even a pinch of sugar to balance the flavors. The lime juice brightens everything and cuts through the richness of the chicken and rice.
Cooking Techniques & Science
The magic of this one-pan method lies in understanding how different ingredients cook and release their flavors. When we sear the chicken first, we’re utilizing the Maillard reaction—the chemical process that creates those complex, savory flavors and appealing golden-brown color. This happens best at high heat with dry surfaces, which is why patting the chicken dry is so crucial.

The fond left behind isn’t just stuck-on food—it’s concentrated flavor that would normally be lost. By deglazing with the onions and building our base in the same pan, we’re capturing every bit of that developed flavor. Professional chefs call this “cooking with intention,” and it’s what separates restaurant-quality food from basic home cooking.
Rice cooking is pure science. The starch granules absorb liquid and swell, creating that fluffy texture we’re after. The toasting step gelatinizes some of the surface starch, creating a protective barrier that helps prevent mushiness. It’s the same principle used in risotto, but adapted for a simpler weeknight meal.
The sequential addition of vegetables is equally important. Bell peppers and jalapeños hold up well to the longer cooking time, while the corn and black beans are added at the end to maintain their texture and prevent them from becoming mushy. This creates textural interest that keeps every bite engaging.
Serving & Pairing Suggestions
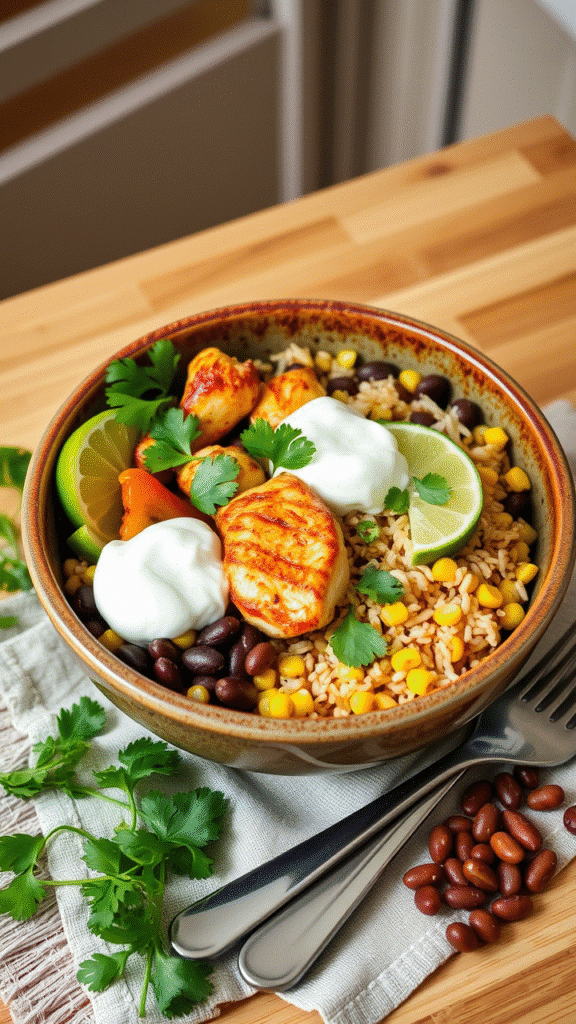
Presentation matters, even for weeknight dinners. Serve this directly from the pan for a rustic, family-style feel, or portion into individual bowls for a more polished presentation. A sprinkle of fresh cilantro, a lime wedge, and maybe some diced avocado turns this into something that looks like it came from a restaurant.
The beauty of burrito bowls is their customizability. Set up a toppings bar with shredded cheese, sour cream, hot sauce, and diced avocado. Kids can customize their portions, and adults can add extra heat or richness as desired.
This dish pairs beautifully with a crisp beer or a simple margarita. For wine lovers, try a medium-bodied red like a Tempranillo or a crisp white like Sauvignon Blanc. The acidity in both complements the lime and cilantro while standing up to the spice.
For sides, keep it simple. A basic green salad with lime vinaigrette echoes the flavors in the bowl without competing. Warm tortillas or tortilla chips provide textural contrast and make it feel more like a complete Mexican meal.
Troubleshooting Common Issues
Mushy Rice: Usually caused by too much liquid or cooking at too high heat. Next time, reduce the broth by 1/4 cup and ensure you’re maintaining low heat throughout the simmering process.

Dry Chicken: Chicken breast is more prone to this than thighs. If using breasts, reduce the initial searing time and check for doneness with a meat thermometer—165°F is your target.
Bland Flavor: This usually means not enough salt or acid. Taste and adjust with salt first, then add lime juice gradually until the flavors pop. Sometimes a pinch of sugar helps balance everything out.
Burned Bottom: Your heat was too high during the simmering phase. Reduce to the lowest setting that still maintains gentle bubbling. A heat diffuser can help if your stove runs hot.
The one-pan burrito bowl represents everything I love about cooking—simplicity without sacrificing flavor, efficiency without cutting corners, and the ability to feed a family something delicious without destroying the kitchen. It’s the kind of recipe that gets better each time you make it as you learn to adjust the seasonings to your family’s preferences.
Master this technique, and you’ll find yourself applying it to other cuisines and flavor profiles. Italian versions with sun-dried tomatoes and basil, Asian-inspired bowls with ginger and soy sauce, or Mediterranean variations with olives and feta. The foundation remains the same; only the flavors change.
This isn’t just dinner—it’s a lesson in how good cooking doesn’t have to be complicated. Sometimes the best meals come from understanding a few fundamental techniques and applying them with confidence and creativity.
Frequently Asked Questions?
Can I make this ahead of time?
Absolutely! This dish actually improves after sitting for a day as the flavors meld together. Store in the refrigerator for up to 4 days. When reheating, add a splash of chicken broth or water to prevent drying out, and warm gently over low heat or in the microwave.
What if I don’t have a large enough skillet?
You can use a Dutch oven or even a large roasting pan that’s stovetop-safe. The key is having enough surface area so the ingredients aren’t crowded. In a pinch, you can sear the chicken in batches, but keep the rest of the process in one vessel for the best flavor development.
Can I use different proteins?
Definitely! Shrimp works wonderfully but should be added in the last 5 minutes of cooking to prevent overcooking. Ground turkey or beef can be browned first, then cooked through with the rice. Even firm tofu, when pressed and cubed, makes an excellent vegetarian option.
How do I prevent the rice from sticking?
Make sure your pan is well-seasoned or non-stick, and don’t skip the oil when toasting the rice. If sticking occurs, lower the heat and add a bit more liquid. A heavy-bottomed pan distributes heat more evenly and reduces the risk of hot spots that cause sticking.
What’s the best way to customize the spice level?
Start with less cayenne and build up—you can always add more heat, but you can’t take it away. Keep the jalapeño seeds if you want more heat, or substitute with a milder pepper like poblano for less spice. Hot sauce added at the end gives people control over their individual heat levels.

Veronica is a passionate food enthusiast with over three years of experience in exploring and writing about diverse cuisines. Her expertise lies in reviewing restaurants, sharing creative recipes, and discovering the latest food trends. As the voice behind FoodieRecap.com, Anju brings fresh perspectives and culinary insights to her audience.
