A Masterclass in Comfort Cooking
The gentle sizzle of beef as it browns in a hot pan. The comforting aroma of herbs and stock mingling in the kitchen. There’s something almost magical about the process of creating a proper steak pie. I’ve spent twenty-odd years perfecting this recipe, and let me tell you—it’s worth every minute of the journey.

Steak pie isn’t just food; it’s heritage on a plate. This ain’t your average weeknight dinner. This is celebration cooking that paradoxically feels like the warmest hug from an old friend. The kind of dish that makes people fall silent at first bite, before erupting into appreciative murmurs.
What Makes This Steak Pie Special
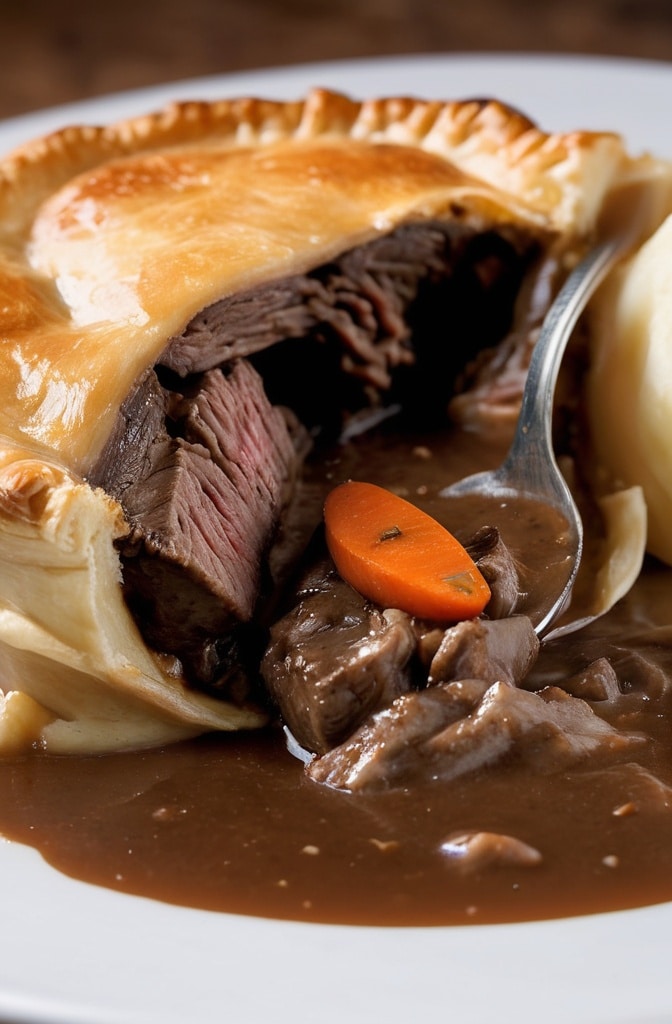
Traditional British cookery often gets overlooked in our modern culinary landscape. But this recipe bridges old and new worlds effortlessly. The slow-cooking method allows tough cuts to transform into melt-in-your-mouth morsels, while the buttery pastry provides that essential textural contrast that keeps each bite interesting.

My approach combines time-honored technique with a few contemporary twists. We’re talking proper deglazing, building complex flavor layers, and using a hot water crust pastry that will change how you think about pie forever. You’ll need patience, but I promise the results will convert even the most skeptical dinner guests.
Ingredients & Substitutions
For the Filling:
- 1.2kg chuck steak or braising beef, cut into 3cm chunks
- 3 tablespoons plain flour, seasoned with salt and pepper
- 3 tablespoons vegetable oil or beef dripping
- 2 large onions, roughly chopped
- 3 carrots, chunky diced
- 2 celery sticks, sliced
- 300g chestnut mushrooms, quartered
- 3 garlic cloves, crushed
- 2 tablespoons tomato purée
- 400ml good-quality beef stock (homemade if possible)
- 200ml porter or stout (Guinness works brilliantly)
- 1 tablespoon Worcestershire sauce
- 2 bay leaves
- 3 sprigs fresh thyme
- 1 sprig rosemary
For the Pastry:
- 450g plain flour
- 100g strong bread flour (adds structure)
- 100g cold unsalted butter, cubed
- 120g beef suet (vegetable suet works too)
- 1 teaspoon salt
- 1 egg, beaten (for glazing)
Don’t fret if you can’t source beef suet—rendered bacon fat works surprisingly well, giving an extra savory note. Vegetarians could use a mix of butter and vegetable shortening, tho the texture won’t be identical. For the beer, any dark ale brings complexity, but even red wine makes a decent stand-in.
Quality matters with the beef. Chuck steak offers the perfect balance of meat and fat, providing richness without becoming greasy. Skirt or shin beef makes excellent alternatives—both have plenty of connective tissue that breaks down during slow cooking, releasing gelatine that gives the gravy its characteristic silky mouthfeel.
Step-by-Step Instructions
Preparing the Filling
- Toss the beef chunks in seasoned flour until evenly coated. This seemingly simple step is crucial—it helps develop a deep brown crust and will later thicken your gravy. Shake off any excess flour; too much will burn in the pan.
- Heat a tablespoon of oil in a large, heavy-bottomed casserole over medium-high heat. Brown the meat in batches—overcrowding lowers the temperature and causes meat to steam rather than sear. Each batch should take about 5-6 minutes to develop a proper crust. Transfer to a plate when done.
- In the same pan, add another tablespoon of oil if needed, then add onions, carrots, and celery. Cook for 8-10 minutes, scraping up any browned bits from the bottom—these contain concentrated flavor compounds that’ll enrich your gravy. When vegetables have softened and begun to caramelize, add the mushrooms and cook for another 5 minutes.
- Add garlic and cook for one minute until fragrant, then stir in tomato purée and cook for another 2 minutes—this brief caramelization removes raw acidity and brings out natural sweetness. Return the meat to the pan along with any accumulated juices.
- Pour in the stock and beer, stirring well to incorporate the flour from the meat. The mixture might look thin at this stage, but don’t worry; it’ll reduce and thicken beautifully. Add Worcestershire sauce, bay leaves, thyme, and rosemary.
- Bring to a simmer, then reduce heat to very low, cover, and cook for 2.5-3 hours, stirring occasionally. You’re looking for meat that yields easily when pressed with a fork. Traditional recipes often skip this step, but removing the lid for the final 30 minutes allows excess moisture to evaporate, concentrating flavors dramatically.
- Once cooked, taste and adjust seasoning. Allow the filling to cool completely—ideally overnight in the refrigerator. This resting period is non-negotiable; it allows flavors to meld and makes assembly significantly easier.
Making the Pastry
- Combine flours and salt in a large bowl. Rub in butter with fingertips until the mixture resembles breadcrumbs. Most recipes stop here, but incorporating the butter fully creates microscopic pockets of fat that expand during baking, creating those desireable flaky layers.
- Stir in the suet, then add just enough cold water (about 150-180ml) to form a firm dough. Handle minimally to avoid developing gluten, wich can make your pastry tough. Wrap in cling film and chill for at least 30 minutes.
- Preheat oven to 200°C (180°C fan). Reserve one-third of the pastry for the lid. Roll out the larger portion to about 3mm thickness and use to line a 23cm pie dish, leaving a slight overhang. Don’t stretch the pastry or it’ll shrink during baking.
- Spoon the cooled filling into the pastry case. Brush the rim with beaten egg. Roll out the remaining pastry for the lid, place on top, and crimp the edges to seal. Make a steam hole in the center—this prevents the dreaded soggy bottom by allowing moisture to escape during baking.
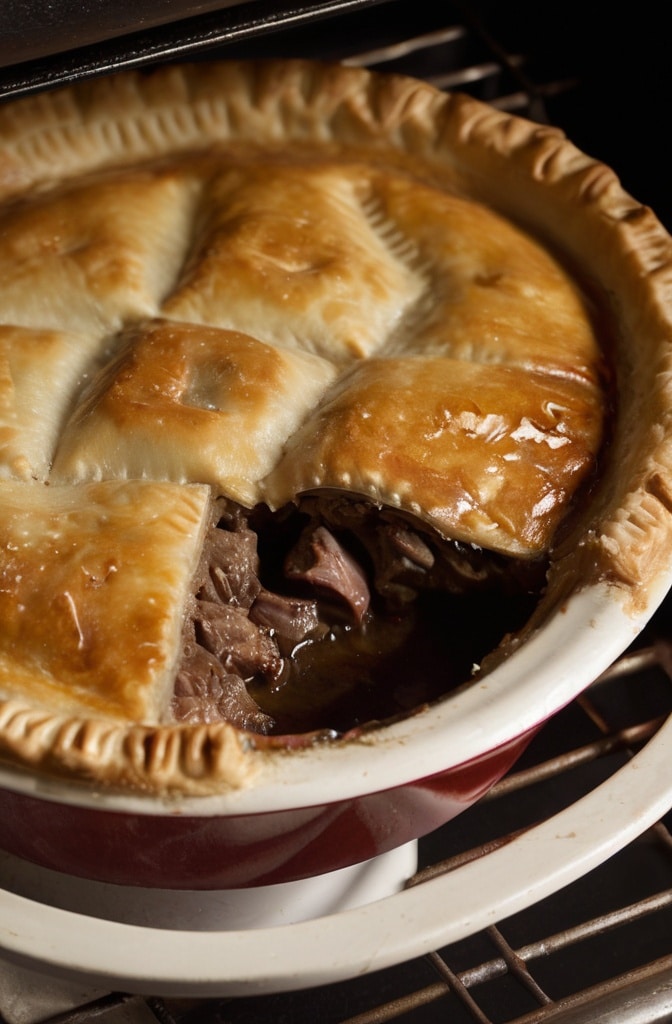
- Brush the top with beaten egg for a golden finish. Some chefs double-glaze for extra shine, with a 15-minute interval between applications. Bake for 30-35 minutes until deeply golden and the filling is bubbling.
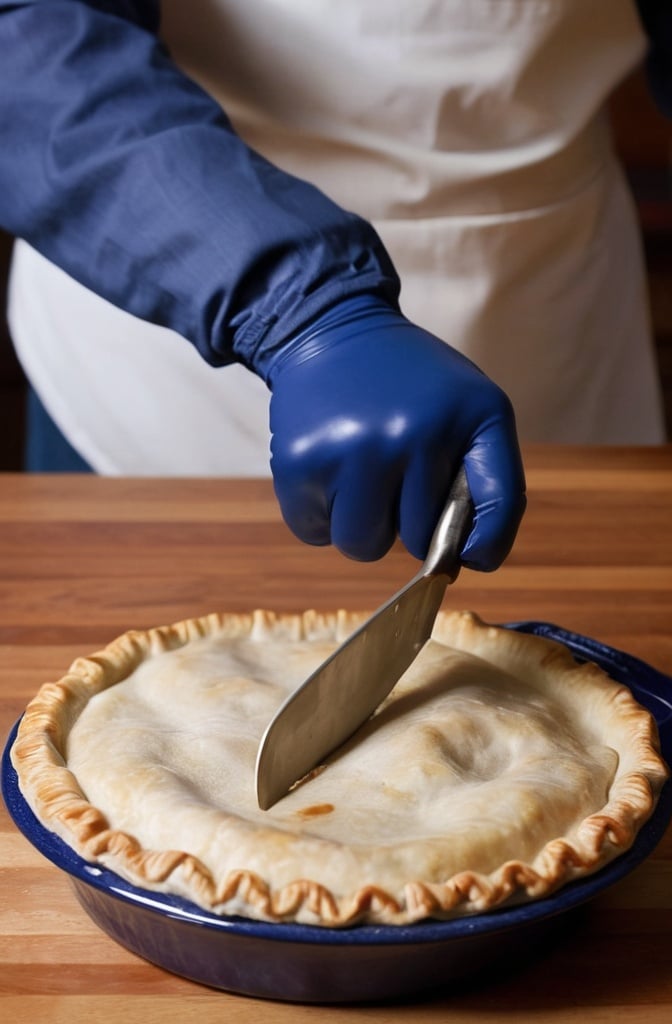
- Allow to rest for 15-20 minutes before serving. This resting time isn’t just tradition—the intense heat creates pressure inside the pie, and cutting too soon can cause the precious gravy to flood out.
Cooking Techniques & Science
The magic of this pie lies in its slow-cooked filling. When collagen in tough cuts breaks down into gelatin at temperatures around 80-90°C over extended periods, it creates that distinctively rich mouthfeel. Higher temperatures toughen proteins, so gentle heat is essential—that’s why we maintain a bare simmer rather than a rolling boil.

Browning meat isn’t just for color; it initiates the Maillard reaction, where proteins and sugars recombine to create hundreds of new flavor compounds. These compounds give the dish depth that can’t be achieved any other way. Skipping this step is the single biggest mistake in stew-based recipes.
The pastry’s combination of butter and suet creates a unique structure. Butter provides flavor and flakiness through its water content (about 18%), which creates steam during baking. Suet, being nearly pure fat, melts more slowly, allowing the pastry structure to set before it melts away, leaving tiny air pockets that create that characteristic short texture.
Using a hot water crust (where fat is melted in boiling water before adding flour) would provide a more robust structure for free-standing pies, but I’ve chosen a traditional shortcrust for its superior eating quality. The trade-off is that you’ll need a pie dish for support.
For those interested in modernist approaches, sous vide cooking the beef at 65°C for 24 hours before incorporating it into the reduced sauce creates an extraordinary texture. However, the traditional method described here delivers exceptional results without specialized equipment.
Serving & Pairing Suggestions
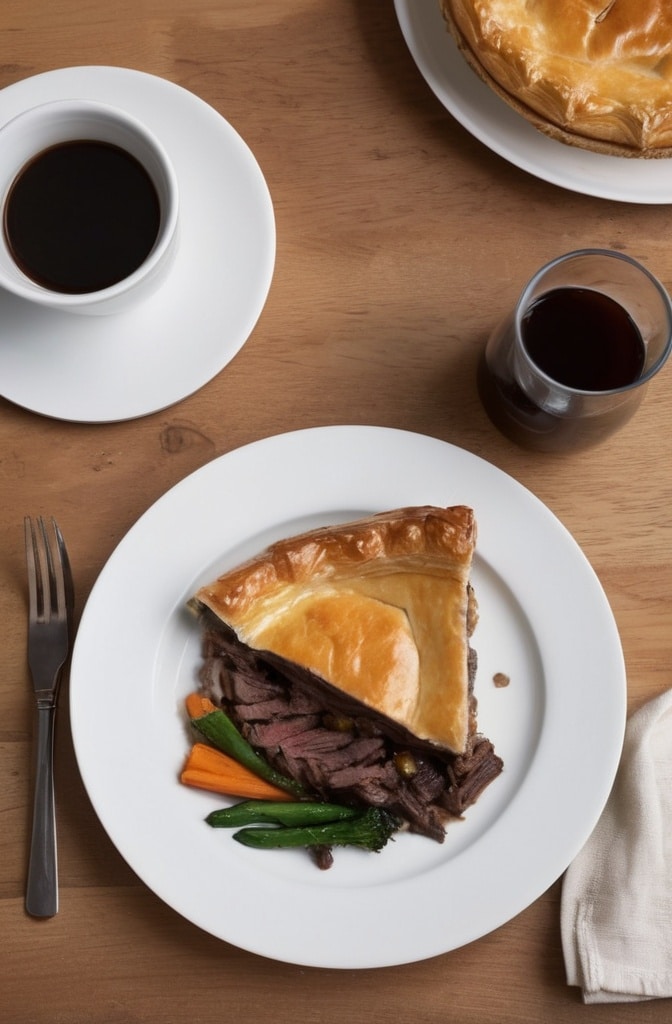
Serve this pie while still warm but not blazing hot. Cutting into a pie directly from the oven is tempting but results in a flood of liquid that should remain with the meat. Patient cooks get the reward of perfect slices that hold their shape.
Accompaniments should complement without competing. Buttered greens like cabbage or kale provide freshness against the rich filling. Mashed potatoes are classic, but try root vegetable mash with celeriac and parsnip for a more interesting flavor profile. A small side of pickled red cabbage adds a welcome acidic counterpoint.

Wine pairings depend on your filling specifics. A robust red like Shiraz stands up to the richness, while a fuller-bodied Pinot Noir complements the umami elements without overwhelming. For beer lovers, the same style used in the recipe creates a harmonious pairing—porter or stout being ideal choices.
For special occasions, consider individual pies using 12cm pie dishes—they cook more quickly (about 25 minutes) and create an impressive presentation. A decorative pastry flourish like pastry leaves arranged in a spiral pattern elevates the humble pie to centerpiece status.
The Final Touch
One often-overlooked detail is the gravy boat of extra sauce on the side. No matter how generously you fill your pie, additional hot gravy poured at the table transforms a good pie into a memorible dining experience. Simply reserve a portion of the cooking liquid before assembly and reheat gently before serving.
Conclusion
The true appeal of a slow-cooked steak pie isn’t just its magnificent flavor—it’s the way it connects us to culinary traditions that have sustained generations. This isn’t trendy food; it’s timeless cooking that prioritizes technique, patience, and understanding of ingredients.
Making this pie is an exercise in kitchen mindfulness. Each step builds upon the last, creating something far greater than the sum of its parts. Master this recipe, and you’ll never look at comfort food the same way again.
The beauty of this dish lies in its apparent simplicity. Yet beneath that golden crust lies a master class in flavor development, texture control, and balance. Whether for Sunday lunch or a celebratory dinner, this steak pie delivers the kind of satisfaction that reminds us why cooking remains one of life’s most rewarding pleasures.
Frequently Asked Question?
Can I make this pie ahead of time?
Absolutely—in fact, I recommend it. Prepare the filling up to three days ahead and store in the refrigerator. The flavors will continue to develop beautifully. You can even assemble the entire pie a day ahead, refrigerate unbaked, then add 10 minutes to the baking time to compensate for the chilled filling.
My gravy is too thin. How can I thicken it?
If your gravy hasn’t reduced sufficiently, remove the meat and vegetables with a slotted spoon before reducing the liquid over high heat. Alternatively, mix a teaspoon of cornflour with a tablespoon of cold water to make a slurry, then stir into the simmering gravy. Remember that the sauce will thicken further as it cools.
Can I freeze this pie?
Yes, but I recommend freezing just the filling. Pastry never recovers quite the same texture after freezing when already baked. Freeze the filling for up to three months, defrost thoroughly, then top with fresh pastry before baking. If you must freeze the assembled pie, do so unbaked, and cook directly from frozen, adding about 20-25 minutes to the baking time.
What’s the best way to avoid a “soggy bottom”?
Three techniques help: First, ensure your filling is completely cool before assembly. Second, blind-bake the base for 15 minutes before adding filling. Finally, place the pie on a preheated baking sheet in the oven—the immediate heat sets the bottom pastry before it can absorb moisture.
How do I know when the pie is perfectly cooked?
Look beyond color to other indicators. The filling should be visibly bubbling around the steam hole, and the pastry should sound hollow when tapped gently. The most reliable test is inserting a metal skewer into the center—it should come out hot to the touch, indicating the filling has reached serving temperature.

Veronica is a passionate food enthusiast with over three years of experience in exploring and writing about diverse cuisines. Her expertise lies in reviewing restaurants, sharing creative recipes, and discovering the latest food trends. As the voice behind FoodieRecap.com, Anju brings fresh perspectives and culinary insights to her audience.
