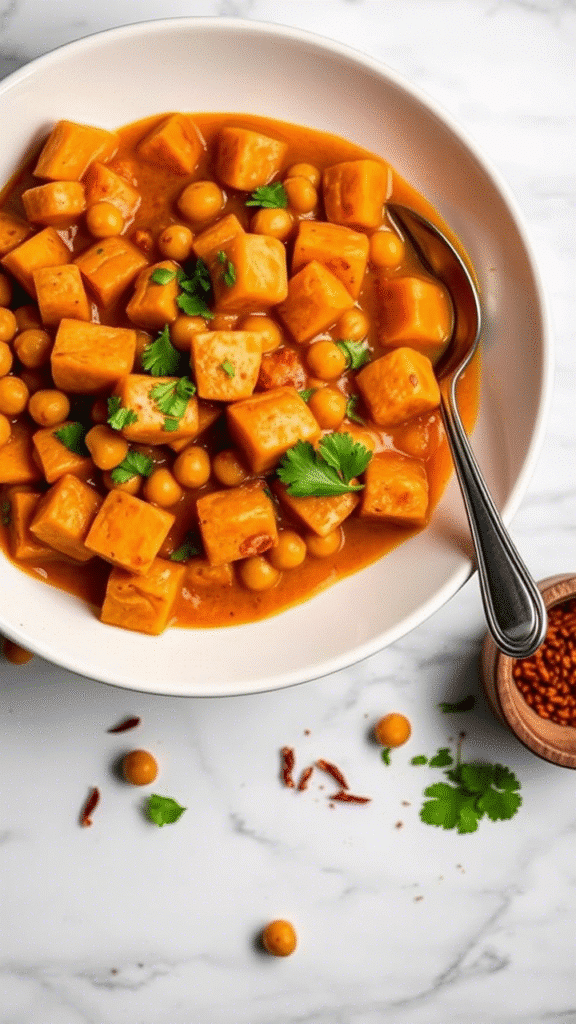
Three years ago, I was stuck in a rut. My restaurant’s vegetarian options were uninspiring, and frankly, so was I. Then a regular customer—an elderly Bengali woman—quietly slipped me a handwritten recipe for sweet potato and chickpea curry. “This will wake up your kitchen,” she whispered with a knowing smile.
She wasn’t wrong. This dish transformed not just my menu, but my understanding of how simple ingredients can create complex, soul-warming flavors.
Sweet potato and chickpea curry represents the beautiful marriage of earthy legumes and naturally sweet tubers, elevated by aromatic spices that dance on your palate. It’s comfort food that happens to be healthy, restaurant-quality cuisine that’s surprisingly approachable for home cooks. What makes this curry special isn’t just its incredible flavor profile—it’s the way it demonstrates fundamental cooking principles while delivering maximum impact with minimal fuss.
Understanding the Foundation: Ingredients & Substitutions
The beauty of this curry lies in its flexibility, but certain ingredients form the non-negotiable backbone of the dish.
Sweet Potatoes (2 pounds, peeled and cubed) Choose firm, unblemished sweet potatoes with deep orange flesh. The natural sugars caramelize beautifully during cooking, creating depth that balances the earthiness of chickpeas. Avoid overly large tubers—they tend to be stringy. Japanese sweet potatoes work exceptionally well if you want a nuttier flavor, while Garnet varieties offer more pronounced sweetness.
Chickpeas (2 cans, drained and rinsed, or 1½ cups dried, soaked overnight) Canned chickpeas save time, but dried ones offer superior texture and flavor control. If using dried, don’t skip the soaking step—it reduces cooking time dramatically and prevents that unpleasant chalky texture. For a protein boost, substitute with black-eyed peas or cannellini beans, though you’ll lose some of the traditional nuttiness.
Coconut Milk (1 can full-fat, plus ½ can light) Full-fat coconut milk creates the luxurious base that makes this curry restaurant-worthy. Light coconut milk thins the consistency without sacrificing too much richness. Avoid the temptation to use all light coconut milk—you’ll end up with watery disappointment. For dairy-free alternatives, cashew cream works beautifully, though it changes the flavor profile slightly.
Aromatics: The Holy Trinity Plus One
- Yellow onion (1 large, diced): Forms the flavor base
- Fresh ginger (2-inch piece, minced): Adds warmth and complexity
- Garlic (6 cloves, minced): Essential for depth
- Fresh curry leaves (15-20 leaves): The secret weapon most home cooks skip
The Spice Arsenal
- Cumin seeds (1 teaspoon): Toast these first for maximum impact
- Coriander seeds (1 teaspoon): Grind fresh for bright, citrusy notes
- Turmeric powder (1 teaspoon): For color and earthiness
- Garam masala (2 teaspoons): Use a high-quality blend, or better yet, make your own
- Cayenne pepper (½ teaspoon): Adjust to taste
- Mustard seeds (½ teaspoon): Creates textural pops and sharp flavor
Fresh cilantro, lime juice, and salt round out the essential ingredients. The key substitution principle: fresh always trumps dried when possible, but don’t let perfect be the enemy of delicious.
Mastering the Method: Step-by-Step Excellence
Step 1: Building the Spice Foundation Heat 3 tablespoons of neutral oil (or ghee if you’re not strict about vegan preparation) in a heavy-bottomed Dutch oven over medium heat. Add cumin and mustard seeds—they should sizzle immediately. If they don’t, your oil isn’t hot enough. Listen for the gentle popping sound that indicates proper temperature.

Add curry leaves carefully—they’ll splutter dramatically. This step, called tempering or tadka, releases essential oils that permeate the entire dish. Many home cooks skip this technique, which is why their curries lack restaurant-quality depth.
Step 2: The Aromatic Base Add diced onions to the spiced oil. Cook until deeply golden, about 8-10 minutes—this is crucial. Pale onions create pale flavor. The natural sugars must caramelize to create the complex base this curry demands.
Stir in minced ginger and garlic, cooking until fragrant, about 2 minutes. If the mixture starts to stick, add a splash of water rather than more oil. This technique, called deglazing, prevents burning while maintaining flavor concentration.
Step 3: Spice Integration Add ground coriander, turmeric, garam masala, and cayenne to the aromatic base. Cook for 30 seconds—any longer and the spices will burn, creating bitter undertones. The mixture should smell intensely fragrant and toasted.
Step 4: Building the Curry Base Pour in the full-fat coconut milk, scraping up any browned bits from the bottom of the pot. These fond particles are flavor gold—don’t leave them behind. Add 1 cup of water and bring to a gentle simmer.
This is where patience pays dividends. Don’t rush to a rolling boil—gentle simmering allows flavors to meld properly.
Step 5: Sweet Potato Integration Add cubed sweet potatoes to the simmering curry base. They should be covered by liquid—add more water if necessary. Sweet potatoes release natural sugars during cooking, which concentrate and deepen the overall flavor profile.
Cook uncovered for 15 minutes, stirring occasionally. The sweet potatoes should be tender but not falling apart—they’ll continue cooking with residual heat.
Step 6: Chickpea Addition and Final Simmer Stir in chickpeas and reduce heat to low. Add the remaining light coconut milk for consistency adjustment. Season with salt—start with 1 teaspoon and adjust from there.
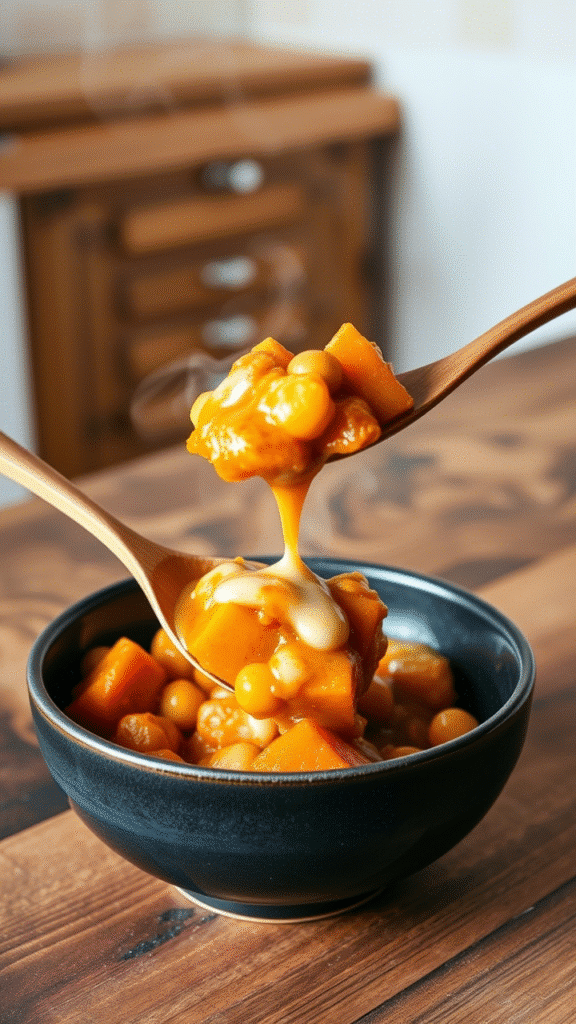
Simmer for another 10-15 minutes, allowing flavors to marry. The curry should coat the back of a spoon but remain pourable. If it’s too thick, thin with water or additional coconut milk.
The Science Behind the Sizzle: Cooking Techniques Explained
Understanding why these techniques work elevates your cooking from following recipes to creating memorable dishes.

Tempering (Tadka): This ancient technique blooms whole spices in hot oil, releasing volatile compounds that would otherwise remain locked away. The science is simple—heat breaks down cell walls, allowing aromatic molecules to infuse the cooking medium. Skipping this step is like building a house without a foundation.
Caramelization: When onions reach proper golden color, their natural sugars undergo complex chemical reactions creating hundreds of new flavor compounds. This Maillard reaction doesn’t just add sweetness—it creates umami depth that makes your taste buds sing.
Gentle Simmering: High heat might seem faster, but it’s actually counterproductive. Vigorous boiling breaks down delicate flavor molecules and can make sweet potatoes mushy. Low, gentle heat allows ingredients to release their essences slowly, creating harmony rather than chaos.
The starch from sweet potatoes naturally thickens the curry as it cooks—this is why proper timing matters. Add them too late, and you’ll miss this natural thickening effect.
Serving Excellence: Presentation and Pairings
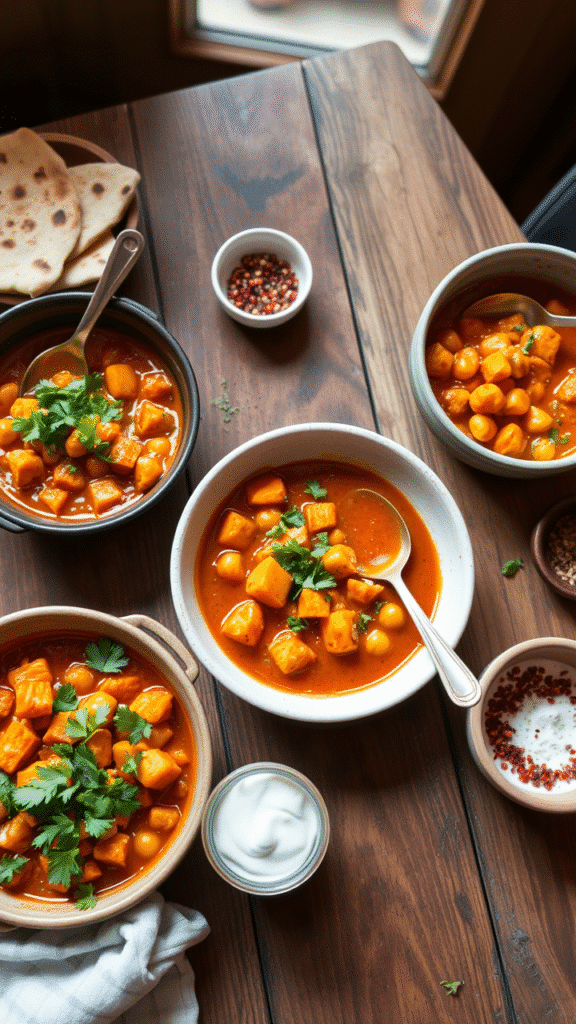
This curry deserves thoughtful presentation. Serve in wide, shallow bowls to showcase the beautiful orange-gold color. A sprinkle of fresh cilantro and a lime wedge aren’t just garnish—they’re essential flavor finishers.
Perfect Pairings:
- Basmati rice: The floral aroma complements the curry’s earthiness
- Naan or roti: For scooping and sauce absorption
- Quinoa: Adds protein and creates a more substantial meal
- Cauliflower rice: For low-carb preparation
Beverage Companions: A crisp lager cuts through the richness beautifully. For wine lovers, a Gewürztraminer or Riesling provides aromatic complexity that doesn’t compete with the spices. Lassi—sweet or salted—offers traditional cooling contrast.
Professional Plating Tips: Warm your serving bowls—cold dishes kill curry’s aromatics instantly. A small dollop of yogurt or coconut cream creates visual interest and provides cooling contrast. Toasted coconut flakes add textural variety and reinforce the coconut flavor profile.
Troubleshooting and Variations
Common Issues and Solutions:
- Curry too thin: Simmer uncovered longer, or blend a portion of the sweet potatoes for natural thickening
- Lacks depth: You probably didn’t caramelize the onions properly or skipped the tempering step
- Too sweet: Add lime juice or a pinch of amchur (dried mango powder) for acidity balance
- Spice level off: Always taste and adjust—spice tolerance varies dramatically
Creative Variations: Add spinach during the last 5 minutes for extra nutrition and color contrast. Substitute coconut milk with cashew cream for richness without coconut flavor. Include diced tomatoes with the sweet potatoes for acidity and additional umami.
For protein additions, paneer cubes work beautifully, as do chunks of firm tofu. Both should be added during the final 10 minutes to prevent overcooking.
The Final Word
Sweet potato and chickpea curry proves that exceptional food doesn’t require exotic ingredients or complex techniques. It demands respect for fundamental cooking principles and patience to let flavors develop properly.

This curry improves overnight—the spices continue mingling, creating even more complex flavors. Store properly covered in the refrigerator for up to five days, or freeze for up to three months.
The beauty of mastering this dish lies not just in the immediate satisfaction it provides, but in the cooking confidence it builds. Once you understand these flavor-building techniques, you’ll apply them across your entire cooking repertoire.
Remember that elderly Bengali woman’s advice: this curry will wake up your kitchen. More than that, it’ll wake up your understanding of how simple ingredients, treated with respect and proper technique, create something truly extraordinary.
Frequently Asked Questions?
Q: Can I make this curry ahead of time, and does it freeze well?
A: This curry actually improves with time—the flavors meld beautifully overnight. Store in the refrigerator for up to 5 days. It freezes exceptionally well for up to 3 months, though the sweet potatoes may become slightly softer after thawing. When reheating, add a splash of coconut milk or water to restore the proper consistency.
Q: My curry turned out too watery. How can I fix it without overcooking the sweet potatoes?
A: Remove about 1 cup of the curry (including some sweet potatoes) and blend until smooth, then stir back into the pot. This creates natural thickening without additional cooking. Alternatively, mix 1 tablespoon of cornstarch with cold water and stir into the simmering curry. Avoid boiling vigorously—it breaks down the sweet potatoes.
Q: Can I substitute different vegetables or make this oil-free?
A: Absolutely! Butternut squash, carrots, or cauliflower work beautifully. For oil-free preparation, dry-toast the whole spices in a heavy pan, then use vegetable broth for sautéing the aromatics. The tempering step is crucial for flavor, so don’t skip it entirely—just modify the technique.
Q: The spice level is too mild/too hot. How do I adjust without starting over?
A: For more heat, add cayenne pepper or fresh chilies gradually—start with small amounts and taste frequently. To reduce heat, add more coconut milk, a dollop of yogurt, or even a small amount of sugar to balance the spices. Lime juice also helps tame excessive heat while adding brightness.
Q: What’s the difference between using canned versus dried chickpeas, and does it really matter?
A: Dried chickpeas offer superior texture and flavor control—they hold their shape better and absorb the curry flavors more effectively. However, canned chickpeas are perfectly acceptable and save significant time. If using canned, rinse thoroughly to remove excess sodium and add them later in the cooking process to prevent mushiness.

Veronica is a passionate food enthusiast with over three years of experience in exploring and writing about diverse cuisines. Her expertise lies in reviewing restaurants, sharing creative recipes, and discovering the latest food trends. As the voice behind FoodieRecap.com, Anju brings fresh perspectives and culinary insights to her audience.
