I’ll never forget the first time I witnessed a customer bite into a fresh cruffin at my bakery. Her eyes widened, she paused mid-chew, and then whispered, “What sorcery is this?” That’s the magic of the cruffin a pastry so ingeniously simple yet revolutionary that it makes grown adults question the very nature of breakfast itself.
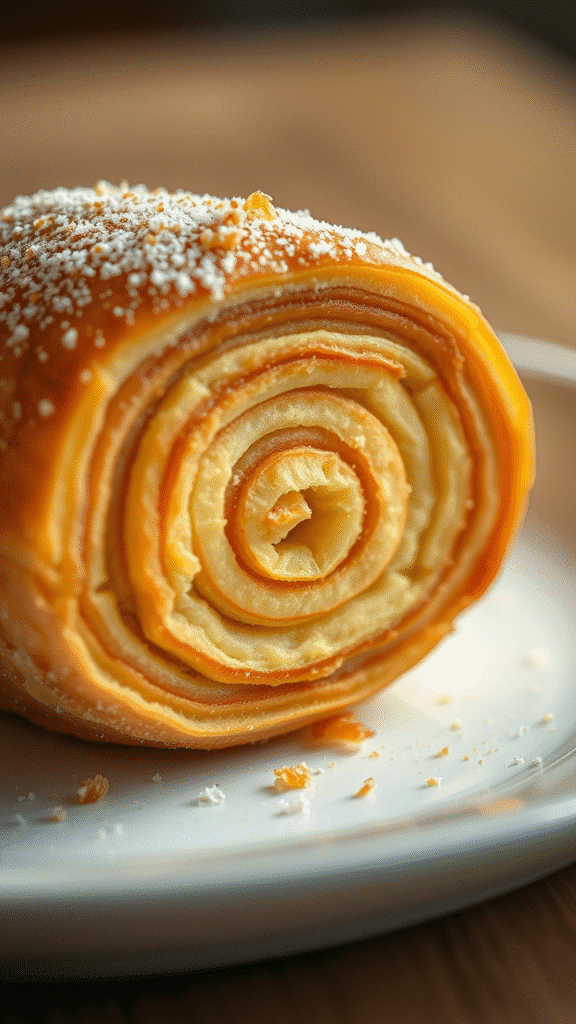
The cruffin, for those uninitiated, is the lovechild of a croissant and a muffin. It’s laminated dough shaped into muffin tins, creating these beautiful spiraled towers that shatter like croissants but hold fillings like muffins. Born in San Francisco around 2013, this hybrid has conquered bakeries worldwide, and frankly, I understand why.
What makes cruffins special isn’t just their Instagram-worthy appearance though that spiral pattern does photograph beautifully. It’s the textural contrast. The exterior cracks and flakes like proper puff pastry, while the interior maintains enough structure to cradle custards, jams, or whatever filling your heart desires. Plus, they’re surprisingly forgiving for home bakers once you master the basic technique.
Understanding the Foundation: Ingredients & Substitutions
The beauty of cruffins lies in their simplicity. You’re essentially making croissant dough, so quality ingredients matter enormously.
Flour forms your foundation. I always recommend European-style bread flour with 12-13% protein content. King Arthur’s bread flour works excellently if you can’t source European varieties. The higher protein creates better gluten development, which translates to superior layering. All-purpose flour will work in a pinch, but you’ll sacrifice some of that coveted flakiness.
Butter is your star player here. European-style butter with 82-84% fat content makes all the difference. Plugra, Kerrygold, or any high-fat butter will give you cleaner lamination and richer flavor. The extra fat content means less water, which equals crisper layers. Room temperature supermarket butter with 80% fat content works, but expect slightly less dramatic results.
Yeast selection matters more than most realize. I prefer instant yeast because it’s more reliable and doesn’t require proofing. Active dry yeast works perfectly fine just dissolve it in your warm milk first. Fresh yeast creates exceptional flavor if you can source it, but it’s trickier to work with.
Milk should be whole milk for richness. Non-dairy alternatives like oat milk or almond milk work surprisingly well, though you might need to adjust liquid ratios slightly. The fat content helps with both flavor and texture development.
For the egg wash, whole eggs beaten with a splash of cream create that gorgeous golden finish. If you’re avoiding eggs, a mixture of milk and maple syrup brushed on top will give decent browning, though not quite the same shine.
Sugar can be adjusted based on your filling plans. I typically use less sugar in the dough itself if I’m planning sweet fillings, more if I want the pastry to stand alone.
Mastering the Technique: Step-by-Step Instructions

Creating the Dough
Start by combining your dry ingredients in a large mixing bowl. Warm your milk to about 100°F it should feel neutral to the touch, not hot. Dissolve your yeast in this warm milk if using active dry.
Mix your wet ingredients into the dry until you have a shaggy, somewhat messy dough. Don’t overwork it at this stage. The dough should look rough and feel slightly sticky. This is exactly what you want overworking now makes lamination nearly impossible later.
Wrap your dough tightly in plastic wrap and refrigerate for at least 2 hours, but preferably overnight. Cold dough is manageable dough when it comes to lamination.
The Lamination Process
This is where the magic happens, and honestly, where most home bakers panic unnecessarily. Lamination sounds intimidating, but it’s really just folding butter into dough repeatedly.
Remove your butter from the fridge about 30 minutes before you plan to work with it. You want it pliable but not soft it should bend without breaking but not squish under gentle pressure.
Roll your chilled dough into a rectangle roughly 12×8 inches. Place your butter in the center and fold the dough over it like you’re wrapping a present. This is called the “butter lock,” and getting it right prevents butter from leaking during rolling.
Now comes the first “turn.” Roll the package out to about 20×10 inches, keeping everything as rectangular as possible. Fold it into thirds like a letter this is one complete turn. The dough will probably fight you a bit; that’s normal.
Wrap and chill for 30 minutes between each turn. This rest period is crucial it relaxes the gluten and keeps your butter at the right temperature. Complete three turns total, chilling between each one.
Shaping Your Cruffins
After your final chill, roll the dough out to about 1/4 inch thickness. Cut into strips roughly 2 inches wide and 10 inches long. Here’s where personal preference comes in some bakers prefer wider strips for more dramatic spirals, others like narrower ones for tighter coils.
Generously butter your muffin tins. This isn’t the time to be shy with fat proper greasing prevents sticking and adds flavor. Wind each strip into a spiral, starting from the center and working outward. The end should tuck underneath slightly to prevent unraveling during baking.
Don’t pack the spirals too tightly into the muffin cups. They need room to expand, and overpacking creates dense, doughy centers instead of flaky layers.
The Final Rise and Bake
Let your shaped cruffins rise for 45-60 minutes at room temperature. They should look slightly puffy but not doubled in size. Over-proofing causes collapsed layers and greasy textures.
Preheat your oven to 375°F about 20 minutes before baking. Brush each cruffin with egg wash, being careful not to let it pool in the crevices pooled egg wash creates uneven browning.
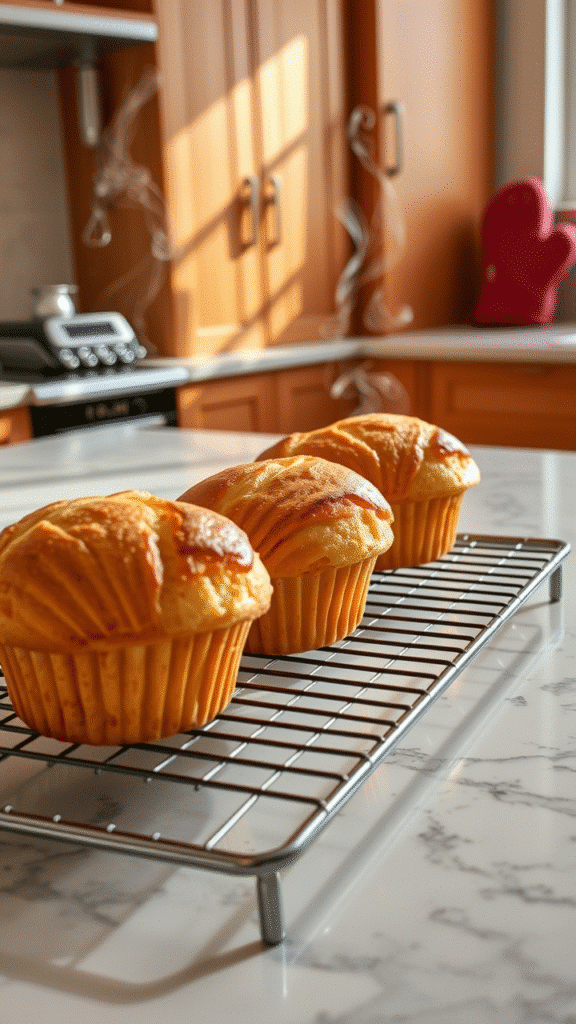
Bake for 18-22 minutes, rotating the pan halfway through for even browning. They’re done when the tops are deep golden brown and the pastry sounds hollow when tapped gently.
The Science Behind the Perfect Cruffin
Understanding why cruffins work helps you troubleshoot when things go wrong. The lamination process creates hundreds of thin layers separated by butter. When heated, the water in the butter creates steam, which puffs those layers apart. Meanwhile, the flour proteins set in the heat, creating structure.

Temperature control is absolutely critical throughout this process. Too-warm butter melts into the dough instead of staying in distinct layers. Too-cold butter tears the dough when you try to roll it. The sweet spot is butter that’s pliable but still firm about 65°F if you want to get technical about it.
The spiral shaping works because it creates internal tension that helps the pastry hold its shape as it rises and bakes. That coiled structure also creates more surface area for browning, which means more flavor development through Maillard reactions.
Filling and Finishing Options
Empty cruffins are delicious, but filled ones are transcendent. The key is timing your filling addition correctly.
For custard-based fillings, I prefer to hollow out a small cavity after baking and pipe the filling in while the pastry is still slightly warm. This prevents the filling from making the pastry soggy while ensuring good flavor integration.
Jam fillings work beautifully added before baking just a teaspoon nestled into the center spiral. The heat concentrates the fruit flavors and prevents the jam from making everything soggy.
Cream cheese fillings are best added after baking but while still warm. The residual heat softens the cream cheese just enough without melting it completely.
For savory versions, consider herb butters, cheese mixtures, or even small amounts of cooked bacon or sausage folded into the spiral during shaping.
Serving & Pairing Suggestions
Cruffins are best served within 4-6 hours of baking, though they’ll keep reasonably well for 2 days if stored properly. Gentle rewarming in a 300°F oven for 3-4 minutes revives day-old cruffins beautifully.
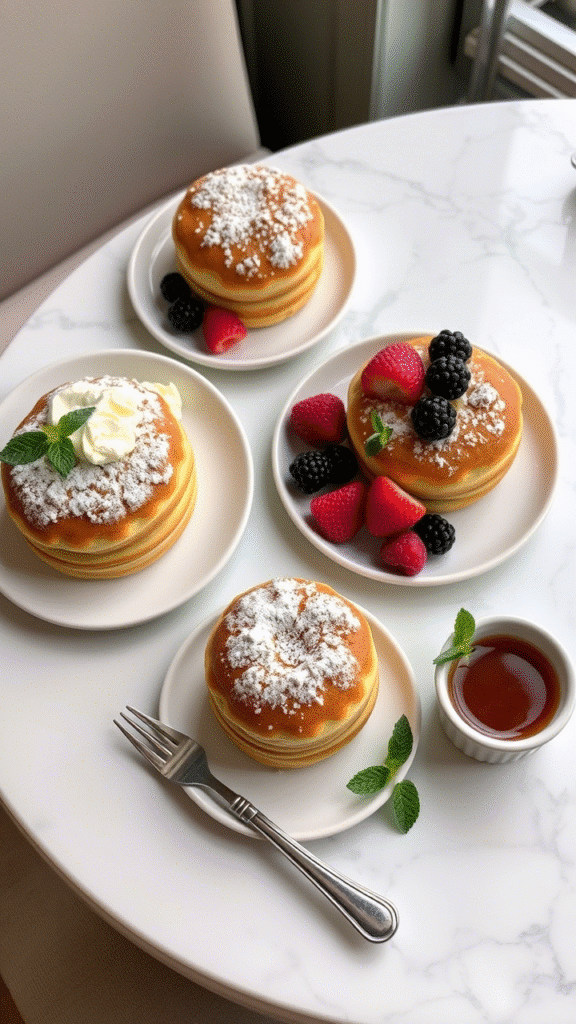
For presentation, consider dusting sweet versions with powdered sugar or drizzling with simple glazes. A light sprinkle of flaky sea salt on top adds sophisticated contrast to sweet fillings.
Coffee pairings depend on your filling choices. Light roasts complement fruit-filled cruffins, while dark roasts stand up to chocolate or caramel fillings. For savory versions, try pairing with herbal teas or even light beers.
Troubleshooting Common Issues
Butter leakage during baking usually means your lamination temperature was off or you didn’t seal the edges properly during shaping. Next time, ensure your butter is the right consistency and tuck those spiral ends more securely.
Dense, heavy cruffins typically result from over-proofing or using too-warm butter during lamination. The layers collapse when the butter melts completely before the dough structure sets.
Uneven browning often comes from overcrowded oven racks or inconsistent egg wash application. Give your pans plenty of space and brush that egg wash evenly but lightly.
Professional Tips for Consistent Results
Invest in a good digital scale. Baking by weight rather than volume creates much more consistent results, especially important for laminated doughs where ratios matter enormously.

Keep a spray bottle filled with water handy during lamination. A light mist on your work surface prevents sticking without adding extra flour, which can upset your dough’s hydration balance.
Mark your dough after each turn with a finger poke one poke after the first turn, two after the second, and so on. It’s surprisingly easy to lose track when you’re juggling multiple batches.
Temperature strips for your refrigerator help ensure consistent chilling temperatures. Most home fridges fluctuate more than we realize, and consistent cold is crucial for successful lamination.
Seasonal Variations and Creative Twists
Summer cruffins benefit from lighter fillings lemon curd, fresh berry jams, or even savory herb combinations. The heat makes heavier cream fillings less appealing anyway.
Fall versions shine with spiced apple butter, pumpkin custards, or maple cream fillings. Consider adding warming spices like cinnamon or cardamom directly to your dough during colder months.
Winter calls for indulgent fillings chocolate ganache, eggnog custard, or rich caramel. These hearty flavors match the season’s appetite for comfort foods.
Spring offers opportunities for floral notes—lavender honey, rose water custards, or fresh herb combinations that celebrate the season’s renewal.
The cruffin’s versatility means you’re really only limited by your imagination and your understanding of flavor balance. Just remember that the pastry itself should complement, not compete with, your chosen fillings.
After years of perfecting this technique, I’m still amazed by how something so seemingly complex can become second nature with practice. The first few attempts might feel awkward, but persist through the learning curve. Once you nail the technique, you’ll understand why that customer whispered about sorcery because creating these buttery, flaky spirals of joy does feel a bit magical, even when you know exactly how it works.
Frequently Asked Questions?
Q: Can I make cruffin dough ahead of time?
A: Absolutely! The dough actually improves with a slow, cold fermentation. After your final lamination, wrap the dough tightly and refrigerate for up to 3 days before shaping and baking. Some bakers even freeze the laminated dough for up to a month just thaw overnight in the refrigerator before using.
Q: Why do my cruffins turn out dense instead of flaky?
A: Dense cruffins usually result from butter that was too warm during lamination, over-proofing, or using low-fat butter. The butter should be pliable but still firm about the consistency of cold cream cheese. Also, avoid over-proofing; they should look slightly puffy but not doubled in size before baking.
Q: Can I make mini cruffins or jumbo versions?
A: Definitely! Mini cruffins bake beautifully in standard mini muffin tins just reduce the baking time to 12-15 minutes and cut your dough strips proportionally smaller. Jumbo versions work in large muffin tins but need 25-30 minutes baking time. Watch for golden brown color as your doneness indicator.
Q: What’s the best way to store leftover cruffins?
A: Store unfilled cruffins in an airtight container at room temperature for up to 2 days. For longer storage, freeze them for up to 3 months. Reheat frozen cruffins in a 300°F oven for 5-7 minutes. If they’re filled with perishable ingredients like custard or cream cheese, refrigerate and consume within 24 hours.
Q: Can I make savory cruffins, and what fillings work best?
A: Savory cruffins are fantastic! Reduce the sugar in your dough to just 1 tablespoon, and try fillings like herb butter, cheese mixtures, caramelized onions, or cooked bacon bits. Add these during shaping rather than after baking. Savory versions pair beautifully with soups or salads for a complete meal.

Veronica is a passionate food enthusiast with over three years of experience in exploring and writing about diverse cuisines. Her expertise lies in reviewing restaurants, sharing creative recipes, and discovering the latest food trends. As the voice behind FoodieRecap.com, Anju brings fresh perspectives and culinary insights to her audience.
