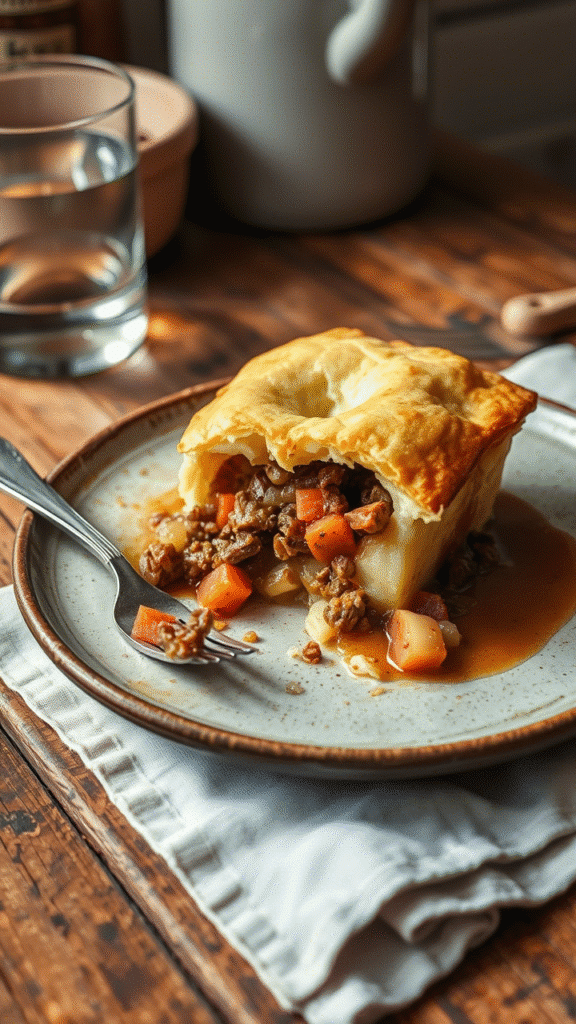
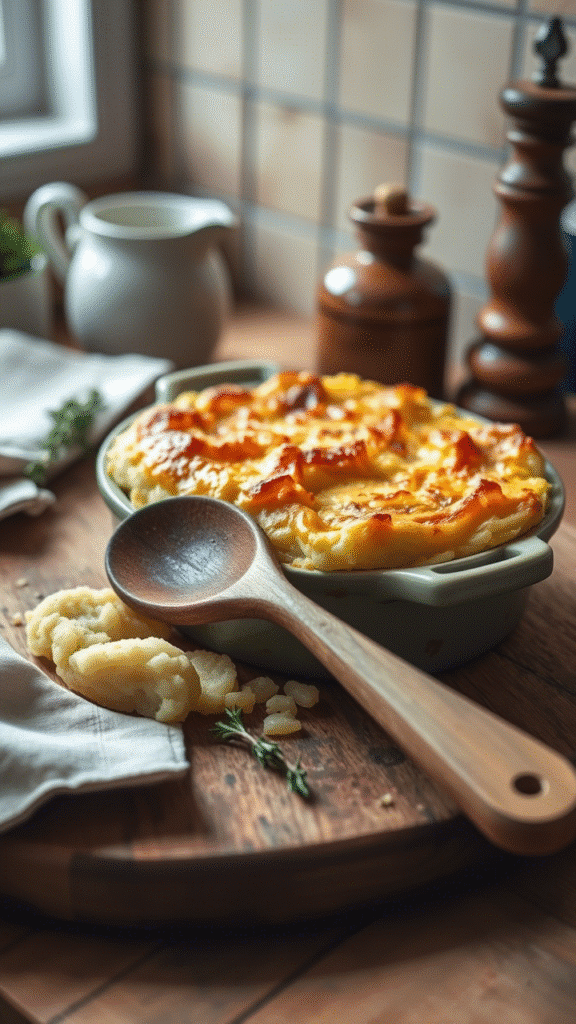
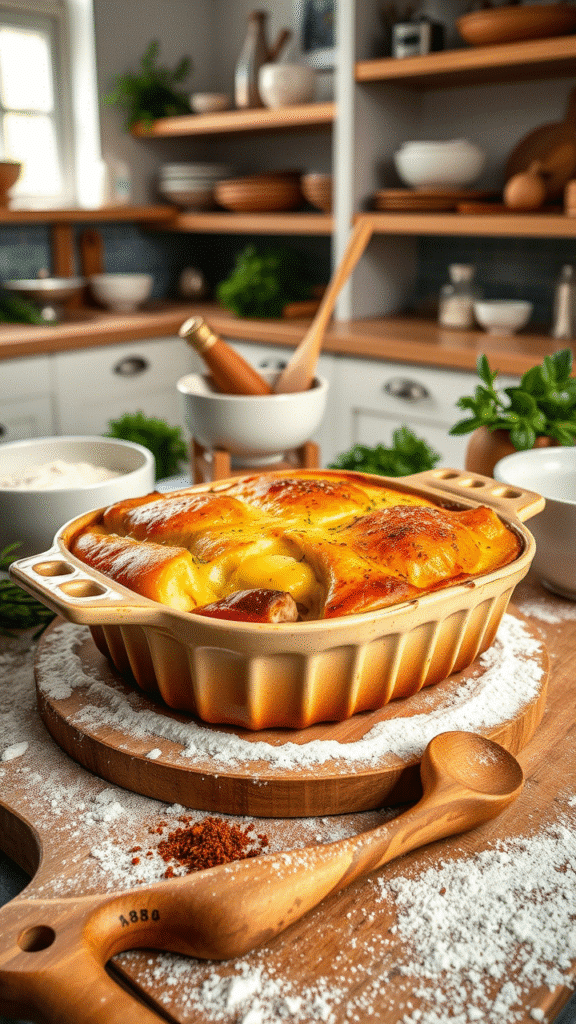
There’s nothing quite like the moment you pierce through that golden-brown potato crust and watch the rich, savory filling bubble up around your fork. I’ll never forget the first cottage pie I made as a young cook—it was an absolute disaster. The mince was dry, the potatoes were lumpy, and the whole thing fell apart when I tried to serve it. But that failure taught me more about this beloved British comfort dish than any cookbook ever could.
What makes cottage pie truly special isn’t just its humble ingredients or comforting nature. It’s the perfect marriage of technique and timing that transforms simple ground beef, vegetables, and mashed potatoes into something that’s greater than the sum of its parts. Unlike its lamb-based cousin shepherd’s pie, cottage pie celebrates the robust flavor of quality beef mince, creating layers of taste and texture that require genuine skill to master properly.
The key to exceptional cottage pie lies in understanding that each component must be treated with respect and precision. You’re not just assembling ingredients—you’re building flavor foundations that will support each other throughout the cooking process.
Understanding the Foundation: Quality Ingredients

The Meat Selection
Your choice of beef mince determines everything about your cottage pie’s success. Skip the lean stuff entirely—you need at least 20% fat content for proper flavor development. The fat renders during cooking, creating the rich base that carries all your seasonings and gives the filling its luxurious mouthfeel.
Fresh mince beats frozen every time, though I’ve seen too many cooks overlook this crucial detail. When beef freezes, ice crystals break down the muscle fibers, leading to a grainy texture that no amount of seasoning can fix. Look for mince that’s been ground fresh that day, with a bright red color and no brown spots.
Potato Varieties and Their Impact
Floury potatoes like Maris Piper or King Edward create the fluffiest topping, but here’s where most people go wrong—they overcook them. Waxy potatoes like Charlotte or new potatoes won’t give you that cloud-like texture you’re after, no matter how long you whip them.
The secret lies in starting your potatoes in cold, salted water. This ensures even cooking from the outside in, preventing that dreaded scenario where you’ve got mushy exteriors and raw centers. Add salt to the water generously—about a tablespoon per liter—because this is your only chance to season the potatoes from within.
Vegetables: Building Flavor Layers
Traditional cottage pie calls for onions, carrots, and peas, but the quality and preparation of these vegetables makes all the difference. Sweet onions like Vidalia work beautifully, but standard yellow onions develop incredible depth when properly caramelized.
Carrots should be diced small—about 5mm cubes—so they cook evenly and don’t overwhelm each bite. Frozen peas actually work better than fresh for cottage pie because they hold their shape and bright color better during the extended cooking process.
Essential Ingredient Substitutions
Dietary Adaptations
For gluten-free versions, replace plain flour with cornstarch or gluten-free flour blend. Use half the amount of cornstarch as you would flour, and mix it with cold liquid before adding to prevent lumps forming in your gravy.
Vegetarians can substitute the beef mince with a mixture of mushrooms, lentils, and walnuts. Chop everything finely and season aggressively—plant-based proteins need more help to develop complex flavors. Adding a tablespoon of tomato paste and a splash of soy sauce creates that umami depth you’d normally get from meat.
Regional Ingredient Swaps
Can’t find Worcestershire sauce? Dark soy sauce mixed with a few drops of vinegar does the trick. No fresh thyme? Dried works fine, but use only a third of the amount called for in the recipe. Beef stock can be replaced with a good quality mushroom or vegetable stock, though you’ll need to boost the flavor with extra tomato paste.
Step-by-Step Mastery: The Professional Method

Preparing the Meat Base
Start by heating a heavy-bottomed pan over medium-high heat. Don’t add oil yet—this is crucial. Add your mince in small batches, allowing each piece to brown properly before stirring. The meat should sizzle immediately when it hits the pan. If it doesn’t, your pan isn’t hot enough.
This browning stage is where amateur cooks often fail. They overcrowd the pan or stir too early, causing the meat to steam rather than brown. You want those deep, caramelized edges that add complexity to your finished dish. Each batch should take about 3-4 minutes before you stir.
Remove the browned mince and set aside. Don’t clean the pan—those brown bits stuck to the bottom are liquid gold for your gravy.
Building the Vegetable Foundation
In the same pan, add your diced onions to the remaining fat and those precious browned bits. Cook them slowly until they’re golden and sweet, about 8-10 minutes. This patience pays dividends in the final flavor profile.
Add your carrots next, cooking them until they just start to soften. The key is maintaining some texture—nobody wants mushy vegetables in their cottage pie. Season with salt and pepper as you go, building layers of flavor at each stage.
Return the mince to the pan and add your flour, stirring constantly for about two minutes. This cooks out the raw flour taste and begins to thicken your gravy. Many recipes skip this step, resulting in thin, watery fillings that ruin the dish.
Creating the Perfect Gravy
Here’s where technique really matters. Add your stock gradually, stirring constantly to prevent lumps. The mixture should bubble and thicken as you add each portion of liquid. If lumps do form, don’t panic—whisk vigorously or push the mixture through a fine sieve.
Add your Worcestershire sauce, tomato paste, and herbs now. The filling should be thick enough to coat the back of a spoon but not so thick that it becomes gluey. If it’s too thin, simmer uncovered for a few minutes. Too thick? Add more stock gradually.
Taste and adjust seasoning aggressively. Cottage pie filling should be well-seasoned because the potatoes on top will dilute the flavors. Don’t be shy with the salt and pepper—under-seasoned cottage pie is one of the saddest things in the culinary world.
Mastering the Potato Topping
While your filling cooks, start your potatoes in cold, salted water. Bring them to a gentle boil—not a rolling boil that will break them apart. They’re done when a knife slides through easily without resistance.
Drain thoroughly and let them sit for a minute to steam off excess moisture. This prevents watery mashed potatoes that won’t brown properly. Pass them through a ricer or food mill for the smoothest texture, though a good old-fashioned masher works fine if you’re thorough.
Add butter and cream while the potatoes are still hot, beating vigorously to incorporate air. The mixture should be creamy but still hold its shape when piped or spread. Season with salt and white pepper—black pepper specs look unprofessional in a golden potato topping.
Assembly and Cooking Techniques

The Layering Process
Spread your meat filling evenly in your baking dish, making sure to get it right into the corners. Let it cool slightly—this prevents the potato topping from sinking into hot filling and creating a soggy mess.
Pipe or spoon the mashed potato over the filling, starting from the edges and working inward. Create peaks and valleys with a fork or palette knife—these will brown beautifully and create textural interest.
Achieving the Perfect Finish
Brush the potato surface lightly with beaten egg for a restaurant-quality golden finish. Don’t skip this step—it’s what separates professional results from home cooking attempts.
Bake at 180°C (160°C fan) for about 35-40 minutes until the top is golden brown and the filling is bubbling around the edges. If the top browns too quickly, cover loosely with foil.
The Science Behind the Perfect Cottage Pie
Why Brown the Meat First?
The Maillard reaction—that chemical process that creates browning—develops hundreds of flavor compounds that simply can’t be achieved any other way. When you skip this step, you’re leaving massive amounts of flavor on the table.
Temperature Control Matters
Cottage pie needs to reach an internal temperature of 75°C to be safe, but more importantly, this temperature ensures the flavors have melded properly. Use a probe thermometer to check—it should read hot throughout when inserted into the center.
Resting for Success
Let your cottage pie rest for 10-15 minutes after baking. This allows the filling to set slightly, making it much easier to serve neat portions. Cover with foil to keep it warm during this resting period.
Serving and Presentation Excellence
Professional Plating Techniques
Use a large spoon or ice cream scoop to portion the cottage pie, ensuring each serving includes both filling and potato topping. Clean the edges of the plate with a damp cloth—attention to detail matters in professional service.
Garnish with fresh thyme sprigs or a small drizzle of good quality gravy around the plate. Simple garnishes that complement rather than compete with the dish work best.
Perfect Pairing Suggestions
Cottage pie pairs beautifully with simple steamed vegetables—green beans, broccoli, or carrots work wonderfully. The vegetables should be bright and crisp to contrast with the rich, soft textures of the pie.
For beverages, a robust red wine like Cabernet Sauvignon or Malbec complements the beef beautifully. If you prefer beer, choose something with enough body to stand up to the rich flavors—a brown ale or porter works perfectly.
Common Mistakes and Professional Solutions
Watery Fillings
This usually happens when vegetables aren’t properly drained or when too much liquid is added too quickly. Always cook vegetables until excess moisture evaporates, and add stock gradually while stirring constantly.
Lumpy Potatoes
Cold potatoes are the enemy of smooth mashed potatoes. Always add butter and cream to hot potatoes, and never use a food processor—it develops the starch too much, creating a gluey texture.
Soggy Bottoms
Make sure your filling is thick enough before adding the potato topping. If it’s too wet, simmer uncovered until it reduces to the proper consistency. The filling should barely move when you shake the pan.
Creative Variations for Advanced Cooks
Cheese-Topped Cottage Pie
Add grated mature cheddar to your mashed potatoes for extra richness. Sharp cheddar works best—about 100g per kilogram of potatoes. The cheese adds complexity and creates an even more golden top.
Herb-Crusted Version
Mix chopped fresh herbs—parsley, thyme, and rosemary work well—into your potato topping. This adds color and freshness that cuts through the rich filling beautifully.
Individual Portions
Cottage pie works wonderfully in individual ramekins or small cast-iron dishes. Reduce cooking time to about 20-25 minutes and adjust seasoning slightly—individual portions need slightly more aggressive flavoring.
Conclusion: Mastering the Art of Cottage Pie
The best cottage pie comes from understanding that each element must be perfect on its own before being combined. From properly browning your mince to achieving silky smooth potatoes, every step builds toward that moment when your fork breaks through the golden crust to reveal the rich, flavorful filling beneath.
Remember that cottage pie improves with time—the flavors continue to develop even after cooking. Day-old cottage pie, properly reheated, often tastes even better than when it’s freshly made. This makes it perfect for meal prep or entertaining, as you can prepare it entirely in advance.
The key to professional results lies in patience and attention to detail. Don’t rush the browning, don’t skip the seasoning at each stage, and always taste as you go. With practice, you’ll develop an intuition for when each component is ready, creating cottage pies that would make any British grandmother proud.
Frequently Asked Questions?
Can I make cottage pie ahead of time?
Absolutely—cottage pie is actually one of the best make-ahead dishes. Assemble completely but don’t bake, then cover tightly and refrigerate for up to 3 days or freeze for up to 3 months. Add an extra 10-15 minutes to the cooking time if baking from cold, and cover with foil initially to prevent over-browning.
What’s the difference between cottage pie and shepherd’s pie?
The only difference is the meat—cottage pie uses beef mince while shepherd’s pie uses lamb mince. The name comes from the fact that shepherds work with sheep, not cattle. Everything else about the recipes remains identical, though lamb versions sometimes include rosemary for its traditional pairing with lamb.
Why does my potato topping sometimes sink into the filling?
This happens when the filling is too hot or too thin when you add the potatoes. Let your meat mixture cool for 10-15 minutes before topping, and make sure it’s thick enough to support the potatoes. The filling should hold its shape when stirred, not flow like soup.
Can I use instant mashed potatoes for the topping?
While not ideal, good quality instant potatoes can work in a pinch. Use less liquid than the package suggests to keep them thick enough, and add extra butter and seasoning to improve flavor. Fresh potatoes will always give superior results, but instant can save time when you’re pressed for it.
How do I prevent the edges from burning while the center stays cold?
Cover the edges with strips of foil if they’re browning too quickly, and consider using a deeper dish that allows for more even heat distribution. Lower your oven temperature by 20°C and cook for longer if this is a persistent problem with your oven. A probe thermometer helps ensure the center reaches proper temperature without overcooking the edges.

Veronica is a passionate food enthusiast with over three years of experience in exploring and writing about diverse cuisines. Her expertise lies in reviewing restaurants, sharing creative recipes, and discovering the latest food trends. As the voice behind FoodieRecap.com, Anju brings fresh perspectives and culinary insights to her audience.
