A Culinary Fusion Masterclass
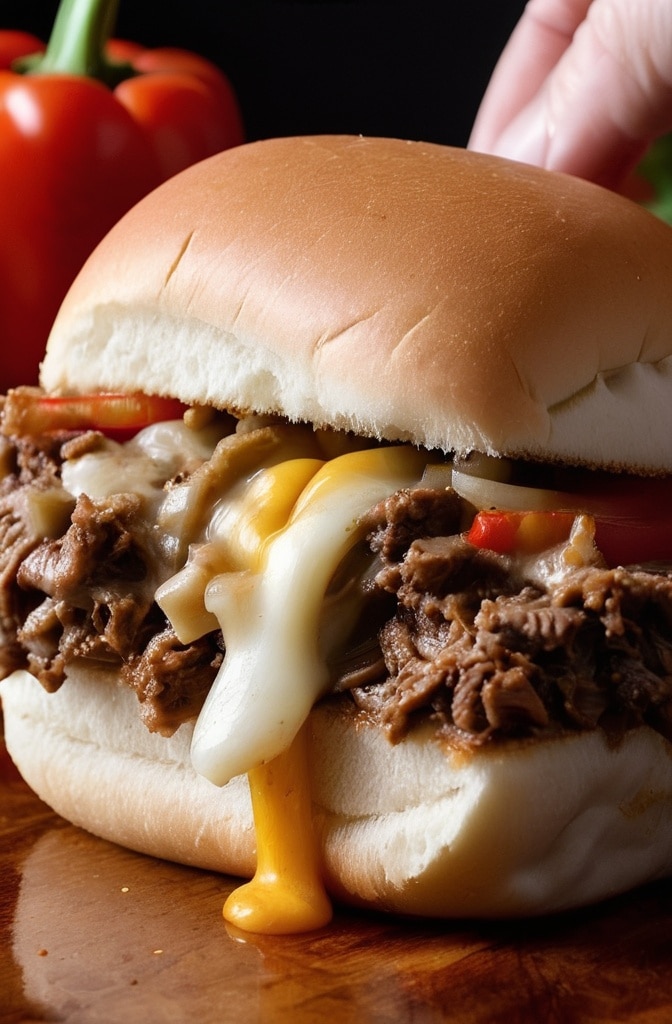
I’ll never forget the first time I attempted to merge these two American icons. The kitchen smelled like heaven, but the sandwich? Total disaster. The bread dissolved into a soggy mess before the first bite. That was fifteen years and countless iterations ago. Now, I’m thrilled to share what I’ve learned about creating the perfect Philly Cheese Steak Sloppy Joe – a dish that honors both traditions while creating somethin uniquely craveable.

When East Coast sandwich royalty meets Midwestern comfort food, culinary magic happens. This isn’t just another mashup recipe – it’s a carefully balanced fusion that preserves what we love about both classics while solving the inherent challanges of combining them. The result? A symphony of flavors that delivers the umami-rich beef and melty cheese of a proper Philly alongside the saucy, spoon-it-up satisfaction of a perfect Sloppy Joe.
The Culinary Heritage
The Philly Cheese Steak emerged from South Philadelphia in the 1930s when Pat Olivieri, a hot dog vendor, decided to grill some beef and put it on a roll. A passing cab driver smelled the delicious aroma, asked for one – and a legend was born. The original didn’t even include cheese! That came later, evolving into the iconic sandwich we know today: thinly sliced ribeye, caramelized onions, and melted cheese (traditionally Cheez Whiz) on a crusty-yet-tender Amoroso roll.

Sloppy Joes have a more contested history. Some attribute the creation to a cook named Joe in Sioux City, Iowa, who added tomato sauce to his “loose meat” sandwiches. Others claim the Sloppy Joe originated at Sloppy Joe’s Bar in Key West, Florida. Wherever they began, these saucy ground beef sandwiches became a staple in American households by the mid-20th century, beloved for there hearty, satisfying nature and wallet-friendly ingredients.
Our fusion respects both traditions while solving a fundamental problem: Philly Cheese Steaks require specific cuts and preparation techniques that aren’t accessible to many home cooks, while Sloppy Joes can sometimes lack depth and distinction. By combining them, we get the best of both worlds.
Ingredients & Substitutions
For the Meat Mixture:
- 2 pounds ground beef (80/20 lean-to-fat ratio)
- 2 tablespoons olive oil
- 2 medium green bell peppers, diced
- 1 large white onion, diced
- 8 ounces mushrooms, finely chopped (cremini preferred)
- 4 cloves garlic, minced
- 2 tablespoons Worcestershire sauce
- 1 tablespoon dijon mustard
- 1 cup beef broth (reduced sodium)
- 2 tablespoons all-purpose flour
- 1 tablespoon butter
- 1 teaspoon dried oregano
- ½ teaspoon dried thyme
- Salt and fresh ground black pepper to taste
For the Cheese Sauce:
- 8 ounces provolone cheese, shredded
- 4 ounces white American cheese, shredded
- 1 cup whole milk
- 1 tablespoon cornstarch
- 1 tablespoon cold water
For Serving:
- 6-8 brioche buns or potato rolls
- Pickled hot cherry peppers (optional)
- Fresh parsley, chopped (for garnish)
Ingredient Insights:
The 80/20 beef is crucial here – leaner blends won’t deliver the richness that defines both Philly Cheese Steaks and proper Sloppy Joes. If you’re watching fat intake, you could substitute 90/10 beef, but compensate by adding 1 tablespoon extra olive oil and an additional ¼ cup beef broth to maintain moisture.
While purists might insist on Cheez Whiz for an authentic Philly experience, our provolone-American blend delivers better flavor and texture for this application. The American cheese provides that creamy meltability, while provolone contributes a more sophisticated flavor profile with slight tang. For a dairy-free version, substitute cashew cream sauce with nutritional yeast and a splash of apple cider vinegar.
Most Philly aficionados will tell you the roll is just as important as the filling. Traditional Amoroso rolls are ideal but hard to find outside Pennsylvania. Brioche buns provide the perfect substitute – their buttery richness stands up beautifully to the saucy mixture while adding a subtle sweetness that complements the savory filling. Potato rolls work wonderfuly too, offering good structure with a pillowy texture.
Step-by-Step Instructions
Preparing the Base:
- Heat a large, deep skillet or Dutch oven over medium-high heat. Add olive oil, then brown the ground beef, breaking it into small crumbles as it cooks. Season with salt and pepper. Once browned (about 5-7 minutes), transfer beef to a plate lined with paper towels, leaving about 1 tablespoon of drippings in the pan.
Achieving proper browning here is essential – don’t stir the meat constantly. Let it develop a deep brown crust before breaking it up. This creates those delicious flavor compounds thru the Maillard reaction that give the dish its robust flavor foundation.
- In the same pan, add the diced onions and cook until they begin to soften, about 3 minutes. Add the bell peppers and mushrooms, cooking until vegetables are tender and most moisture has evaporated (about 5-7 minutes). The mushrooms might release quite a bit of liquid – let it cook off completely.
- Add minced garlic and cook for just 30 seconds until fragrant. Never add garlic too early or it will burn and turn bitter, rooining the entire dish.
Creating the Sauce:
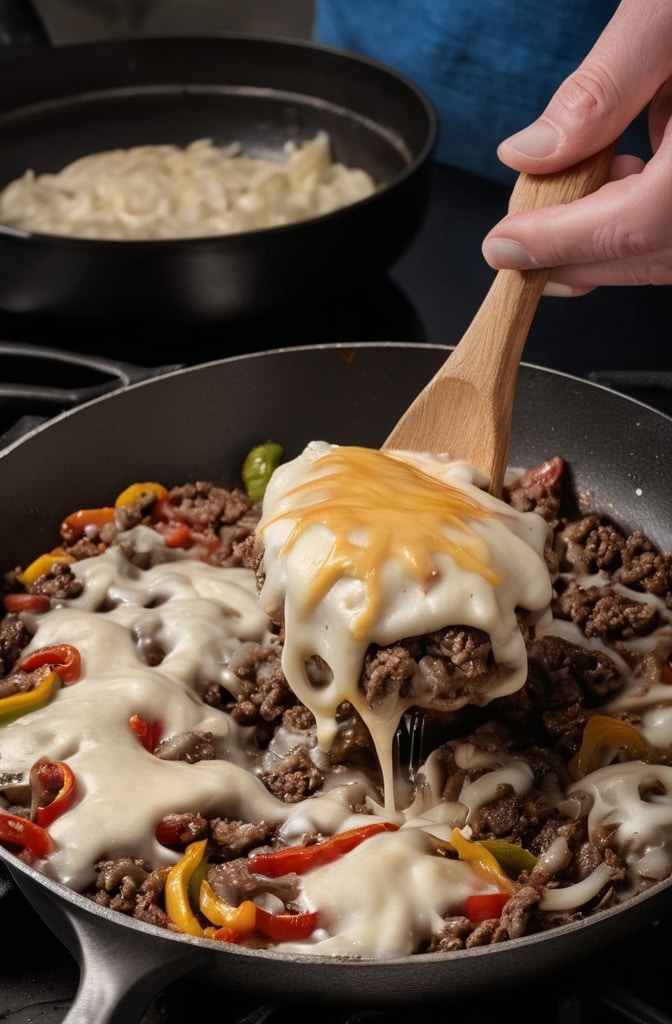
- Return the browned beef to the pan and stir to combine with vegetables. Sprinkle flour over the mixture and stir continuously for 1-2 minutes to cook out the raw flour taste.
- Slowly add beef broth while stirring, then add Worcestershire sauce and dijon mustard. Bring to a simmer. The sauce will begin to thicken as it heats. Add dried oregano and thyme.
- Reduce heat to low and let the mixture simmer for 10-15 minutes, stirring occasionally. The flavors will intensify as water evaporates, and the sauce should coat the meat rather than pool around it. If it gets too thick, add a splash more broth; if too thin, simmer a bit longer.
One common mistake is rushing this step. Those 15 minutes of gentle simmering are when the true magic happens – the beef absorbs flavors from the aromatics while the sauce reaches the perfect consistency. You’re looking for a mixture that’s moist and cohesive but not swimming in liquid.
Making the Cheese Sauce:
- In a separate saucepan over medium-low heat, warm the milk until it just begins to steam but not boil.
- Mix cornstarch with cold water to create a slurry, then whisk into the warm milk. Continue whisking for 1-2 minutes until slightly thickened.
- Reduce heat to low and gradually add shredded cheeses, stirring until completely melted and smooth. Season with a pinch of salt if needed. Keep warm over very low heat, stirring occasionally.
The key to silky cheese sauce is low, gentle heat. High temperatures will cause the proteins in the cheese to seize, resulting in a grainy texture. If your sauce begins to thicken too much while waiting, whisk in a tablespoon of warm milk to restore its creamy consistency.
Assembly:
- Lightly toast the buns in the oven or on a buttered skillet. This crucial step creates a barrier against the moisture of the filling, preventing the dreaded soggy-bun syndrome that plagues many sloppy joe experiences.
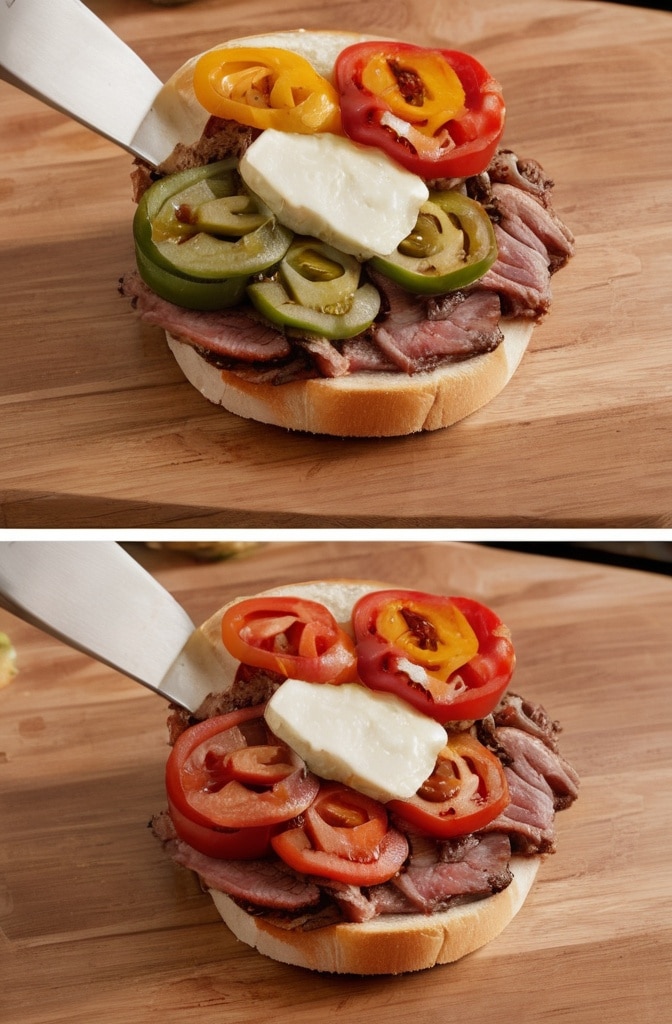
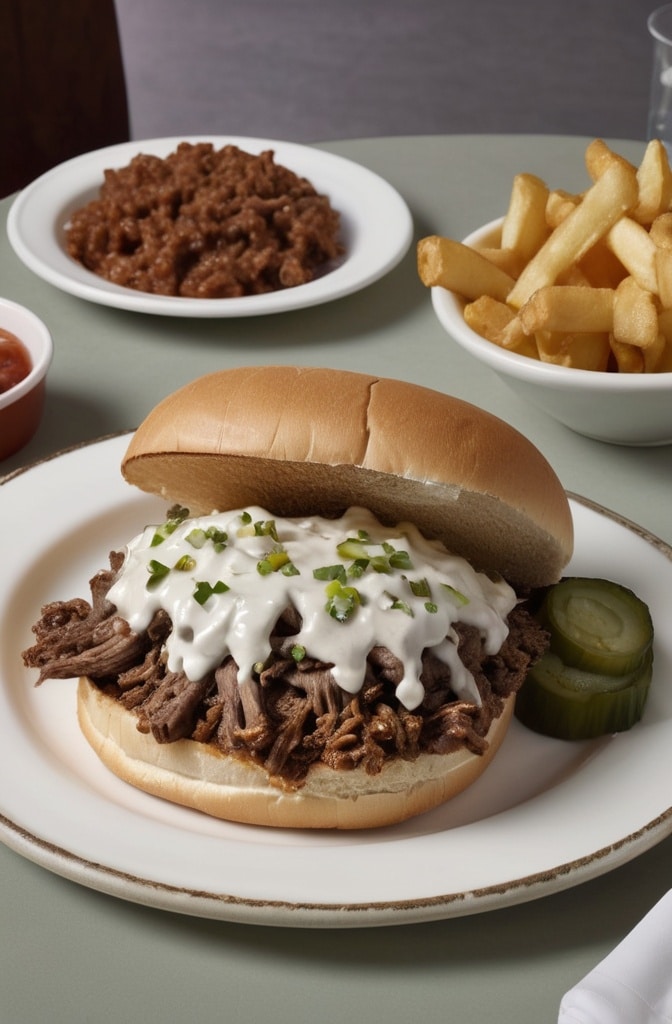
- For each sandwich, place a generous portion of the meat mixture on the bottom bun, top with cheese sauce, and garnish with chopped parsley and pickled cherry peppers if desired.
For maximum enjoyment, serve immediately while everything is hot and the contrast betwen the crisp bun exterior and tender interior is at its peak.
Cooking Techniques & Science
The alchemy of this dish lies in understanding how to balance moisture. Traditional Philly Cheese Steaks rely on the juiciness of freshly cooked steak without additional sauce, while Sloppy Joes are defined by their saucy nature. Our approach solves this dilemma through careful liquid management and the strategic use of thickeners.
The roux (butter and flour mixture) we create serves two critical functions: it thickens the sauce and creates an emulsion that suspends fat molecules from the beef throughout the mixture. This prevents that unappetizing oil slick that often forms on poorly made Sloppy Joes, while ensuring every bite delivers rich flavor.

Mushrooms play a fascinating dual role here. First, their high glutamate content amplifies the umami flavor that makes Philly Cheese Steaks so irresistible. Second, their texture, when finely chopped, mimics some of the fibrous qualities of shaved steak. For best results, pulse them in a food processor rather than chopping by hand – this creates pieces small enough to integrate seamlessly without disappearing completely.
The cheese sauce leverages the power of sodium citrate (naturally present in American cheese) to create a smooth emulsion. This is the same principle that makes processed cheese melt so beautifully, but we’re achieving it while using higher-quality cheeses. The cornstarch slurry provides additional insurance against breaking or graininess.
Temperature control is absolutely vital when making this recipe. Too much heat when cooking the vegetables will scorch them rather thin caramelize them; too little heat when browning the meat will cause it to steam rather than develop those crucial flavor compounds. Digital thermometers aren’t just for baking – I recommend monitoring your pan temperature to stay in the optimal range (325-375°F for browning beef).
Serving & Pairing Suggestions
These Philly Cheese Steak Sloppy Joes exist in the delightful culinary space between casual comfort food and impressive entertaining fare. How you serve them can push them in either direction, depending on the occasion.
For family dinner, embrace the messy nature by serving with plenty of napkins and sides that complement without competing: crisp dill pickle spears, a simple vinegar-dressed coleslaw, or oven-baked sweet potato fries. The acid and crunch provide perfect counterpoints to the rich, savory sandwiches.

Elevate for entertaining by serving “slider” versions on mini brioche buns, topped with microgreens instead of parsley, and accompanied by a cold craft beer – preferably something from Philadelphia like Yards Brewing Company’s Philadelphia Pale Ale or Yuengling Traditional Lager for thematic consistency.
Wine lovers should reach for something that can stand up to the robust flavors without overwhelming them – a juicy Zinfandel or Syrah works beautifully, cutting through the richness while complementing the savory elements.
For presentation, consider serving deconstructed for a modern twist: toast the buns, spread with the meat mixture, arrange on plates, and then dramatically pour the cheese sauce tableside. It’s a simple technique that transforms a casual sandwich into a conversation piece.
The leftovers (if any survive) actually improve overnight as flavors meld. Reheat the meat mixture gently on the stovetop with a splash of beef broth to refresh the texture, and make fresh cheese sauce for optimal results. The meat mixture also freezes exceptionally well for up to three months – perfect for meal prep enthusiasts.
Conclusion
The Philly Cheese Steak Sloppy Joe represents American culinary innovation at its finest – respectful of tradition while unafraid to evolve. This dish successfully translates the essence of Philadelphia’s iconic sandwich into a format that’s more accessible for home cooks without sacrificing the depth of flavor or textural interest that makes the original so beloved.
What makes this version truly exceptional is the attention to the underlying cooking science: managing moisture, developing flavor through careful browning, and creating a cheese sauce that captures the spirit of “Whiz wit” while elevating it through better ingredients. These techniques don’t just apply to this specific recipe – master them, and you’ll improve countless dishes in your repertoire.
Remember that great cooking often happens at the intersections – of techniques, traditions, and yes, even iconic sandwiches. This fusion demonstrates how culinary creativity isn’t always about invention from scratch, but rather about finding new harmonies between existing classics. The next time you’re torn between Philly Cheese Steak cravings and Sloppy Joe convenience, remember: sometimes the best choice is not having to choose at all.
Frequently Asked Questions?
Can I make this recipe ahead of time for a party?
Absolutely! The meat mixture actually improves after a day in the refrigerator as the flavors meld. Prepare it up to two days ahead, then reheat gently on the stovetop. However, always make the cheese sauce fresh shortly before serving for the best texture and mouthfeel. Keep the buns separate until serving time to prevent sogginess.
What’s the best way to reheat leftovers?
For the meat mixture, reheat in a skillet over medium-low heat with a splash of beef broth to refresh the moisture level. Microwave reheating works in a pinch but tends to toughen the meat. For the cheese sauce, gentle stovetop reheating with an additional tablespoon of milk whisked in will restore its creamy texture. Never reheat the assembled sandwich – always warm components separately and reassemble.
Can I make this recipe in a slow cooker or Instant Pot?
Yes, with modifications. For slow cookers, brown the meat and vegetables first, then transfer to the slow cooker with reduced liquid (use only ½ cup beef broth) and cook on low for 3-4 hours. For Instant Pot, use the sauté function for the initial steps, then pressure cook for just 5 minutes with quick release. In both cases, you’ll need to reduce the sauce afterward if it’s too thin, and the cheese sauce should still be prepared separately on the stovetop.
How can I make this recipe lower in carbs?
For a lower-carb version, serve the meat and cheese mixture over roasted portobello mushroom caps, in lettuce cups, or simply in a bowl topped with all the fixings. The meat mixture itself is relatively low in carbs – it’s primarily the buns that contribute carbohydrates. You could also explore keto-friendly bread alternatives or cloud bread if you want to maintain the sandwich format.
What’s the secret to preventing soggy buns?
Three key techniques: First, toast the buns thoroughly before assembly to create a moisture barrier. Second, ensure your meat mixture has simmered long enough to reduce excess liquid – it should be moist but not watery. Third, serve immediately after assembly, or consider serving the components separately and letting diners build their own sandwiches. For picnics or packed lunches, pack components separately and assemble just before eating.

Veronica is a passionate food enthusiast with over three years of experience in exploring and writing about diverse cuisines. Her expertise lies in reviewing restaurants, sharing creative recipes, and discovering the latest food trends. As the voice behind FoodieRecap.com, Anju brings fresh perspectives and culinary insights to her audience.
